
That frustrating haze on your binocular lenses isn’t just dirt—it’s a silent killer of optical performance. Modern binoculars rely on delicate multi-layer coatings that contribute up to 30% of their clarity, and improper cleaning can permanently etch these critical surfaces. One careless swipe with a shirt sleeve or household cleaner can turn your $500 optics into cloudy, streaky disappointments. This guide delivers a field-tested, manufacturer-approved protocol to clean binocular lenses safely, preserving your investment and ensuring crystal-clear views for years. You’ll discover exactly why standard cleaning methods destroy coatings, what tools actually work, and the precise sequence that avoids costly damage—no guesswork, just proven techniques from optical engineers.
Why Sand and Improper Tools Ruin Binocular Lens Coatings Permanently
Quartz particles in everyday dust (measuring 7 on the Mohs hardness scale) are harder than lens coatings and glass. When you wipe a dusty lens without pre-cleaning, these microscopic abrasives grind into anti-reflective layers like sandpaper. Most users don’t realize that common substitutes—like breath moisture, paper towels, or Windex—cause irreversible damage through two mechanisms: chemical erosion from ammonia/solvents and physical scratching from wood-pulp fibers. High-end optics from Zeiss or Swarovski contain hydrophobic coatings that repel water but dissolve when exposed to alcohol-based cleaners. Even your breath introduces organic acids that etch coatings over time. The consequence? Permanent light scatter that reduces contrast and brightness—the very qualities you paid for in quality binoculars.
How Lens Coatings Actually Work (And Why They’re Vulnerable)
Anti-reflective coatings are microscopic layers thinner than a human hair, engineered to cancel light reflections. Hydrophobic top layers bead water away but degrade when exposed to improper cleaners. Multi-coated lenses (standard on mid-to-high-end models) have 15+ layers that amplify damage from abrasives. When coatings chip, light scatters through the damaged areas, creating ghost images and reduced contrast—exactly what ruins low-light viewing.
The $200 Mistake Most Binocular Owners Make Instantly
Using your breath or clothing seems harmless but combines three catastrophic errors: 1) Breath moisture carries skin oils that bond to coatings, 2) Fabric fibers (even cotton) embed quartz particles that scratch during wiping, and 3) Circular wiping motions grind debris deeper. Within minutes, you’ve created micro-scratches that permanently degrade optical performance. Professional repair for recoating costs $150-$400—more than many binoculars.
Must-Have Cleaning Tools That Actually Protect Your Lenses (Not Damage Them)
Essential Tools Checklist With Brand Recommendations
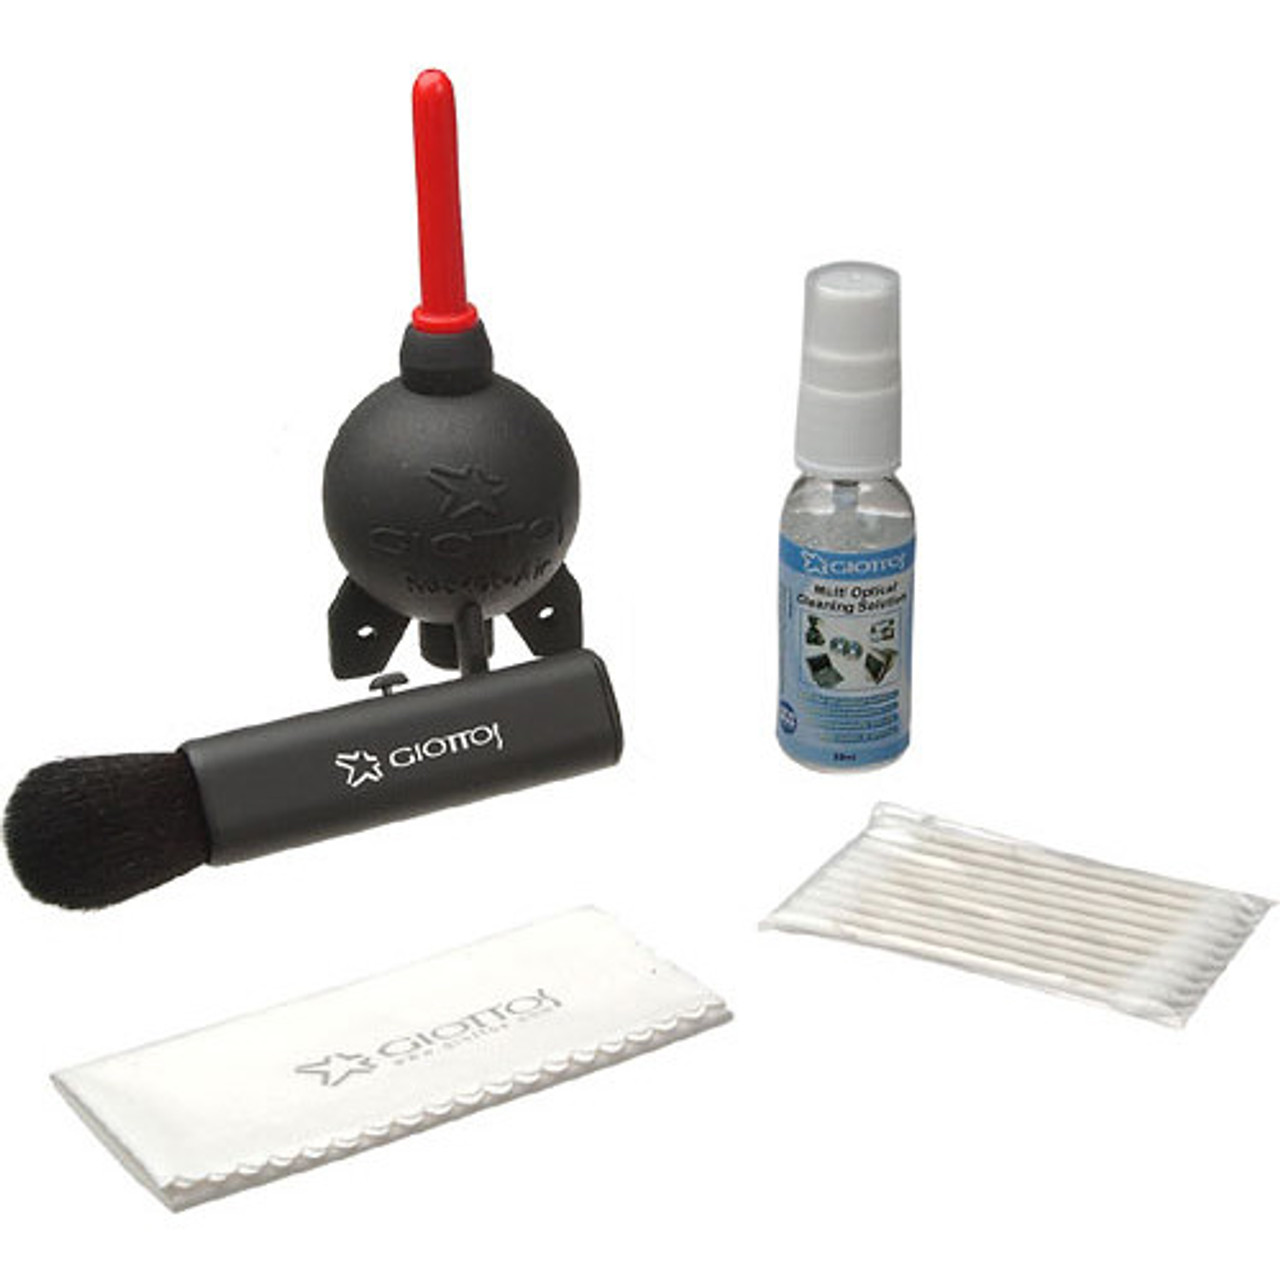
- Rocket Blower: Giottos AA180 (never canned air—propellants leave residue and extreme cold cracks coatings)
- Optical-Grade Microfiber: Zeiss branded cloth (washed without fabric softer—residue attracts dust)
- Lens Cleaning Fluid: Zeiss Lens Cleaner Spray (safe for all multi-coated optics; contains butoxy diglycol for safe residue-free evaporation)
- Lens Brush: Camel-hair brush stored in protective case (prevents contamination from storage surfaces)
Dangerous Household Substitutes That Destroy Coatings
- ❌ Windex/Glass Cleaners: Ammonia dissolves anti-reflective layers within 30 seconds of contact
- ❌ Paper Towels/Tissues: Wood-pulp fibers act like sandpaper on coatings (visible under magnification)
- ❌ Isopropyl Alcohol: Safe only for spot-treating sap on Swarovski/Vortex models—never for routine cleaning as it degrades hydrophobic top layers
- ❌ Your Breath: Introduces skin oils and acids that bond to coatings, causing permanent etching
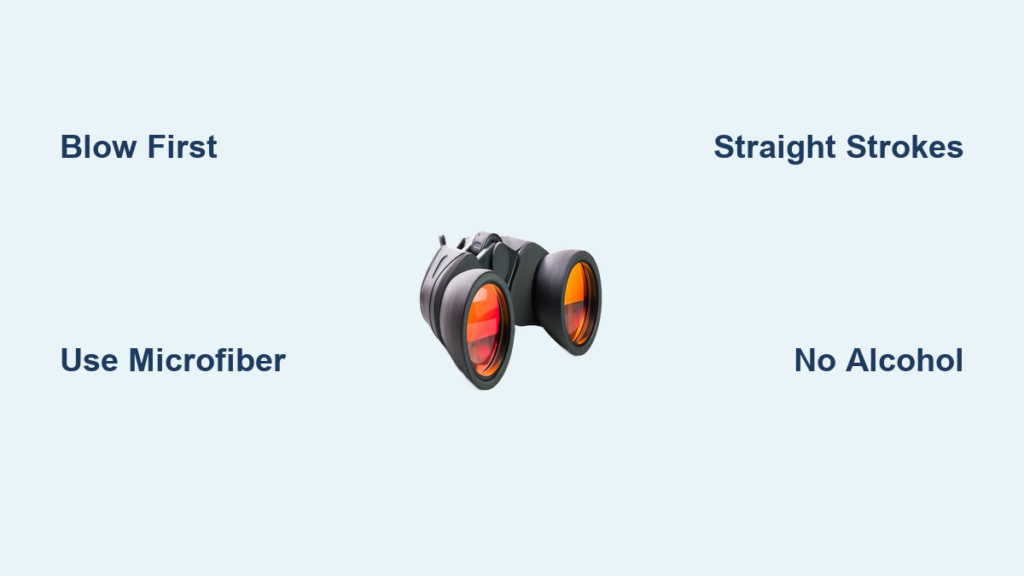
Professional 4-Step Cleaning Protocol: Blow, Brush, Wipe, Polish
This sequence—mandated by Zeiss, Swarovski, and Leica technicians—prevents 99% of cleaning damage. Always work in a dust-minimized environment with clean hands.
Step 1: Dry Particle Removal (The Non-Negotiable First Step)
Hold binoculars lens-down and use your rocket blower in 3-second bursts. This dislodges 90% of contaminants without contact. For stubborn particles, tilt binoculars at 45° and use your lens brush with zero pressure, sweeping from center to edge in one direction. Never wipe when grit is visible—this grinds quartz into coatings.
Step 2: Fluid Application Technique That Prevents Seepage Damage
Apply 1-2 drops of Zeiss cleaner only to your microfiber cloth—not the lens. Excess fluid seeps into lens barrels, causing internal fogging that requires $200+ professional servicing. For saltwater exposure (common for marine binoculars), rinse first with distilled water to remove salts before applying cleaner.
Step 3: The Correct Wiping Motion That Avoids Swirl Marks
Use straight-line strokes from lens center to edge—never circles. Circular motions trap debris and create visible swirl patterns. For fingerprints, place the damp cloth over the spot for 5 seconds to dissolve oils, then wipe once in a straight line. Use a fresh cloth section for each pass to prevent redepositing grime.
Step 4: Final Polish With Zero Pressure
Use a dry microfiber section with feather-light pressure, repeating straight strokes until no residue remains. Hold binoculars at an angle to light to spot streaks. For stubborn water spots (mineral deposits), apply a 1:1 white vinegar/distilled water mix with a cotton swab—never on the entire lens.
Removing Stubborn Contaminants Without Coating Damage

Water Spot Elimination in 60 Seconds
Mineral deposits from tap water require acidic treatment. Mix equal parts white vinegar and distilled water. Dampen one corner of your microfiber cloth, wipe the spot with straight strokes, then immediately rinse with distilled water on a clean cloth section. Dry within 10 seconds using your rocket blower—vinegar left >30 seconds etches coatings.
Tree Sap and Tar Removal Protocol
- Test isopropyl alcohol (90%+) on the lens edge first
- Apply one drop to a cotton swab
- Gently roll (don’t rub) over the sap
- Wipe residue with lens cleaner
- Polish immediately
Never use solvents on Swarovski EL models—check manufacturer guidelines first.
5 Costly Mistakes That Destroy Binocular Lenses Forever
Mistake #1: Skipping Dry Particle Removal
Wiping without blowing/brushing first guarantees micro-scratches. Sand particles embed permanently, scattering light like a dirty windshield.
Mistake #2: Circular Wiping Motions
Creates visible swirl patterns that degrade image quality, especially noticeable on bright backgrounds like snow or sky.
Mistake #3: Over-Applying Cleaning Fluid
Excess liquid migrates past seals, causing internal fogging that requires professional disassembly—a $150+ repair.
Mistake #4: Using “Lens Cleaning” Kits From Gas Stations
Most contain abrasive compounds or ammonia. Only use optics-specific brands like Zeiss, Nikon, or Vortex.
Mistake #5: Ignoring Manufacturer Guidelines
Swarovski EL models tolerate tap-water rinsing, but Leica Ultravid cannot. Always check your manual—waterproof doesn’t mean “cleanable with any method.”
Fixing Post-Cleaning Disasters: Streaks, Fog, and Residue
Eliminating Persistent Streaks in 3 Steps
- Breathe lightly on the lens (only for streak removal, not cleaning)
- Immediately wipe with dry microfiber using straight strokes
- If streaks remain, repeat Step 1 with lens cleaner on cloth
Why this works: Condensation dissolves residue without abrasives.
Internal Fogging: Seal Failure or User Error?
External fog clears in seconds with wiping. True internal fog (cloudiness between lenses) indicates seal failure—do not attempt DIY repair. Contact the manufacturer immediately for warranty service. Continuing to use fogged binoculars accelerates internal coating degradation.
Manufacturer-Specific Cleaning Rules You Must Follow

Zeiss and Leica: Zero Alcohol Policy
These brands prohibit all alcohol-based cleaners. Use only Zeiss Lens Wipes—proprietary surfactants in their formula safely lift oils without coating erosion. Never rinse under tap water; distilled water only.
Swarovski EL Series: Tap Water Exception
Current EL models can be rinsed under lukewarm tap water (per Swarovski’s 2023 guidelines), but must be dried within 2 minutes using microfiber and air blower. Older models require distilled water—check your manual.
Vortex and Athlon: Saltwater Survival Protocol
Rinse thoroughly with fresh water after ocean use, then:
1. Wipe exterior with damp cloth
2. Dry eyecups and hinges with microfiber
3. Store with silica gel packs for 24 hours
Critical: Never use compressed air—forces salt into mechanisms.
12-Month Binocular Lens Maintenance Schedule
Daily/After-Use Routine (30 Seconds)
- Blow dust with rocket blower
- Store with lens caps on
- Wipe body with dry microfiber
Monthly Deep Clean (2 Minutes)
- Full 4-step cleaning protocol
- Inspect rubber eyecups for cracks
Annual Professional Checkup
- O-ring lubrication with silicone grease (not petroleum-based!)
- Seal integrity test for waterproof models
- Internal coating inspection
Pro Tip: Keep a mini-kit (blower + microfiber) in your binocular case. Quick dust removal after each use prevents 80% of cleaning needs.
When to Stop Cleaning and Call a Professional Immediately
Seek expert help for:
– Internal fungus (spiderweb patterns visible through lenses)
– Persistent internal fogging after 48 hours of drying
– Deep scratches visible without magnification
– Stiff focus mechanisms during cleaning
Attempting DIY fixes on these issues typically multiplies repair costs by 3x. Most manufacturers offer $50-$100 annual service plans that include professional cleaning.
Following this protocol preserves the delicate coatings that make your binoculars perform. Remember: the goal isn’t spotless lenses—it’s maintaining optical integrity. Proper care means your binoculars will deliver breathtaking clarity for decades, not just seasons. Always prioritize prevention: cap lenses when stored, avoid extreme temperature shifts, and clean immediately after saltwater exposure. For high-value optics, schedule professional servicing every 18 months—this maintains warranty coverage and catches seal failures before internal damage occurs. Your sharpest views are just one correctly executed cleaning away.


