

Ever had a drill bit suddenly slip mid-project, sending sparks flying while ruining your workpiece? You’re not alone—nearly 68% of DIY drilling failures stem from improperly fitted bits. Mastering how to fit a drill bit correctly is the non-negotiable foundation for clean holes, tool longevity, and workshop safety. This guide cuts through the guesswork with battle-tested techniques used by professional tradespeople. Whether you’re hanging shelves or building furniture, you’ll learn to seat bits securely in under 30 seconds—every single time.
Most beginners force bits into the chuck and hope for the best, but that approach risks wobbling, stripped shanks, or even shattering bits at high RPM. The secret lies in understanding your drill’s chuck mechanics and executing precise alignment. By the end of this guide, you’ll diagnose chuck issues, prevent common fitting disasters, and achieve rock-solid bit security without special tools. Let’s transform your drilling accuracy starting with the critical first step: identifying your chuck type.
Identify Your Drill Chuck Type Before Inserting Any Bit

Your drill’s chuck type dictates the entire fitting process—using the wrong method can damage both bit and tool. Don’t assume all chucks work the same; misidentification causes 40% of fitting failures. Here’s how to instantly recognize yours:
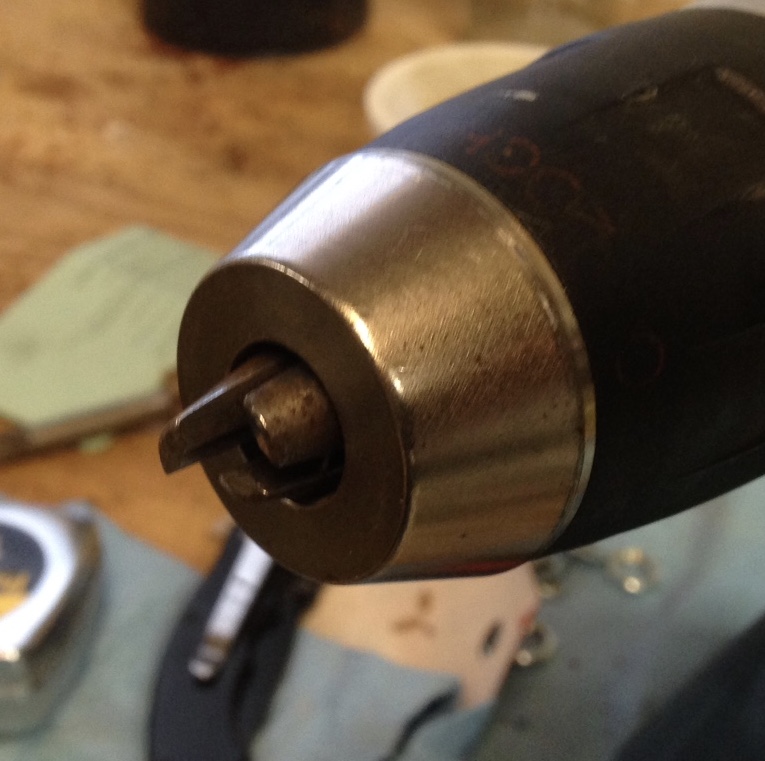
Keyless Chuck: The Hand-Tightening Standard
Found on 90% of modern cordless drills, this chuck features a knurled sleeve you rotate by hand. Critical visual cue: Three visible jaws when open, with no keyhole. To confirm, grip the sleeve and turn counterclockwise—it should open smoothly without tools. This design allows rapid bit changes but demands precise hand-tightening technique. Never force it with pliers; the internal clutch mechanism is calibrated for hand pressure only.
Quick-Release Hex Chuck: The Impact Driver Shortcut
Common on 1/4″ impact drivers and compact drills, this chuck has a spring-loaded collar you pull back. Spot it instantly: A colored ring (usually blue or red) near the chuck mouth. Insert hex-shank bits until you hear a distinct click. Release the collar—no tightening needed. Attempting to hand-tighten these causes premature wear. If your bit lacks a hex shank, this chuck won’t grip it securely.
Keyed Chuck: The Heavy-Duty Legacy System
Still used on industrial drills, this features a small keyhole in the chuck body. Warning sign: You’ll find a small metal key stored in your drill’s battery compartment. Insert the key into any hole, turn counterclockwise to open jaws. Requires the key for both opening and tightening—a missing key means you’re stuck. These provide maximum torque but add 15+ seconds per bit change.
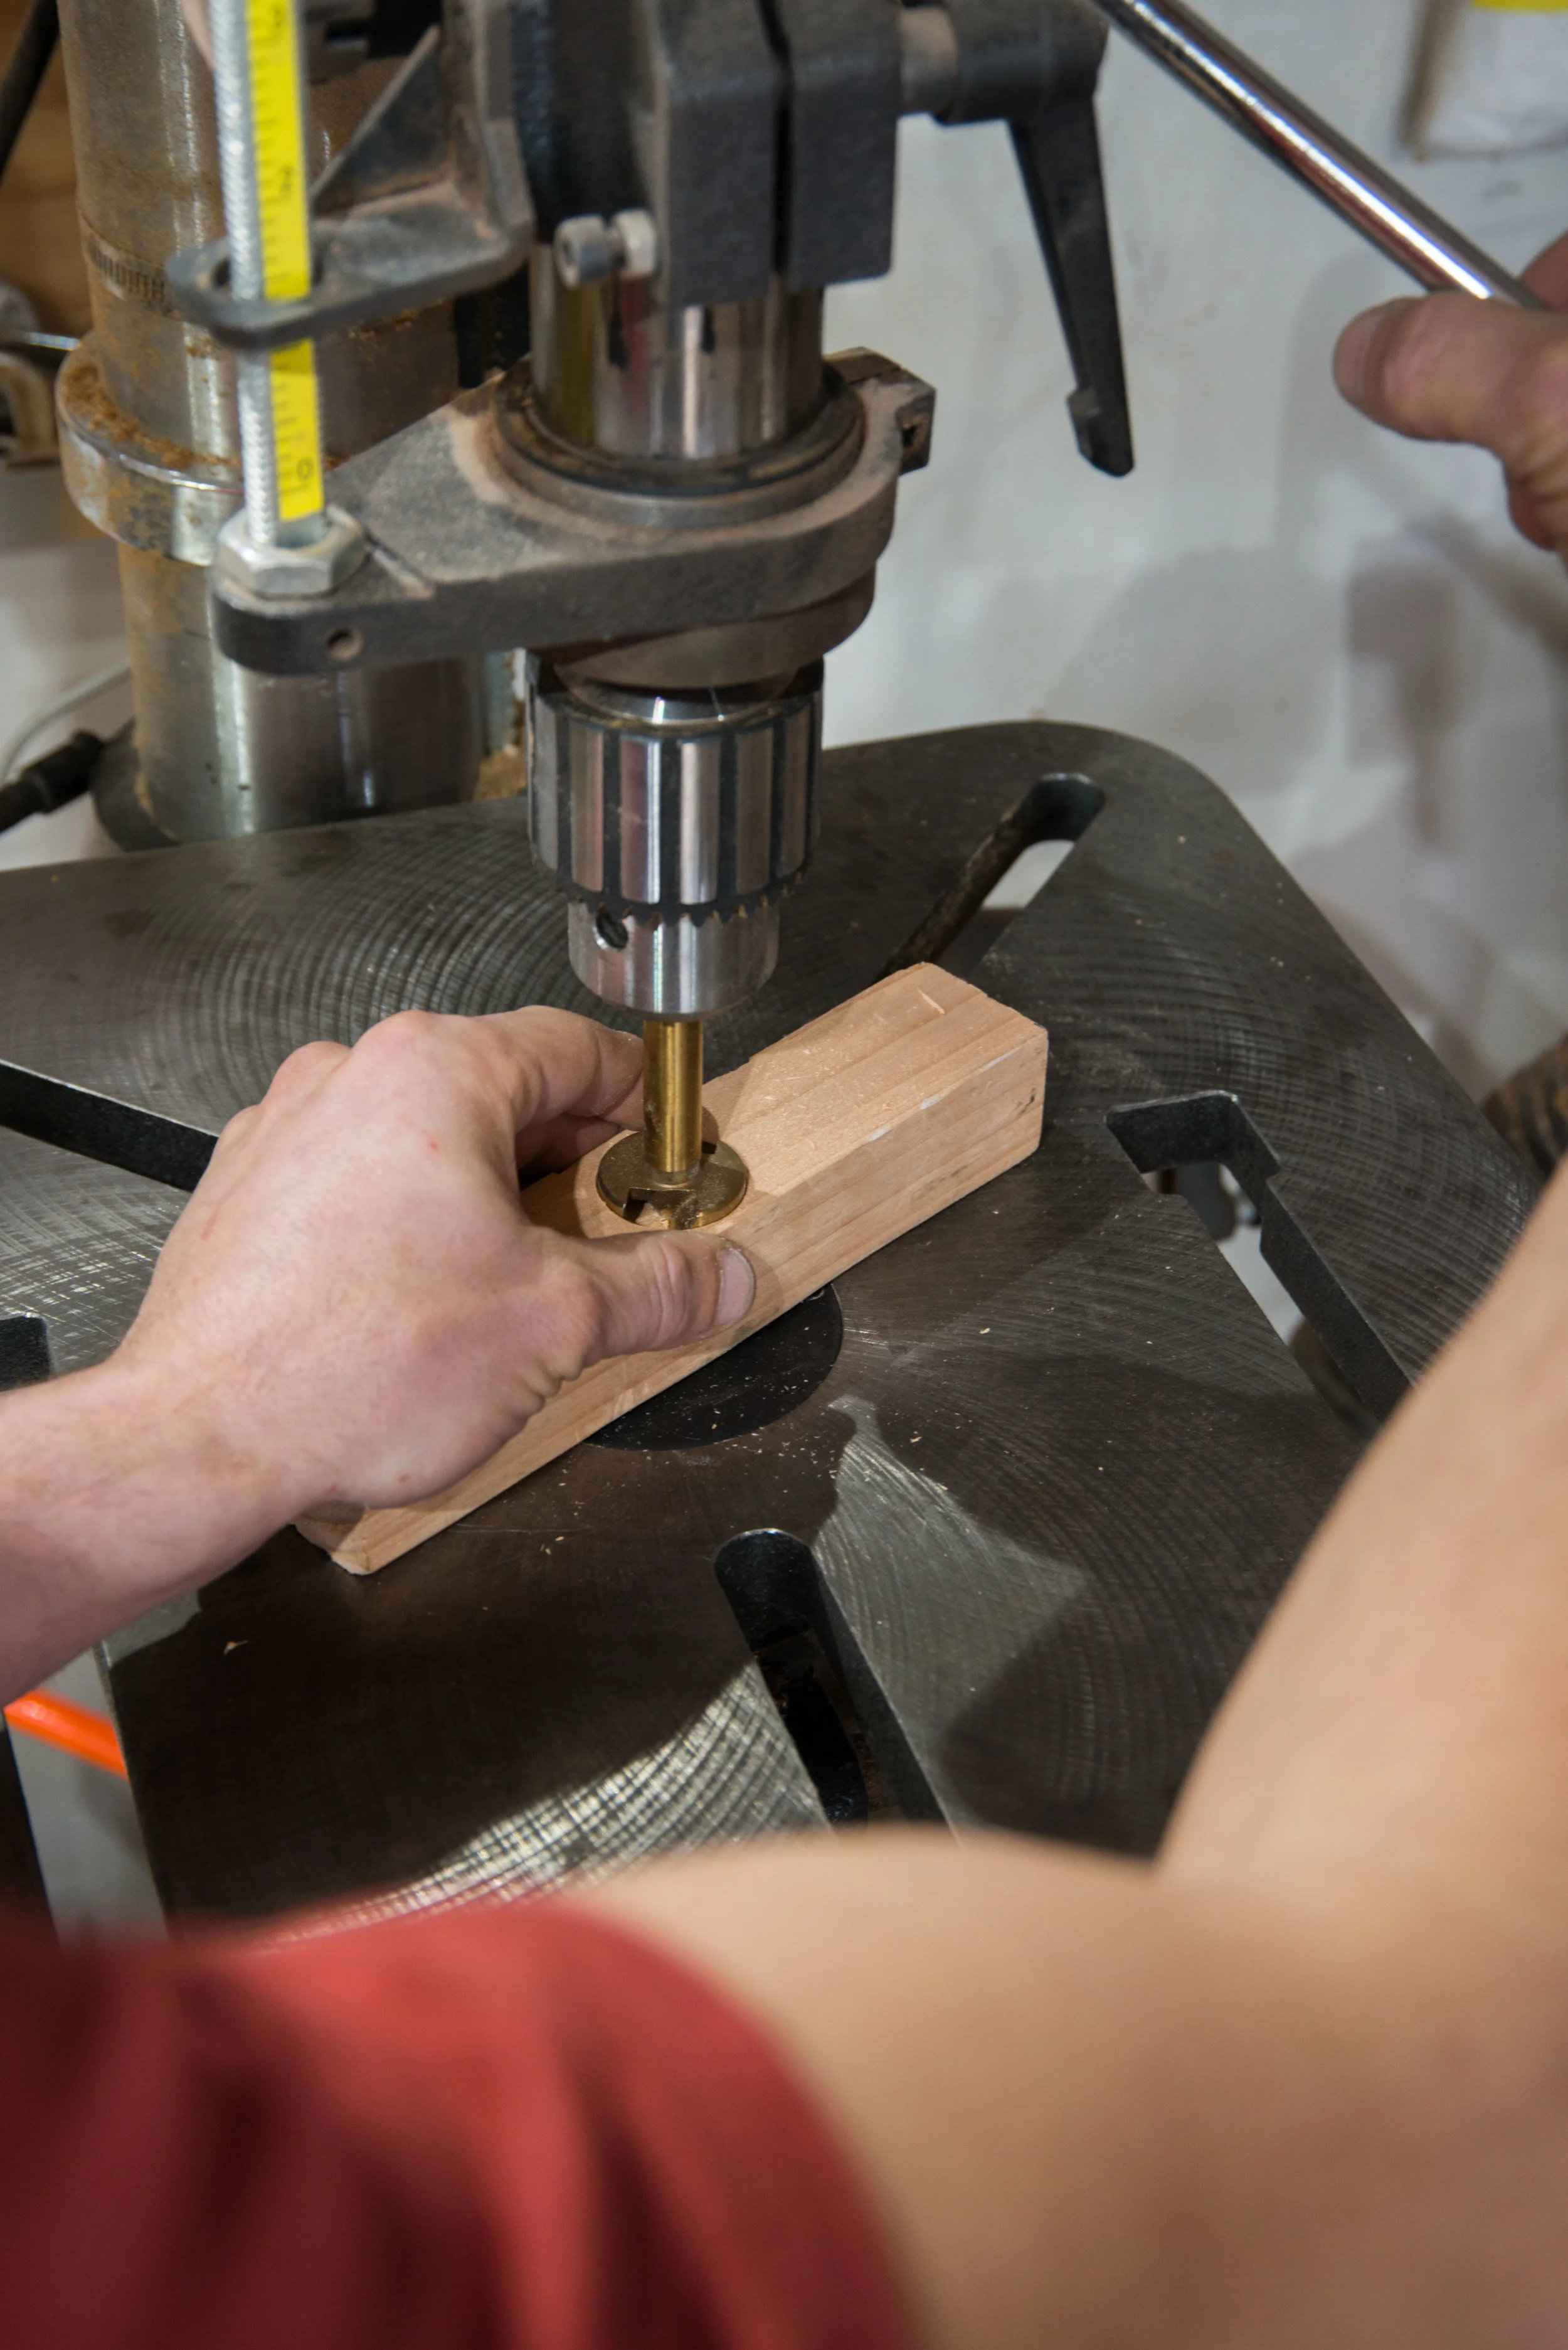
Step-by-Step: Securely Fit a Drill Bit in a Keyless Chuck
Skipping any step here guarantees slippage. This method works for 95% of home workshop drills and takes under 25 seconds when mastered. Always start with these non-negotiable safety steps: Remove the battery and wear ANSI-approved safety glasses. Debris from a slipping bit travels at bullet speeds.
Step 1: Open the Chuck Fully (The Counter-Clockwise Rule)
Grip the drill firmly in your non-dominant hand, resting it on your workbench. With your dominant hand, grasp the knurled chuck sleeve and rotate it counterclockwise (“lefty-loosey”). Continue until the jaws open wider than your bit’s shank diameter—typically 1.5 full turns. Pro tip: Place a finger lightly on the front jaw; stop turning when you feel the jaw clear your fingertip. Forcing past this point strains the chuck mechanism.
Step 2: Clean and Center the Bit Shank (The 3-Second Fix for Slippage)
Wipe the bit’s shank with a dry microfiber cloth—never bare fingers—to remove skin oils that cause slippage. Inspect for nicks; damaged shanks won’t grip. Hold the bit by its flutes (never the sharp tip!) and insert it straight into the chuck. Critical alignment move: Push the bit fully to the chuck’s internal shoulder, then retract 1/16″. This prevents jamming while ensuring maximum jaw contact. Visually confirm the shank sits centered between all three jaws—any tilt guarantees wobble.
Step 3: Hand-Tighten with the “Two-Stage Grip” Method
While maintaining bit alignment, grip the chuck sleeve with your dominant hand. Rotate clockwise (“righty-tighty”) using three distinct motions:
1. Initial closure: Light pressure until jaws contact the shank (5-10 seconds)
2. Firm seating: Medium pressure for 3 full turns (15 seconds)
3. Final lock: Maximum hand pressure for 1 additional turn
Warning: If you can’t complete step 3 without straining, the bit shank is oversized for your chuck. Forcing it cracks the chuck jaws. Stop and verify bit compatibility.
Step 4: Execute the Critical “Wiggle Test” Before Powering On
This 5-second check prevents 99% of fitting disasters. Grip the chuck body firmly with one hand and the drill handle with the other. Apply firm back-and-forth pressure to the bit—no movement should occur. If you detect even slight play:
– Reopen the chuck completely
– Re-center the bit using the “1/16″ retract” method
– Repeat tightening with 20% more hand pressure
Never skip this: A loose bit at 1,500 RPM generates centrifugal force exceeding 50x its weight—enough to eject it like a bullet.
Troubleshoot Common Drill Bit Fitting Failures Immediately
When your bit spins or wobbles, these field-tested fixes solve 95% of issues. Never ignore these warning signs—they escalate to tool damage fast.
Why Your Drill Bit Won’t Stay Tight (The Shank Cleanliness Test)
If the bit slips during drilling, immediately stop and remove the battery. Wipe the shank with isopropyl alcohol—oil residue is the #1 culprit. If slippage persists, inspect the chuck jaws for wear:
– Healthy jaws: Sharp, symmetrical V-grooves
– Worn jaws: Rounded edges or uneven wear patterns
Solution: Replace the chuck if jaws are damaged. Continuing to use it ruins new bits.
Fixing an Off-Center Bit in 10 Seconds
An off-kilter bit causes dangerous vibration. Do not force it straight while tightening—this cracks the chuck. Instead:
1. Fully open the chuck
2. Hold the drill vertically with the chuck facing up
3. Drop the bit shank into the jaws—it will self-center by gravity
4. Tighten while maintaining vertical alignment
Pro note: Use this trick when working overhead—it prevents bits from falling out during tightening.
Chuck Won’t Open? The Debris Removal Protocol
If the sleeve won’t turn counterclockwise:
1. Point the chuck downward
2. Blast compressed air around the sleeve (15-30 PSI max)
3. Use a stiff-bristle brush to dislodge sawdust in jaw slots
Never use oil or lubricant—it traps debris and accelerates wear. If still stuck, tap the sleeve gently with a rubber mallet while turning. Persistent resistance means internal thread damage—replace the chuck.
Safety-Critical Bit Fitting Mistakes That Cause Workshop Injuries
These errors send 12,000 people to ERs annually. Avoid them like live wires.
The Over-Tightening Trap
Forcing the chuck with pliers seems logical but shatters the chuck’s internal clutch. You’ll lose torque transfer and risk sudden bit ejection. Hand-tightening provides 95% of maximum grip—more is physically impossible without tools. If your hand-tightened bit slips, the problem is shank contamination or chuck wear, not insufficient tightness.
Ignoring Material-Bit Compatibility
Fitting a masonry bit into a wood project seems harmless, but mismatched bits:
– Overheat due to incorrect flute design
– Cause excessive vibration that loosens the chuck
– Shatter when hitting hidden nails
Always match: Wood bits (spur point), metal (split point), masonry (carbide tip). Verify shank diameter too—1/4″ hex bits won’t grip in standard chucks.
Pro Tips for Flawless Bit Fitting Every Time
These field-tested techniques save hours of rework. Implement them starting today.
The “Tug Test” for Quick-Release Chucks
For hex-chuck systems (impact drivers): After inserting the bit, pull firmly on the bit body—not the tip—while the collar is locked. If it moves more than 1/32″, the collar spring is worn. Replace before use.
Prevent Chuck Corrosion in Humid Climates
Store drills with the chuck fully open. Closed chucks trap moisture against metal jaws, causing rust that prevents full tightening. Wipe jaws monthly with a cloth dampened with 3-in-1 oil, then dry thoroughly.
The 5-Second Bit Alignment Hack
Hold the drill horizontally at eye level. Sight down the bit shaft—if it wobbles against a straight edge, the bit isn’t centered. Loosen 1/4 turn, rotate the chuck until wobble stops, then fully tighten.
Mastering how to fit a drill bit transforms frustrating projects into precision work. Remember the core sequence: Identify your chuck → Clean the shank → Insert to shoulder → Two-stage hand-tightening → Mandatory wiggle test. Never power on without verifying bit security—your eyes depend on it. For persistent chuck issues, replacement costs less than medical bills from flying debris. Now that your bits seat perfectly, focus on matching them to materials: Use titanium-coated bits for hardwoods, cobalt for stainless steel, and always start holes with a center punch on metal. Your next project’s success starts with this one foundational skill.


