
Monocular pupillary distance (PD) is a critical measurement in modern eyewear fitting, especially for progressive lenses, high prescriptions, and digitally customized optics. Unlike binocular PD—which gives a single total value—monocular PD is typically recorded as two separate measurements: one for each eye. This dual-value format ensures that the optical center of each lens aligns precisely with the individual line of sight, significantly improving visual comfort and clarity.
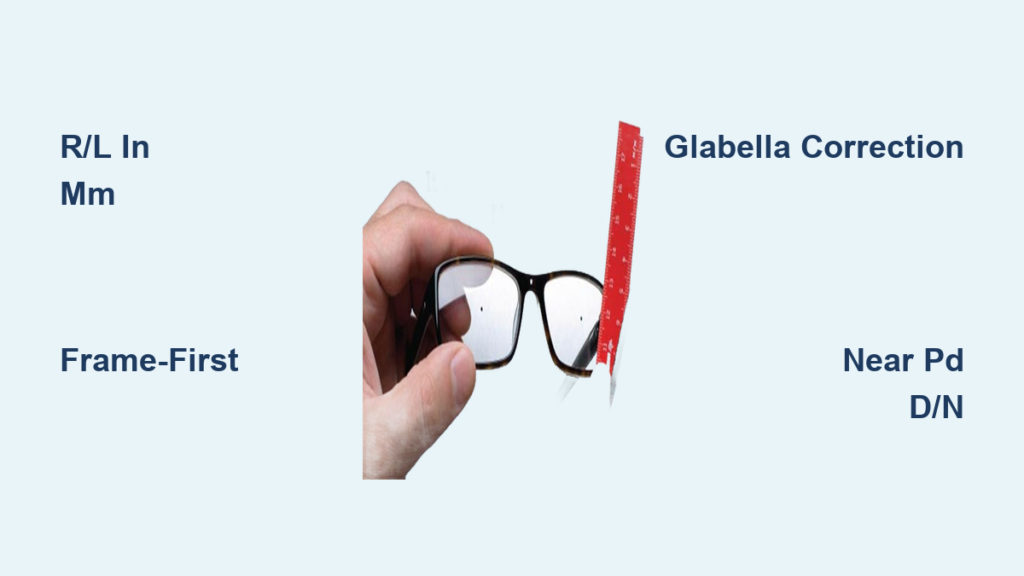
The standard way a monocular PD is recorded is Right Eye / Left Eye (R/L) in millimeters—such as 32/33 or 34/32—and appears directly on prescriptions or lab orders. This notation allows lens manufacturers to properly decenter each lens during production, which is vital for patients with facial asymmetry or complex prescriptions. Understanding how this measurement is taken, formatted, and applied helps avoid dispensing errors and ensures optimal eyewear performance.
Standard Monocular PD Notation Format
R/L Measurement Format Explained
The most common and widely accepted method of recording monocular PD follows the right/left (R/L) convention:
– The first number represents the right eye (OD) measurement
– The second number represents the left eye (OS) measurement
Both values are expressed in millimeters (mm).
For example:
34/33 means:
– Right eye: 34 mm from the center of the pupil to the bridge center
– Left eye: 33 mm from the center of the pupil to the same reference point
This format accounts for natural facial asymmetry. Even a 1–2 mm difference between eyes can affect lens performance—especially in progressive lenses or high-powered prescriptions—where optical precision is paramount.
Distance vs. Near PD Designations
While most prescriptions use distance monocular PD, some include both distance and near values:
– 34/33 D, 32/31 N indicates:
– Distance PD: 34 mm (OD), 33 mm (OS)
– Near PD: 32 mm (OD), 31 mm (OS)
The “D” stands for distance vision (used for driving, watching TV, etc.)
The “N” stands for near vision (reading, computer work)
Near PD is always smaller than distance PD due to eye convergence when focusing up close. However, dual notation is less common unless specifically needed for multifocal lens designs or custom digital lenses.
Proper Measurement Before Recording

Frame-First Adjustment Rule
A correct monocular PD cannot be measured without the frame. It’s not purely anatomical—it’s frame-dependent, based on how the glasses sit on the patient’s face.
Steps:
1. Select and adjust the chosen frame to fit the patient properly
2. Ensure symmetrical pad contact, level alignment, and no tilt
3. Only then proceed with measurement
Measuring before adjusting the frame leads to inaccuracies, especially in patients with facial asymmetry or postural head turns.
Marking the Bridge Center
To record accurate monocular PD:
1. Use a marking pen or alignment tool to place a dot at the center of the bridge on the fitted frame
2. Align the patient’s pupils with a distant fixation point (e.g., eye chart)
3. Measure from the center of the right pupil to the marked bridge point
4. Repeat for the left pupil
This method ensures the optical center will align with the visual axis through the actual lens plane.
Pupillometer Use and Glabella Correction
Reading Pupillometer Output Correctly
Digital pupillometers often display monocular PD directly, but they rely on a glabella reference point—the midpoint between the eyebrows, just above the nose.
Many devices have a raised marker indicating where the glabella should align. If the frame shifts the reference:
– Place an arrow sticker on the frame at the device’s center mark
– After measurement, check if the sticker aligns with the patient’s actual glabella
Applying Positional Corrections
If the sticker is misaligned, apply correction:
– Sticker 2 mm to patient’s right?
→ Add 2 mm to right PD, subtract 2 mm from left
– Sticker 2 mm to patient’s left?
→ Subtract 2 mm from right, add 2 mm to left
This adjustment compensates for frame positioning errors and ensures true monocular PD reflects functional gaze, not just anatomy.
Why Monocular PD Matters in Lens Design
Critical for Progressive and High-Power Lenses
Monocular PD is essential for:
– Progressive Addition Lenses (PALs) – Ensures smooth transition across zones
– High prescriptions (+6.00 or –6.00 and above) – Prevents distortion and thickness
– Aspheric and free-form lenses – Requires precise decentration data
Even if total binocular PD is correct (e.g., 66 mm), unequal monocular PDs (e.g., 30/36) can cause:
– Misaligned optical corridors
– Visual discomfort or eye strain
– Poor near-vision performance
– Patient dissatisfaction
Avoiding Decentration Errors
Incorrect monocular PD leads to improper lens decentration, meaning the thickest part of the lens may not align with the pupil. This causes:
– Cosmetic imbalance (one lens thicker than the other)
– Weight disparity
– Increased magnification/minification effects
– Induced prism (especially in anisometropic cases)
Proper recording prevents these issues by guiding lab technicians in centering each lens accurately.
Facial and Postural Factors Affecting Recording
Accounting for Facial Asymmetry
Not all faces are symmetrical. Common variations include:
– Nose deviated to one side
– One eye closer to the midline
– Unequal orbital depth
These require individualized monocular PDs, even if the total PD seems balanced. For example:
– Nose shifted right → Frame sits right → Left monocular PD increases, right decreases
– Requires pad adjustments and accurate marking before recording
Handling Head Turns (Cervical Posture)
Some patients naturally hold their head turned due to neck conditions or habit (“cape posture”). This affects line-of-sight.
How to detect:
– Observe head position while patient reads an eye chart
– Ask them to hold a reading card naturally
– Review driver’s license photo for habitual posture
Rule: Record monocular PD based on functional gaze, not anatomical symmetry. The eyes should look straight ahead through the lens, regardless of head orientation.
Near Monocular PD: When and How It’s Recorded
Near PD Is Not Fixed
Unlike distance PD, near monocular PD varies depending on:
– Working distance (e.g., 25 cm, 40 cm)
– Vertex distance (lens-to-cornea gap)
– Pantoscopic tilt
– Degree of convergence
For example:
– A patient with a 64 mm distance PD may have a near PD of 58 mm at 40 cm
– With increased vertex distance (e.g., 17.4 mm at downward gaze), near PD drops further
Estimating Near Monocular PD
Use standard reduction tables when direct measurement isn’t possible:
| Distance PD | Near PD (40 cm) |
|---|---|
| 60 | 56 |
| 62 | 58 |
| 64 | 60 |
| 66 | 62 |
| 68 | 63.5 |
For precision, measure near PD directly using a near fixation target at the patient’s typical reading distance.
Pantoscopic Tilt and Its Impact on Recording
Tilt Changes Effective PD
Pantoscopic tilt—the downward angle of the lens—affects how the eyes view through the lens during near tasks.
Higher tilt:
– Widens reading zone in progressives
– Increases effective separation of lines of sight
– May require slight adjustment in near PD
Lower tilt:
– Narrows usable near area
– Can force chin-up posture
For free-form lenses, always record:
– Pantoscopic tilt (in degrees)
– Vertex distance
– Frame wrap angle
These inputs allow labs to optimize lens design for real-world wear, improving performance beyond what monocular PD alone can achieve.
Case Example: Recording with High Plus Lenses

Problem: Unequal Monocular PD Causes Imbalance
Patient:
– Full PD: 64 mm
– Measured monocular PD: 30/34
– Prescription: +8.00 OU
– Frame: 56-18-140
Outcome:
– Right lens: 7 mm inward decentration → thick and heavy
– Left lens: 3 mm inward decentration → thinner
– 25% weight difference → patient refused glasses
Solution: Adjust Recorded Monocular PD
Instead of using anatomically measured 30/34:
– Use equalized monocular PD: 32/32
– Keeps total PD at 64 mm
– Balances decentration (5 mm each side)
– Reduces thickness and weight disparity
Patient accepted new pair with minimal adaptation (needed only a 4° head turn).
Lesson: In extreme prescriptions, modifying recorded monocular PD improves wearability—if total PD is preserved.
Always document rationale and obtain consent when adjusting from measured values.
Best Practices for Recording Monocular PD
Step-by-Step Protocol
- Fit the frame first – Adjust pads, temple tension, and alignment
- Mark bridge center – Use pen or sticker on lens rim
- Align patient’s gaze – Fixate on distant target
- Measure each eye separately – From pupil center to mark
- Apply glabella correction – If using pupillometer with offset
- Record clearly – e.g., “Monocular PD: 33/32” or “OD 33, OS 32”
- Add near PD if needed – Especially for PALs
- Note posture or asymmetry – For lab reference
Lab Communication Tips
On prescriptions or lab orders:
– Use “Mono PD” or “Monocular PD” label
– Avoid ambiguous terms like “PD: 65 (33+32)” — use “33/32”
– Specify D/N if both are provided
– Include pantoscopic tilt, vertex distance, and frame PD for digital lenses
Clear communication prevents misunderstandings and ensures optimal lens fabrication.
Final Answer: How Is a Monocular PD Usually Recorded?
Monocular pupillary distance is usually recorded in the format: Right Eye / Left Eye (R/L) in millimeters, such as 34/33 or 32/34. This notation reflects the individual distance from each pupil to the center of the nasal bridge, measured on a properly fitted frame.
It is most often used for:
– Progressive lenses
– High prescriptions
– Asymmetric facial features
– Digital/free-form lens designs
Additional details like D/N designation (distance/near), pantoscopic tilt, and postural notes may accompany the recording for enhanced accuracy. While the R/L format is standard, clinicians may adjust values—especially in high-power lenses—to balance lens thickness and improve patient acceptance, provided the total binocular PD remains unchanged.
Accurate recording of monocular PD is not just about numbers—it’s about aligning optics with function, ensuring comfort, clarity, and long-term satisfaction with prescription eyewear.


