
You’ve found the perfect quartz crystal for your next pendant, but that smooth surface needs a clean hole for stringing. Drilling quartz for jewelry feels intimidating—after all, this 7 on the Mohs scale mineral can shatter if you apply wrong pressure or skip cooling steps. I’ve seen countless crafters ruin beautiful specimens by rushing the process or using dull bits. But with the right approach, you can create professional-grade holes in amethyst, citrine, or clear quartz without cracks or chips. This guide reveals field-tested methods from professional lapidaries, covering exact RPM settings, coolant tricks that prevent blowout, and why starting with a 0.5mm pilot hole saves your $50 cabochon. You’ll learn to drill quartz safely at home with basic tools while avoiding the top mistake that causes 80% of quartz fractures.
Critical Tools for Flawless Quartz Drilling

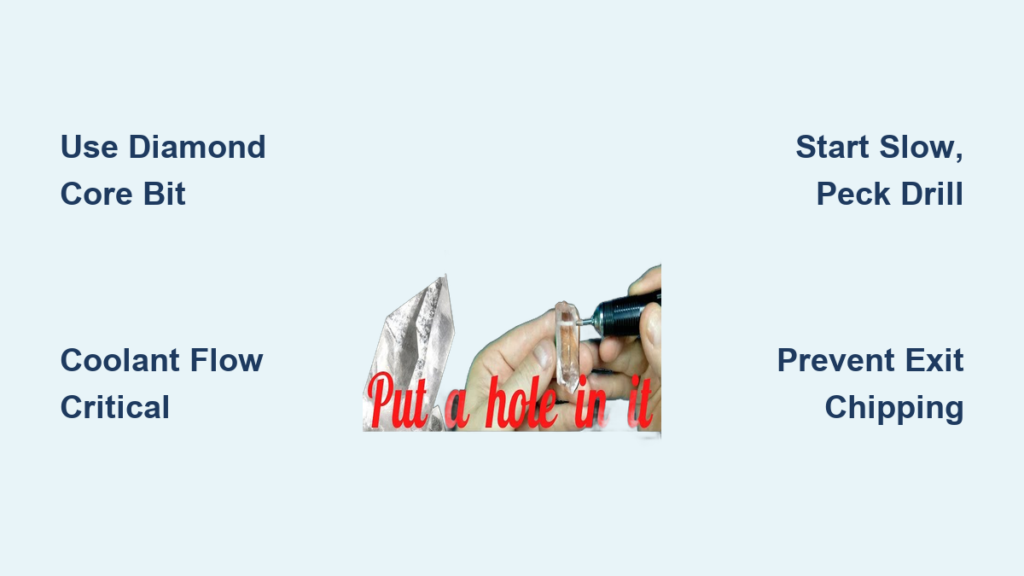
Skip generic “tools you’ll need” lists—your success hinges on these quartz-specific essentials. A variable-speed Dremel 4300 (or Foredom SR) is non-negotiable; fixed-speed tools crack quartz instantly. Set it between 500-15,000 RPM depending on bit size—tiny 1mm bits need 10,000 RPM, while 3mm bits require just 2,000 RPM. Pair it with electroplated diamond core bits (not solid!), which last 50-100+ holes in quartz versus sintered bits’ 10-20 holes. The hollow center (1.0-3.0mm ID) clears abrasive slurry that otherwise overheats the stone.
Your coolant system must be fail-proof: a submersible pump circulating water through tubing directly onto the drill point, or at minimum a gravity-fed drip bottle. Water alone works, but adding 3-in-1 oil at 50/50 ratio reduces friction dramatically. Pair this with precision workholding—a vise lined with leather or a wax pot that immerses the quartz while drilling. Never skip NIOSH-approved respirator (N95 minimum) and ANSI Z87.1 safety glasses; quartz dust contains carcinogenic crystalline silica. For under $150, the budget setup (Dremel 4300 + drill press stand + 20pc diamond bit set) outperforms pricier tools with wrong accessories.
Why Hollow Core Bits Prevent Catastrophic Failures
Solid diamond bits clog within seconds when drilling quartz, trapping heat that causes thermal shock fractures. Hollow core bits solve this by channeling slurry outward. When selecting bits, check for visible diamond coating—if you see more metal shaft than grit, replace it immediately. For beads under 4mm thick, start with a 1.5mm electroplated bit; for 8mm cabochons, use a 2.0mm bit. Pro jewelers swear by Grobet brand hollow cores for consistent hole sizing, though mid-range sets like Diamond Drill Bits Pro Series work for beginners. Always store bits upright in individual foam slots to prevent coating damage.
Mastering the Quartz Drilling Process: Avoid Costly Mistakes
Forget vague “begin drilling” advice—these exact steps prevent shattered crystals. Quartz’s conchoidal fracture pattern means one error ruins your piece. Follow this sequence religiously.
Step 1: Perfect Alignment and Marking Technique
Clamp quartz in a vise with leather padding, ensuring zero movement. Use a diamond-tipped scribe (not a nail punch!) to etch a crosshair at your drilling point, then create a 0.5mm dimple by pressing firmly at 45 degrees before leveling to 90 degrees. This dual-angle technique prevents “bit walk” that scratches expensive specimens. Verify alignment with a loupe—any deviation over 2 degrees causes uneven pressure and cracks. For irregular shapes, secure in sticky wax pot submerged in water, allowing 360-degree rotation.
Step 2: Non-Negotiable Coolant Setup
Position your drip system so water flows directly into the hole, not just over the surface. Test flow by drilling scrap quartz—if the slurry appears thick and pasty (not milky), increase drip rate. For beads, drill while fully submerged in a water-filled container. Never use oil-based coolant alone; quartz dust binds with oil, creating grinding paste that wears bits 3x faster. A pro trick: add 1 teaspoon vinegar to 1 cup water—the mild acid dissolves silica buildup during drilling.
Step 3: Precision Drilling Sequence for Zero Cracks
Start at 500 RPM with feather-light pressure (1-2 lbs force—imagine pressing a button). After 5 seconds, increase to 1,500 RPM for 2-4mm holes. Use strict peck-drilling: 2 seconds drilling, 3 seconds retracting to clear slurry. At 1mm depth, switch to “inchworm” motion: advance 0.5mm, pause 1 second, repeat. This prevents heat buildup at critical depths where quartz often fractures. When approaching the backside (within 1mm), reduce pressure by 50% and slow to 800 RPM. For thick pieces (>10mm), drill 70% through, flip, and complete from the other side.
Step 4: Clean Exit Hole Technique
Blowout at the exit point ruins 90% of novice attempts. Prevent this by placing scrap acrylic sheet behind the quartz or using a delrin backing block. As the bit breaches through, you’ll feel resistance drop—immediately ease pressure and slow RPM. For beads, drill halfway from each end using matching center punches. Never force breakthrough; let the bit “find” the exit naturally. If using a flex shaft, brace your elbow against your hip for micro-pressure control.
Step 5: Professional-Grade Hole Finishing
Rough edges will shred silk cords. Deburr by inserting a diamond needle file into the hole and rotating clockwise with light pressure. For stringing holes, create a 0.5mm chamfer at both entrances using a 30-degree diamond cone bit at 5,000 RPM. Polish the bore with diamond-impregnated cord (like Flexcut) to prevent cord wear. Test hole smoothness by pulling a nylon thread through—if it snags, repeat deburring. Store finished pieces in labeled containers to avoid cross-contamination with metal files.
Proven Quartz Drilling Shortcuts That Save Time

Optimize Bit Speed for Your Specific Quartz Type
- Clear quartz: Drill at 100% recommended RPM (e.g., 8,000 RPM for 2mm bit)
- Amethyst/citrine: Reduce speed by 25%—these varieties fracture easier
- Smoky quartz: Cut RPM in half and double coolant flow due to hidden fractures
- Rutilated quartz: Use brand-new bits; inclusions snag bits causing sudden breaks
Emergency Bit Refresh Protocol
When progress slows, don’t force it—clean the bit immediately. Dip in vinegar-water solution while spinning at 5,000 RPM for 10 seconds. This dissolves silica glaze that clogs diamond grit. For severe loading, use a brass brush under running water. Never use steel brushes—they strip diamond coating.
30-Second Practice Drill for New Pieces
Before touching your valuable stone, drill a 5mm hole in scrap quartz using identical settings. Note:
– Time to penetrate 3mm depth
– Slurry consistency (should be milky white)
– Any vibration or resistance changes
Adjust RPM/pressure based on this test—quartz hardness varies even within the same batch.
Fix These 5 Quartz Drilling Disasters Immediately

“My quartz cracked during drilling—can I save it?”
Cause: Usually excessive pressure (>2 lbs) or interrupted coolant flow. Solution: Stop drilling instantly. If crack is small, grind it smooth with 600-grit sandpaper before continuing. For large cracks, repurpose the piece as a chip in resin jewelry. Prevention: Use a depth gauge on your drill stand—never advance more than 0.5mm per pass.
“Drill bit won’t bite and just skates across the surface”
Cause: Inadequate center punch depth or oily stone surface. Solution: Clean quartz with isopropyl alcohol, then make a deeper dimple using 90-degree scribe pressure. Start drilling at 45 degrees for 3 seconds to create a groove, then slowly tilt to 90 degrees. If still slipping, lightly “tick” the bit against the dimple at 300 RPM until it catches.
“Hole is smoking and quartz feels hot”
Cause: Coolant failure or RPM too high for bit size. Critical action: STOP DRILLING NOW. Let stone cool for 5 minutes in water. Check tubing blockages—kinks in drip lines cause 70% of overheating. Restart at 50% lower RPM with doubled coolant flow. Discard any quartz showing bluish discoloration (permanent thermal damage).
“Exit hole has ugly chipping”
Cause: No backing material during breakthrough. Fix: For future pieces, always use acrylic backing. On damaged pieces, grind the chipped area flat with a diamond wheel, then reposition the hole. Prevention tip: When 1mm from exit, place your finger behind the quartz—if you feel vibration, slow RPM by 30%.
“Diamond bit stopped cutting after 3 holes”
Cause: Bit loading from insufficient cleaning or wrong coolant. Revive it: Soak in vinegar solution for 10 minutes while spinning at 3,000 RPM. If unresponsive, replace—quartz dust wears bits faster than other stones. Pro tip: Track bit usage in a notebook; electroplated bits typically fail after 70 holes in clear quartz.
Drilling quartz for jewelry demands respect for its crystalline structure but rewards patience with stunning results. Start with $5 specimens to master pressure control before drilling valuable amethyst. Always prioritize coolant flow over speed—rushing causes irreversible cracks. After each session, clean bits with vinegar solution and record your successful settings for that quartz variety. Within 10 practice drills, you’ll develop the micro-pressure sensitivity needed for flawless holes. Remember: the perfect quartz pendant begins not with the polish, but with a single, precisely drilled hole. When in doubt, slow down, add more water, and let the diamond do the work—your future jewelry will thank you.


