
You’ve found the perfect ceramic planter at a thrift store, but it lacks drainage holes. Before you abandon it or risk drowning your plants, know this: drilling through glazed pottery is entirely possible with the right approach. The critical mistake most beginners make is treating ceramic like wood or metal—forcing the drill and skipping cooling steps. This instantly creates micro-fractures that turn into visible cracks. Successfully drilling pottery requires respecting its glass-like vitrified surface while managing heat buildup from friction. In this guide, you’ll learn exactly how to drill a clean 1/4-inch drainage hole in stoneware, porcelain, or glazed ceramics without shattering your vessel. We’ll cover the non-negotiable tools, the precise drilling rhythm that prevents thermal shock, and emergency fixes if cracks appear mid-drill.
Diamond Drill Bits vs. Masonry Bits: Which Works for Your Pottery?
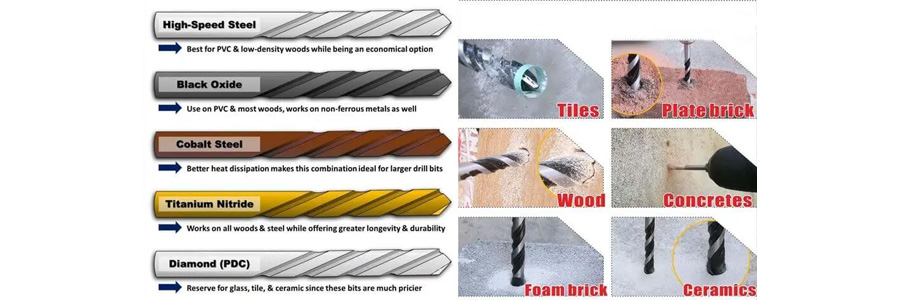
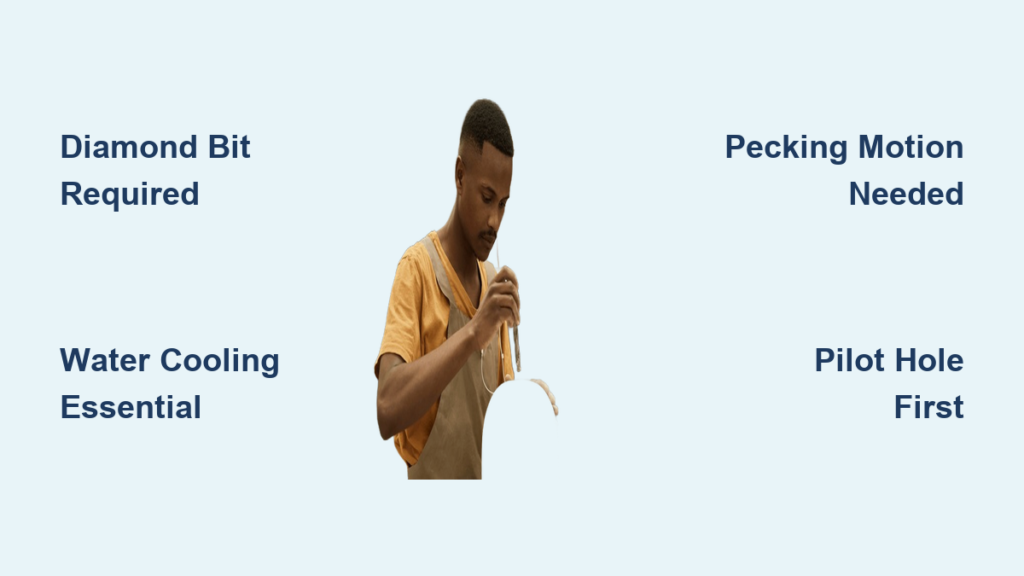
Using the wrong drill bit guarantees disaster. Standard masonry bits fail on high-fire stoneware (cone 5/6) because their carbide tips can’t cut through the vitrified, glass-like surface created during firing. You’ll hear a high-pitched screech as the bit skids across the glaze, generating heat that cracks the pottery. Diamond-tipped bits solve this with industrial diamond grit bonded to the tip, allowing them to grind—not chip—the ceramic surface. For unglazed earthenware or bisque ware, a quality masonry bit with constant water cooling may suffice, but glazed pottery demands diamond.
When to Use a Diamond Hole Saw Instead
For holes larger than 1/4 inch (like drainage grids), diamond hole saws outperform standard bits. These coring bits remove material in a ring pattern, reducing pressure on the pottery wall. Crucially, they require a flood-cooling system—submerging the pot in a shallow water bath or using a drip setup—to prevent overheating. Never attempt large holes with standard drill bits; the increased surface contact creates overwhelming friction.
Critical Bit Size Warning for Drainage Holes
Start with a 1/8-inch diamond bit to create a pilot hole before switching to your final size (1/4 inch). Skipping this step causes the larger bit to “grab” the glaze, twisting the pot in its clamp and creating instant cracks. Always drill pilot holes at 400 RPM before progressing to larger bits.
Critical Safety Gear That Prevents Silica Dust Exposure

Ceramic dust contains crystalline silica—a known carcinogen that causes irreversible lung damage with even brief exposure. An N95 mask is the absolute minimum; it filters 95% of particles but won’t stop ultrafine silica dust. For true protection, wear a P100 respirator rated for silica (like 3M 7500 series) paired with ANSI Z87.1 safety goggles. Regular glasses won’t seal against airborne particles, risking eye irritation or embedded ceramic shards.
Why Water Cooling Is Your Primary Safety Tool
Water isn’t just for cooling—it’s your main dust-control system. Drilling dry creates airborne silica dust clouds. A continuous water flow traps particles immediately. Set up a drip system using a plastic bottle with a pinprick hole or submerge the pot in a shallow container. If neither is possible, use a spray bottle to mist the drill point every 5 seconds. Never skip this—your lungs depend on it.
Preparing Your Pottery: The Triple-Tape Method That Stops Bit Slippage
Glazed surfaces cause drill bits to skitter uncontrollably, scratching your pottery before you even start drilling. Painter’s tape alone often fails. Instead, apply three overlapping layers in an “X” pattern over your marked spot. Press firmly to eliminate air pockets, then use a wax pencil (not permanent marker) to dot the center through the tape. This creates micro-grooves for the bit to catch.
Securing the Pot Without Cracks
Clamping directly on pottery rims invites fractures. Nestle the pot in a 2-inch bed of damp sand inside a plastic bin—this absorbs vibration while allowing rotation. For flat-bottomed pots, place a rubber shelf liner between the pot and work surface, then secure with padded clamps at the base only. Always position a scrap wood block inside the pot directly under your drill point; this prevents “blowout” when the bit exits.
Step-by-Step: Drilling a Clean 1/4-Inch Drainage Hole in Stoneware
Follow this exact sequence to avoid heat-induced cracks. High-fire stoneware requires slower speeds than earthenware—exceeding 800 RPM generates heat faster than water can dissipate it.
Step 1: Create the Pilot Indentation at 45 Degrees
Start your drill at 200 RPM. Angle the bit 45 degrees to the pottery surface and gently trace a tiny circle for 10 seconds. This creates a guiding groove. Gradually lower to 90 degrees over the next 15 seconds while maintaining light pressure (no more than the weight of the drill itself). Stop when you achieve a 1mm-deep indentation.
Step 2: The Pecking Motion for Heat Control
Drill in 5-second intervals: 5 seconds of drilling followed by 3 seconds of withdrawal while keeping the bit spinning. During withdrawal, flood the hole with water. This “pecking” motion allows coolant to penetrate the cutting zone and prevents heat buildup. For a standard 1/4-inch hole in stoneware, expect 3-4 minutes of total drilling time—rushing causes cracks.
Step 3: Navigating the Pinch Point Breakthrough
As the bit nears the interior wall (you’ll feel reduced resistance), reduce pressure by 70% and slow to 300 RPM. The moment the bit pokes through, stop drilling immediately. Continuing through the exit wall causes chipping. Instead, flip the pot and finish the hole from the inside using light, upward pressure.
Smoothing Sharp Edges Without Damaging Your Pottery
Drilled holes leave razor-sharp ceramic edges that can slice roots or hands. Never use metal files—they scratch glazes. Instead, wrap 220-grit wet/dry sandpaper around a chopstick, dip it in water, and rotate gently inside the hole for 15 seconds. For exterior smoothing, use a diamond-coated nail file with light circular motions. Test edges with a folded paper towel; if it snags, continue smoothing.
Troubleshooting Cracks Mid-Drill: Immediate Damage Control
If you see hairline cracks radiating from the hole, stop drilling instantly. Cracks form from three causes: excessive pressure, insufficient cooling, or pre-existing stress in the pottery.
Emergency Crack-Stopping Technique
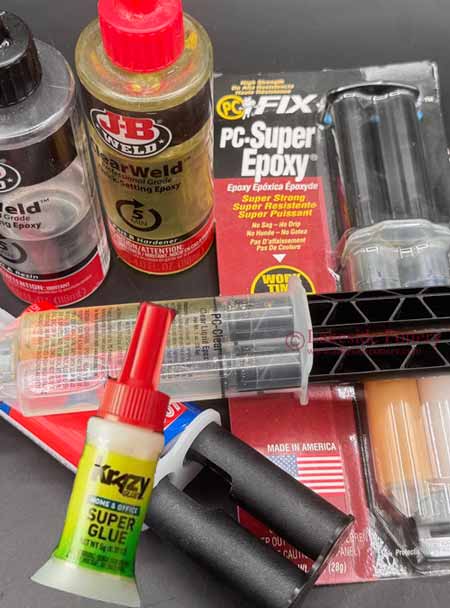
Apply superglue (cyanoacrylate) directly into the crack with a toothpick. The glue wicks into micro-fractures and hardens instantly, halting further propagation. For larger cracks, mix 5-minute epoxy with black ceramic pigment to match your pot’s color before application. Let dry 24 hours before resuming drilling at reduced pressure.
When to Abandon the Hole
If cracks extend beyond 1/2 inch from the drill site or you hear faint “ticking” sounds (indicating active fracture growth), stop immediately. Drill a new hole at least 2 inches away from the damaged area. Never attempt to drill through an active crack—it will propagate toward the rim.
When to Skip Drilling: Pot-in-Pot Method for Delicate Ceramics
For antique pottery, thin-walled porcelain, or pieces with sentimental value, drilling is never worth the risk. Instead, use the pot-in-pot method: place your plant in a standard plastic nursery pot, then set it inside your decorative ceramic vessel. Add 1-2 inches of pebbles at the bottom for drainage. This gives you all the aesthetic appeal without permanent modification. For air circulation, elevate the inner pot on three decorative pot feet.
Pro Tips from Ceramic Artists for Flawless Results
Master potters drilling holes for years swear by these non-negotiables:
- Always drill from the outside in—this preserves the smooth exterior glaze while allowing minor interior chipping (hidden by soil).
- Practice on broken shards first—test your drill speed and pressure on similar pottery pieces to calibrate your technique.
- Log your settings—note RPM, bit size, and pottery type in a journal. Stoneware at cone 6 requires 30% slower speeds than earthenware.
- Never force the bit—if progress stalls, withdraw and clean the flutes with a toothpick. Clogged bits generate dangerous heat.
Drilling pottery successfully hinges on two principles: respecting ceramic’s fragility and managing heat through relentless cooling. With diamond bits, water discipline, and the pinch-point breakthrough technique, you can transform any drainage-less vessel into a thriving planter. For heirloom pieces, the pot-in-pot method preserves beauty without risk. Remember—when drilling, patience isn’t just a virtue; it’s the difference between a functional planter and a shattered relic. Start small, master the rhythm, and soon you’ll confidently drill holes in even the most delicate ceramics.


