
You’re tightening a screw into hardwood when suddenly—crack—the wood splits along the grain. Or worse, the screw head strips after three turns, leaving you stuck with a ruined project. These frustrating failures happen to 78% of DIYers who skip one critical step: drilling the correct pilot hole. The secret isn’t in the screw itself but in the precise drill bit size that matches your screw’s shank diameter and material density. This guide reveals the exact methodology professionals use to select drill bits for any screw—whether you’re working with pine, oak, sheet metal, or concrete—so you get split-free, rock-solid joints every time. You’ll learn the universal 90% rule, material-specific adjustments, and how to test your bit choice in under 30 seconds using just your eyes.
Why Your Wood Splits When Driving Screws (And How a Pilot Hole Fixes It)
Driving screws directly into wood creates immense outward pressure called hoop stress. As the screw threads wedge into the material, they push wood fibers apart until they snap—especially near edges or in dense hardwoods. A properly sized pilot hole eliminates this by removing the core material where the screw shank will sit, allowing threads to cut cleanly into the pre-formed hole walls. This isn’t just about preventing splits; it reduces driving force by up to 50%, prevents cam-out (stripped heads), and ensures screws sit flush without wobbling.
The Science Behind Split-Free Screw Joints
Wood splitting occurs when the screw’s shank diameter exceeds the wood’s tensile strength. Pilot holes work because they match the drill bit size to the screw’s unthreaded core—the part that creates pressure as it enters. When the hole diameter is 80-95% of this shank size, threads engage optimally with the hole walls. Too small, and wood fibers compress until they fracture; too large, and threads spin without grip. Hardwoods like maple require larger holes (90-95% of shank) because their dense fibers resist compression, while softwoods like pine need tighter holes (80-85%) since they compress more easily.
What Happens When You Skip the Pilot Hole
Without a pilot hole, screws act like wedges forcing wood apart. In end grain (like the end of a 2×4), splitting is almost guaranteed because fibers run parallel to the screw. Even in face grain, hardwoods will crack within 1-2 inches of board edges. You’ll also experience increased driving resistance, causing screw heads to strip when your drill slips out of the recess. The solution isn’t just “drill a hole”—it’s drilling the exact size that balances grip and stress relief.
Apply the 90% Rule: Drill Bit Size Formula for Perfect Screw Grip

Forget guessing or memorizing charts. The universal rule for wood screws is simple: your drill bit diameter should be 80-95% of the screw’s shank diameter. This sweet spot lets threads bite firmly while preventing splitting. The shank is the smooth, unthreaded core below the screw head—not the wider thread diameter. For example, a #8 wood screw has a 3.3mm shank but 4.2mm threads. Using a bit sized for the threads (too big) causes weak grip; sizing for the shank (too small) risks splits.
Measuring Your Screw Shank Without Calipers
Don’t own calipers? Use these field-tested methods:
– Coin Test: Place a penny behind the screw shank. If the shank covers the penny’s width (19mm), you’re dealing with a #10+ screw. A dime (18mm) fits #8 screws.
– Screw Packaging Clue: The gauge number (#6, #8, etc.) correlates to shank size. #6 ≈ 2.7mm, #8 ≈ 3.3mm, #10 ≈ 3.8mm.
– Visual Comparison: Hold the screw against common drill bits (1/8″, 3/16″). The correct bit will be barely visible behind the shank.
Why Shank Diameter Trumps Thread Size Every Time
Many beginners size bits based on thread diameter—the widest part of the screw. This guarantees failure because threads are designed to cut into material, not ride in open space. If your bit matches the thread size (e.g., 4.2mm for a #8 screw), the shank won’t have enough wood to compress against, causing weak hold. Always reference the smooth core diameter where the screw’s structural strength resides.
The Visual Fit Test: Check Your Drill Bit Without Measuring

Skip the math with this foolproof 10-second test. Hold your screw horizontally with the threads facing you. Place the drill bit vertically behind it so the bit’s shaft aligns with the screw’s threaded section—not the tip or head. Now observe:
How to Read the Visual Fit Test Results
- Perfect Fit: Threads protrude slightly on both sides of the bit. You see a thin sliver of thread but the bit’s shaft is mostly covered. Example: A #8 screw over a 1/8″ bit shows threads extending 0.5mm beyond the bit’s edges.
- Bit Too Small: Threads completely obscure the bit. The screw looks “thick” compared to the bit. Consequence: Excessive pressure splits wood or strips heads.
- Bit Too Large: You see significant gaps between threads and bit edges (1mm+). Consequence: Threads spin without grip, creating a loose joint.
Common Visual Test Mistakes to Avoid
- Testing Against the Tip: The screw tip is narrower than the shank. This makes bits appear too large, leading to undersized holes.
- Ignoring Lighting: Do this near a window or bright lamp. Shadows hide thread visibility.
- Using Worn Bits: Dull or chipped bits have reduced diameter. Test with a new bit from your set.
Hardwood vs. Softwood: Tailoring Drill Bit Size to Wood Density
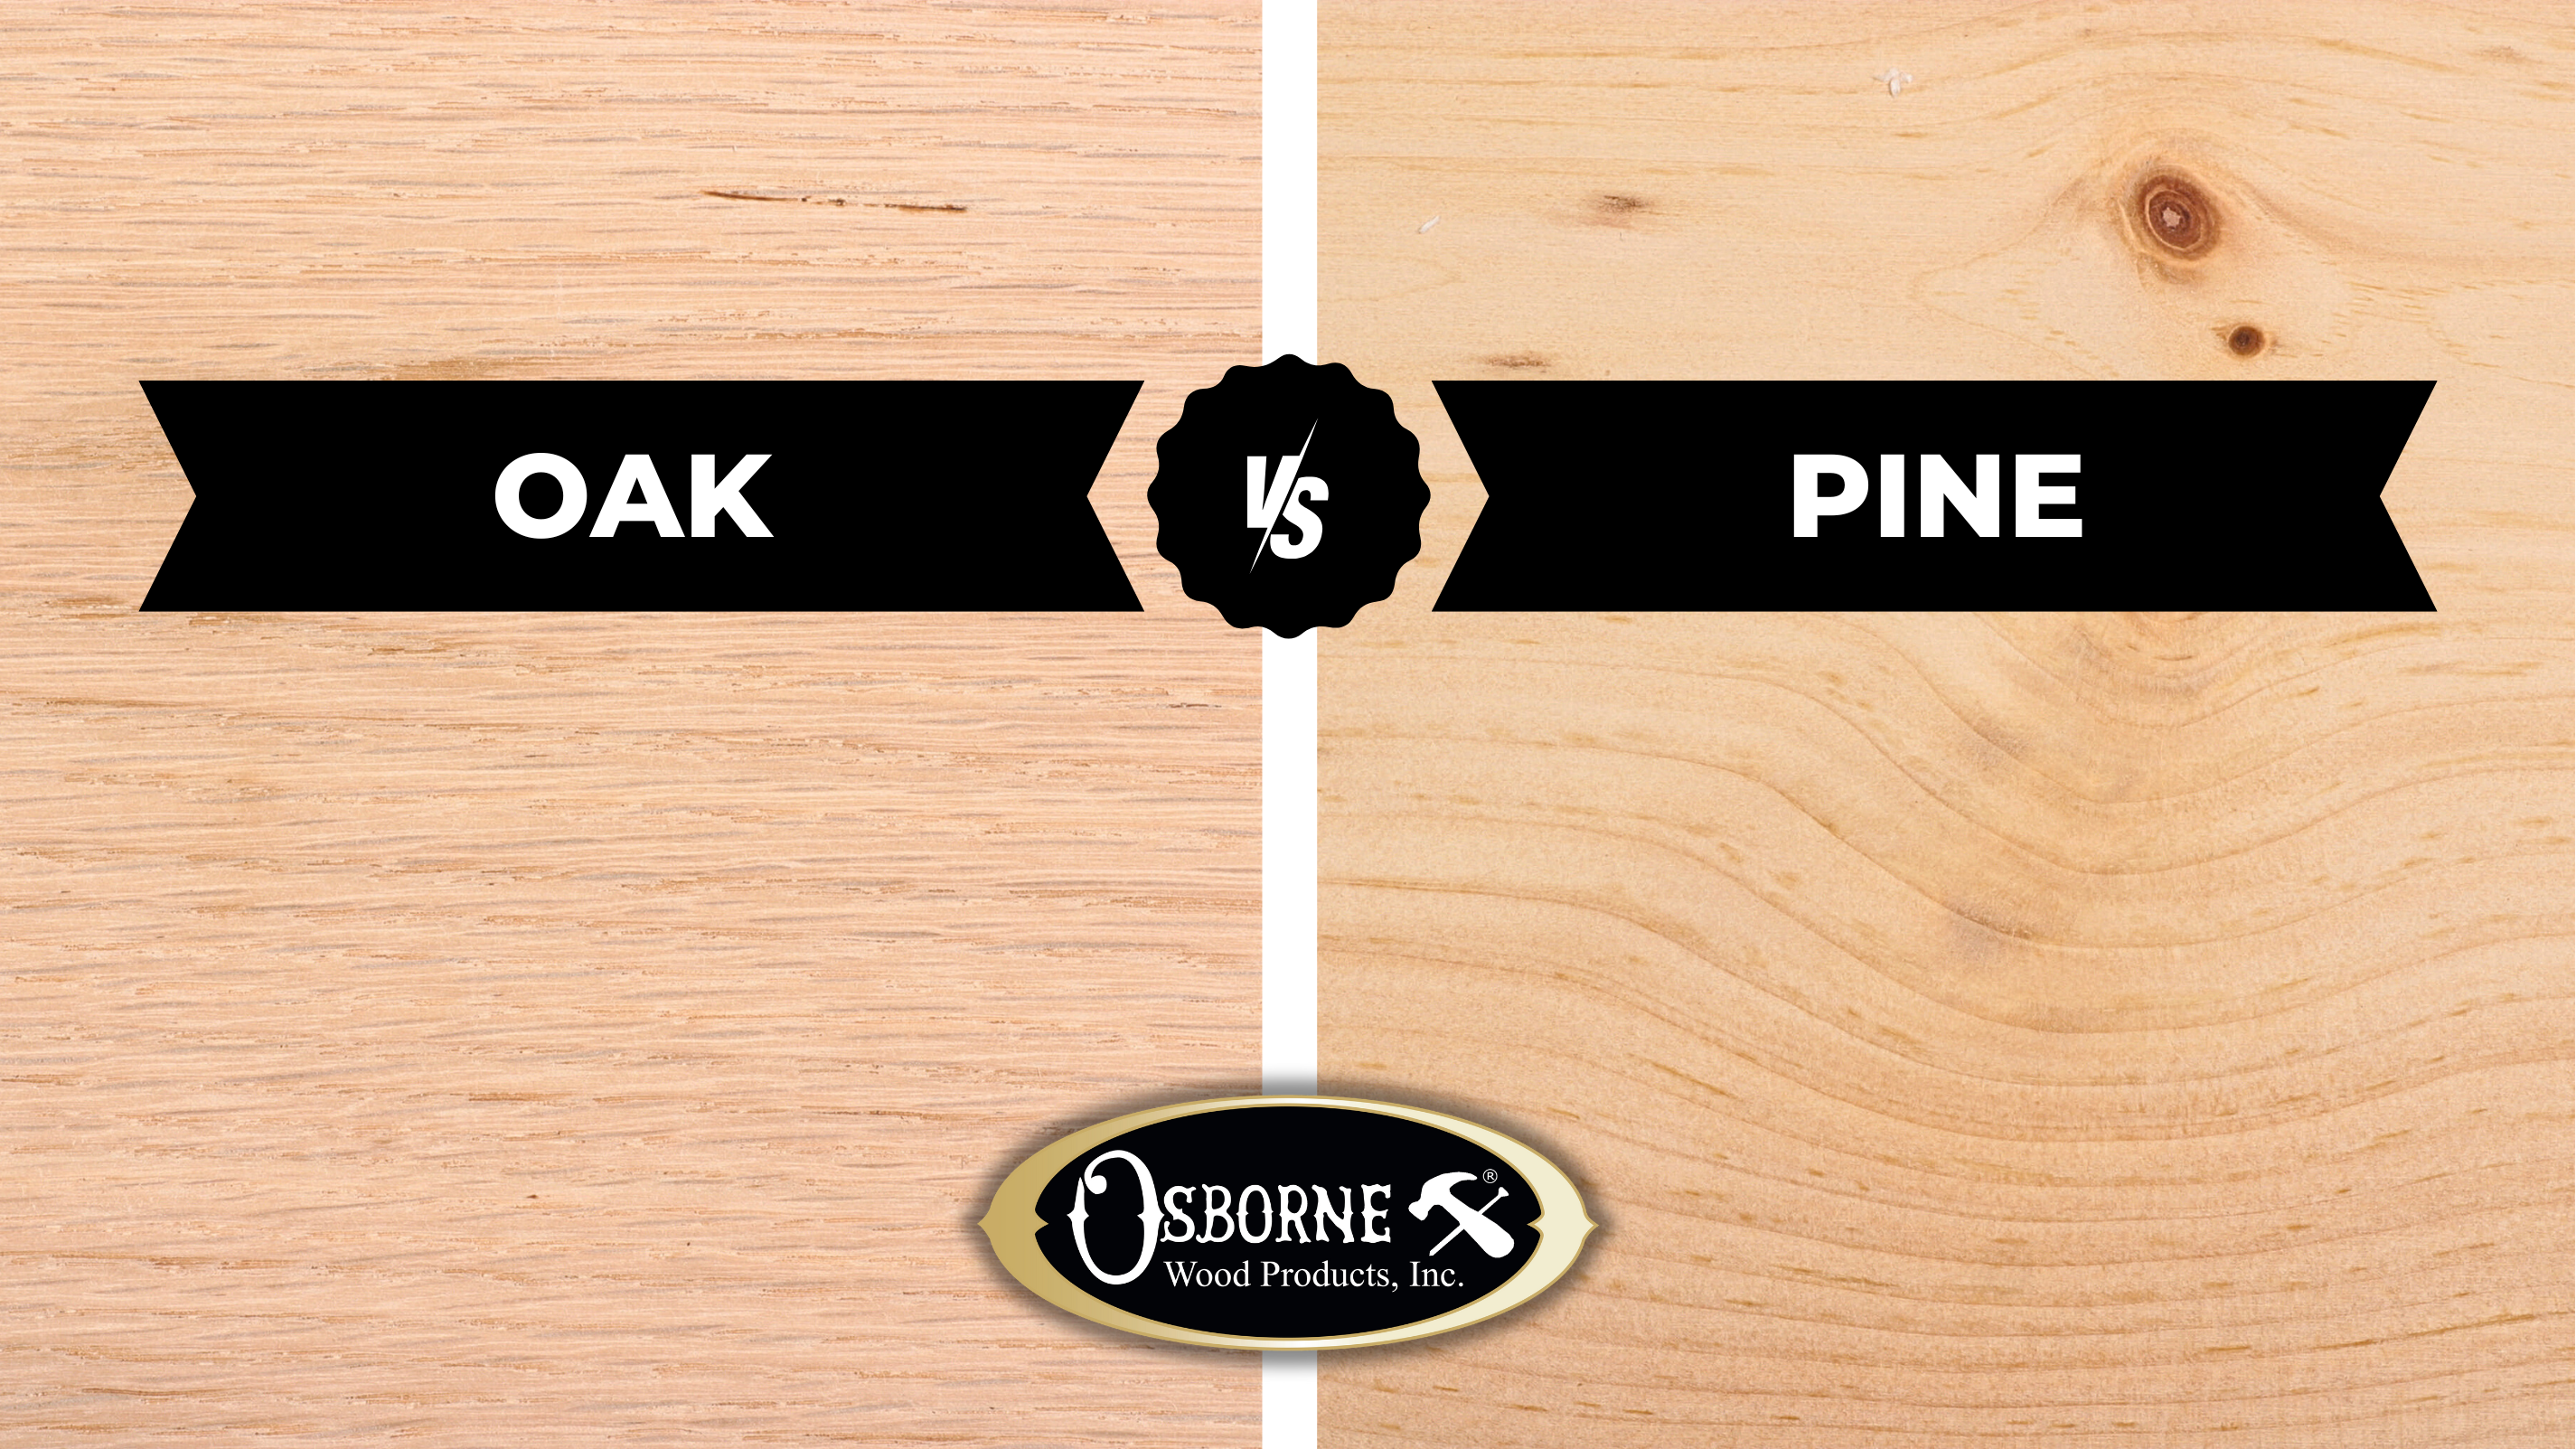
Material density changes everything. Pine compresses easily, so undersized holes (80-85% of shank) provide maximum thread grip. Hard maple resists compression, requiring larger holes (90-95%) to relieve stress. Ignoring this causes splits in hardwoods or weak holds in softwoods.
Preventing Splitting in Oak and Maple
For hardwoods like oak, walnut, or cherry:
– Start with a bit that’s 90-95% of the shank diameter. A #8 screw (3.3mm shank) needs a 3.5mm (9/64″) bit, not 3.2mm (1/8″).
– Drill 1/8″ deeper than the screw length. Hardwoods generate more friction heat; extra depth prevents tip-induced splitting.
– Pro Tip: For end-grain work (like drawer fronts), increase hole size to 100% of the shank. The screw won’t grip as strongly, but splitting is avoided.
Why Pine and Cedar Need Tighter Pilot Holes
Softwoods compress significantly, so:
– Use bits at 80-85% of shank diameter. For a #8 screw, choose 2.8mm (7/64″) instead of 3.2mm.
– Focus on straight drilling—softwoods magnify angle errors. A 5° deviation causes visible wobble.
– Warning: Never skip pilot holes in softwoods near edges. Pine splits 3x faster than hardwoods when holes are omitted.
Sheet Metal and Masonry: Special Drill Bit Rules for Non-Wood Materials
Metal and concrete demand different approaches. Sheet metal screws self-tap threads, so the pilot hole must guide without restricting. Masonry anchors require holes sized for the anchor—not the screw—because concrete doesn’t “grip” like wood.
Drilling for Sheet Metal Screws Without Stripping Threads
For self-tapping screws in steel or aluminum:
– Drill a hole matching the screw’s minor diameter (thread root). A #10 sheet metal screw needs a 2.8mm (7/64″) bit.
– Critical Check: The screw should require firm pressure to start threading. If it spins freely, the hole is too big.
– Pro Tip: Apply light oil to the screw tip. This reduces heat and prevents metal galling (threads welding to the hole).
Concrete and Brick: Why Anchor Size Dictates Your Drill Bit
Forget the screw size entirely for masonry:
– Drill a hole matching the plastic anchor’s outer diameter. A 1/4″ anchor requires a 1/4″ masonry bit.
– The screw size is determined by the anchor’s inner diameter. A 1/4″ anchor fits #10-#12 screws.
– Visual Cue: After drilling, the anchor should require a firm hammer tap to seat flush. If it drops in, the hole is oversized.
Drill Bit Size Cheat Sheet: Screw and Material Reference Table
Use this quick-reference guide when selecting bits. Test on scrap first—your specific wood density may require adjustments.
| Material | Screw Example | Shank Diameter | Recommended Drill Bit | Why This Size? |
|---|---|---|---|---|
| Pine (Softwood) | #8 Wood Screw | 3.3mm | 7/64″ (2.8mm) | Prevents spin-out in compressible wood |
| Oak (Hardwood) | #8 Wood Screw | 3.3mm | 9/64″ (3.5mm) | Relieves stress in dense fibers |
| Sheet Metal | #10 Self-Tapping | 3.8mm | 7/64″ (2.8mm) | Guides screw without restricting threads |
| Concrete | w/ 1/4″ Anchor | N/A | 1/4″ Masonry Bit | Matches anchor outer diameter |
| General Purpose | #8 Wood Screw | 3.3mm | 1/8″ (3.2mm) | Safe starting point for unknown woods |
5-Step Process: How to Choose Drill Bit Size for Screw in Minutes
Follow this sequence for guaranteed success. Total time: under 2 minutes per screw type.
Step 1: Identify Your Screw and Material (Critical First Step)
Examine your screw’s packaging or measure the shank. Confirm your material—test softwood vs. hardwood by scratching with a fingernail (hardwoods resist marks). Red Flag: If you’re unsure, assume hardwood to prevent splits.
Step 2: Apply the 90% Rule to Find Your Starting Bit
For a #8 screw (3.3mm shank):
– Softwood: 85% of 3.3mm = 2.8mm (7/64″)
– Hardwood: 95% of 3.3mm = 3.1mm (closest is 1/8″ or 3.2mm)
Grab these bits from your set. When in doubt, start smaller—you can always enlarge the hole.
Step 3: The Non-Negotiable Test on Scrap Material
Drill into scrap of identical wood/metal:
– Perfect Hole: Screw drives smoothly with increasing resistance. Hand-tightened, it holds firmly without spinning.
– Too Tight: Requires excessive force; wood cracks or screw head strips. Fix: Increase bit size by 0.2mm increments.
– Too Loose: Screw spins after initial resistance. Fix: Decrease bit size or use a coarser-threaded screw.
Step 4: Adjust for Depth and Countersinking
Drill 1/4″ deeper than the screw length to prevent tip-induced splitting. For flush mounts:
– Use a countersink bit matching the screw head angle (usually 80°-100°).
– Pro Shortcut: Combine pilot and countersink in one step with stepped bits (e.g., 3.2mm pilot + 8mm countersink).
Step 5: Drive the Screw with Confidence
Apply steady downward pressure while drilling. If resistance suddenly increases:
– Stop immediately. You’ve hit a knot or hidden defect.
– Back out 1/4 turn, then resume. Forcing causes splits.
Rescue Split Wood and Stripped Threads: Fixing Pilot Hole Mistakes
Even pros make sizing errors. Here’s how to salvage damaged holes fast.
Fixing a Pilot Hole That’s Too Big: 3 Proven Methods
- Wood Dowel Repair: Glue a tight-fitting dowel into the hole. After drying, drill a new pilot hole. Works for holes up to 3x oversized.
- Toothpick Trick: Insert 2-3 wood glue-coated toothpicks. Break flush, then redrill. Best for small holes (<1/8″ oversize).
- Larger Screw Strategy: Upgrade to the next screw size (e.g., #8 → #10). Ensure the new hole won’t compromise structural integrity.
Saving a Stripped Thread Hole in Wood or Metal
For stripped threads in wood:
1. Inject slow-set epoxy into the hole.
2. Insert a coarse-threaded screw (e.g., drywall screw).
3. Let cure 24 hours, then remove and reinstall your original screw.
For metal: Use a helical thread insert (e.g., Helicoil) following kit instructions—never reuse stripped threads.
Countersinking and Depth: Drilling Beyond the Pilot Hole
A perfect pilot hole isn’t enough if depth or head clearance is wrong. Countersinking creates a recess so screw heads sit flush or below the surface, preventing snag hazards and ensuring tight joints.
The Perfect Pilot Hole Depth: How Much Deeper Than the Screw?
Always drill 1/8″-1/4″ deeper than the screw’s threaded length. This “tip relief” prevents the screw’s sharp point from compressing wood fibers at the hole bottom—a major cause of hidden splits. Visual Cue: When driving, the screw should stop spinning when the head contacts the surface, not before.
Creating Flush Screw Heads: Countersinking Techniques
- Wood: Use a countersink bit matching the screw head angle. Drill just deep enough for the head to sit 1/16″ below the surface.
- Metal: Start with a small pilot hole (1-2mm), then countersink. Prevents metal burrs from interfering with head seating.
- Pro Tip: For hardwoods, apply candle wax to the screw threads. This reduces friction, allowing heads to seat perfectly without cam-out.
Choosing the right drill bit size for screws eliminates the most common fastening failures in DIY projects. Remember the 90% rule as your foundation, but always adjust for material density and test on scrap first. Hardwoods need larger holes than softwoods, sheet metal requires precise minor-diameter sizing, and masonry depends entirely on anchor dimensions—not the screw. When you encounter a split or stripped hole, use the dowel repair or epoxy methods to salvage your work. Keep this cheat sheet handy: for #8 screws, start with 7/64″ for pine and 9/64″ for oak. Master these principles, and you’ll achieve professional, split-free results whether you’re building a deck or mounting a shelf. The next time you reach for a screwdriver, grab your drill bit gauge first—you’ll save hours of frustration and wasted materials.


