
Have you ever wanted to see distant objects clearly without spending hundreds on commercial optics? Learning how to make a monocular from scratch is not only cost-effective but also a deeply rewarding project that blends science, craftsmanship, and practical utility. Whether you’re building a simple educational model with kids or assembling a high-performance night vision device, this guide covers everything you need to know. From basic lens physics to advanced housing modifications, we’ll walk through four proven methods—each tailored to different skill levels and purposes. You’ll learn how to source lenses, align optical components, choose durable materials, and avoid common pitfalls. By the end, you’ll have the knowledge to build a functional, custom monocular that suits your needs—whether for stargazing, nature observation, or low-light navigation.
Build a Child-Friendly Craft Monocular
This method is perfect for classrooms, STEM workshops, or curious beginners. It teaches core optical concepts using pre-made lenses and easy-to-assemble parts.
Gather Your Materials
You’ll need:
– Small eyepiece lens (rubber-backed)
– Larger objective lens
– White plastic tube (acts as the body)
– Red foam ring (spacer and bumper)
– Clear-drying adhesive (epoxy or super glue)
– Optional: markers, paint, or stickers for decoration
✅ Pro Tip: Decorate the tube before gluing any lenses—this prevents smudging and ensures full visibility.
Mount the Eyepiece Lens
- Place the eyepiece lens on a flat surface with the rubber side down.
- Apply a thin, even bead of glue around the plastic rim.
- Flip the lens over and carefully center it on the red circle at one end of the tube.
- Press down firmly and let it set completely.
Attach the Objective Lens
- Apply glue into the groove between the rubber and plastic edge of the objective lens.
- Rotate the lens while applying glue to ensure full coverage.
- Slide the tube over the lens and press evenly to bond.
Install the Foam Ring
- Glue the outer edge of the red foam ring.
- Align it with the lens end and press it onto the tube.
- Only press on the foam, not the glass, to avoid shifting the lens.
Let It Cure Fully
- Allow at least 24 hours for the adhesive to cure.
- Test by viewing a distant object in daylight.
⚠️ Note: The image may appear inverted—this is normal for basic two-lens systems and helps demonstrate how light bends through optics.
Construct a Simple Refracting Telescope Monocular
Turn basic lenses and cardstock into a working spyglass-style monocular ideal for sky or landscape viewing.
Understand the Lens Setup
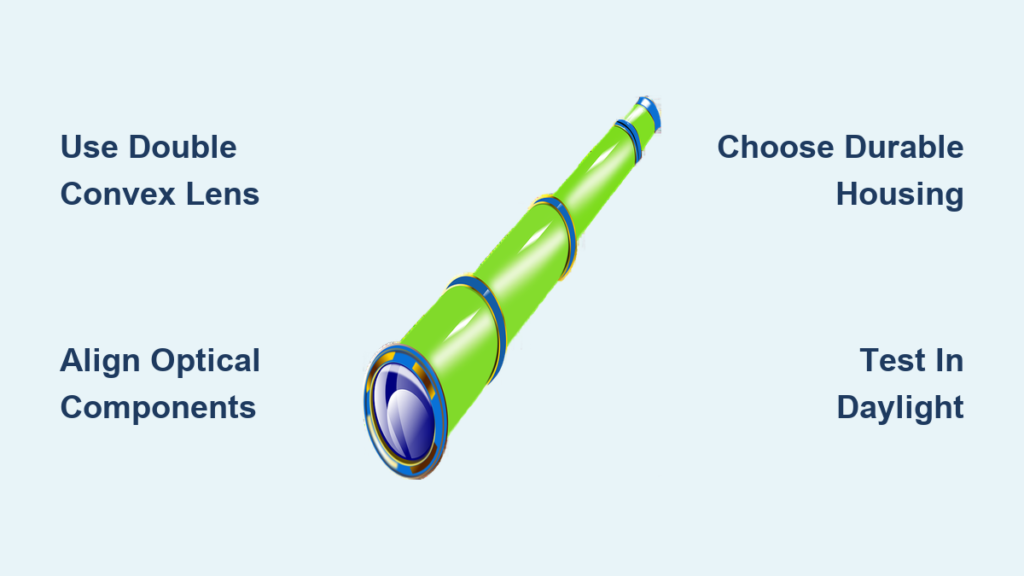
- Use a double convex lens (objective) to gather and focus light.
- Pair it with a double concave lens (eyepiece) to magnify the image.
- Together, they create a magnified but inverted view.
🔍 Did You Know? If the image looks smaller instead of larger, flip the telescope—you’ve installed the lenses backward.
Build the Outer Tube (Eyepiece Side)
- Roll cardstock to match the outer diameter of the concave lens.
- The lens should sit on the outside, not inside the tube.
- Secure with electrical tape—its slight stretch provides a snug, durable fit.
Create the Inner Tube (Objective Side)
- Roll a second piece of cardstock to slide smoothly inside the outer tube.
- Tape only one seam—keep it loose enough for manual focusing.
- Insert the inner tube into the outer one.
Secure the Objective Lens
- Tape the double convex lens to the end of the inner tube.
- Center it carefully and reinforce with extra tape if needed.
Focus and Use
- Look through the concave lens (eyepiece).
- Slide the inner tube in and out to adjust focus.
- Best results occur at 10–20 feet in natural light.
💡 Upgrade Option: Add a right-angle prism to flip the image upright.
🛑 Safety Reminder: Never point the convex lens at the sun—intense heat can ignite materials.
Convert Binoculars into a Prism-Based Monocular
Transform old Porro prism binoculars into a high-quality, upright-image monocular suitable for navigation or astronomy.
Choose the Right Binoculars
- Ideal models: 7×30, 7×35, or 8×30 Porro prism
- Look for adjustable eyepieces and solid build quality
- Vintage models (1960s–80s) often have superior glass
Disassemble the Unit
- Remove brass caps or washers covering the hinge screws.
- Unscrew the locking screw at the eyepiece end.
- Take out the central shaft screw.
- Gently separate the two halves.
✅ Pro Tip: Keep the half with the adjustable eyepiece—this allows for future focusing.
Remove Lenses and Prisms
- Unscrew the objective lens and eyepiece tube.
– Use rubber gloves for grip—never use metal tools on glass. - Remove end plates (usually one screw each).
- Release the leaf spring holding the prisms.
- Gently lift out prisms with fingers or a wooden tool.
⚠️ Caution: Prisms are fragile. Metal tools can chip them, ruining image quality.
Modify the Housing
- Cut off the protruding eyepiece with a hacksaw.
- Peel or cut away faux leather covering.
- File the body smooth.
– Use chalk on the file to prevent aluminum from clogging.
Reassemble with Precision
- Clean prisms with isopropyl alcohol.
- Reinsert prisms with apex side inward.
- Reinstall leaf springs and end caps.
- Reattach the eyepiece:
– Remove plastic eyeguard to expose three grub screws.
– Back out screws, remove focusing ring, and unscrew eyepiece.
– Modify the internal “nut” by removing excess metal.
– Drill and tap three holes at 120° (e.g., M2.5 or 8 BA).
– Reassemble carefully to avoid cross-threading.
Test the Image
- Aim at a distant object.
- Adjust the eyepiece until the image is sharp.
- If blurry, check prism alignment or clean optical surfaces.
✅ Success Sign: A clear, upright image with good brightness and contrast.
Build a Custom Erecting Monocular with Achromatic Lenses
Create a compact, high-performance monocular using surplus optics and precise spacing for daytime terrestrial use.
Select High-Quality Components
- Objective lens: 8mm diameter, long focal length (~F15), air-spaced doublet (e.g., Beseler)
- Erecting lens: Achromatic doublet, 10.9mm, 18–19mm focal length
- Eyepiece: 10mm focal length (replace if damaged)
- Housing: 3D-printed or aluminum tube
Plan the Optical Layout
- Use rolled paper tubes to prototype spacing.
- Keep the erecting lens fixed, while the objective and eyepiece move.
- Adjust distance between erecting lens and eyepiece for zoom effect.
💡 Pro Tip: Fewer glass elements mean higher light transmission and brighter images.
Source Reliable Optics
- Surplus Shed (US): Affordable, but some reports of scratches or mislabeling
- irpoyser.co.uk (UK): Higher quality, no import fees
- Always inspect lenses before final assembly
Assemble the Final Unit
- Build housing from:
– 3D-printed parts (precision fit)
– Or aluminum tubing (durability) - Mount objective in front sliding tube.
- Fix erecting lens in center section.
- Mount eyepiece in rear sliding tube.
- Use helical or slide focus for fine adjustment.
🔧 Troubleshooting: If image is blurry, check lens spacing and alignment.
Optional: Convert to Electronic Microscope
- Replace eyepiece with astronomy camera (e.g., ASI, QHY5L-II)
- Use two eyepieces in series for variable magnification
- Illuminate sample with external light
- Achieve microscopic imaging with DIY optics
DIY Night Vision Monocular (Gen 3)
For advanced builders: create a working analog night vision monocular using a surplus image intensifier tube.
Gather Core Components
- Image intensifier tube: Gen 3 (e.g., Omni 2/3, ~$560 on eBay)
- Objective lens: 25mm F1.4 CCTV lens
- Ocular lens: 25mm Plössl (same focal length)
- Power source: 2x AAA battery pack
- Housing: PVC, metal, or 3D-printed
⚠️ Warning: Handle the tube in low light only—bright exposure destroys the photocathode.
Match Lens Focal Lengths
- Use 25mm objective and 25mm eyepiece for 1x magnification
- Mismatched lenses result in 0.75x or 1.5x, reducing usability
Build the Housing
- Cut PVC or metal tube to length (~6–8 inches).
- Mount lenses on both ends with adhesive or threaded mounts.
- Secure the intensifier tube in the center.
- Connect battery wires directly to tube contacts:
– No circuit board needed—auto-gain adjusts brightness
– Solder or clamp leads carefully
✅ Pro Tip: Use “onetapik” 3D-printed housing files for best fit.
Power and Test
- Insert batteries.
- Turn on in low-light environment.
- View distant objects—expect a green phosphor image.
Evaluate Performance
Pros:
- Lightweight (9 oz)
- Wide 60° field of view
- Long eye relief
- Cost-effective vs. commercial units
Cons:
- 0.75x magnification (not true 1x)
- Fisheye distortion
- Poor bright-light handling
- No bright light cutoff protection
- Aesthetic: “Ugly but functional”
🛑 Expert Advice: Not ideal as a first NV device.
Upgrade Path
- Buy “Alexi 14” Chinese housing (~$450)
- Total cost ~$1000, but much better performance
- Modern Gen 2+ tubes outperform early Gen 3
❌ Never combine DIY monocular with PVS-14—different magnifications cause eye strain.
Choose the Right Tube Material
Your housing material affects durability, weight, and ease of modification.
PVC Pipe – Best for Prototypes
- Pros: Cheap, easy to cut and glue
- Cons: Not weatherproof long-term
- Use: Educational builds, temporary scopes
- Bonding: Use clear PVC cement (fuses plastic)
Aluminum Tubing – Durable and Lightweight
- Pros: Strong, machinable, professional look
- Cons: Requires tools (saw, file, drill)
- Use: Permanent prism or night vision builds
- Modification: File, drill, or tap for screws
Cardstock – For Learning and Testing
- Pros: Instant build, zero cost
- Cons: Fragile, not reusable
- Use: Classroom demonstrations
ABS Plastic – Already Black, Less Reflective
- Pros: No painting needed, bonds well
- Cons: Harder to source
- Use: Low-light or night vision housings
Install Effective Focusing Mechanisms
A good focus system makes your monocular usable. Choose based on complexity and purpose.
Slide Focus – Simple and Reliable
- Inner tube slides in outer tube
- Use electrical tape for smooth motion
- Ideal for cardstock or PVC models
Helical Focus – Precision Adjustment
- Threaded barrel allows fine tuning
- Salvage from old scopes or buy online
- Best for achromatic or night vision builds
Heat-Formed PVC Focuser
- Slide 2″ aluminum tube into clear PVC.
- Use pipe clamps and heat gun to shrink PVC around metal.
- Creates smooth, durable focus system
Rack-and-Pinion – Advanced Option
- Use surplus scope parts
- Provides micrometer-level control
- Requires machining or modification
Source Lenses and Optics Smartly
Where you get your lenses impacts quality, cost, and success.
Surplus Shed (US)
- Wide range of lenses, objectives, eyepieces
- Affordable but inconsistent quality
- Some reports of scratches or mislabeling
- Refunds available
Science Buddies
- Educational-grade lenses
- Perfect for beginner projects
- Clear instructions included
eBay
- Image intensifier tubes, vintage prisms
- Auctions for rare or discontinued parts
- Check seller ratings and reviews
AliExpress
- Chinese night vision housings (e.g., Alexi 14)
- Lower cost than US retailers
- Longer shipping times
irpoyser.co.uk (UK)
- High-quality surplus optics
- Better quality control than US sources
- No tariffs for EU/UK buyers
Compare DIY Monocular Types
| Feature | Craft Monocular | Refracting Telescope | Prism Monocular | Night Vision Monocular |
|---|---|---|---|---|
| Magnification | 2x–5x | 5x–15x | 6x–10x | 0.75x |
| Image Orientation | Inverted | Inverted | Upright | Green, upright |
| Light Conditions | Daylight | Daylight | Daylight | Night only |
| Focus Type | Fixed | Slide | Helical | Manual |
| Durability | Low | Low | Medium | Medium |
| Cost | <$10 | $10–$30 | $50–$200 | $500–$1000 |
| Skill Level | Beginner | Intermediate | Advanced | Expert |
| Best Use | Nature watching | Sky viewing | Navigation | Night scanning |
Final Tips for Success
Start Simple, Then Scale Up
- Begin with a cardstock telescope to learn optics.
- Progress to prism-based or 3D-printed models.
- Save night vision for last.
Prioritize Optical Alignment
- Misaligned lenses = blurry or dim images.
- Use rolled paper tubes to test spacing before final build.
- Hold assembly up to light—check for centered light path.
Protect Your Investment
- Clean lenses with isopropyl alcohol and lens tissue.
- Store in soft case or padded box.
- For night vision: never expose to bright light.
Embrace the Learning Curve
“It was a lot of work… but I’m happy with it for what it is.”
Many builders report frustration early on, but pride in the final result. Even imperfect monoculars teach invaluable lessons in optics, focus, and material science.
Final Note: Whether you’re making a $5 craft monocular or a $1000 night vision device, the process deepens your understanding of how we see—and how we can see farther. Use this guide to choose your path, gather the right tools, and build something that’s not just functional, but uniquely yours.


