
Have you ever peered into a microscope and marveled at the intricate details of a single human cell or watched tiny organisms dart across the lens like underwater astronauts? These dynamic observations are made possible through a fundamental lab technique: the wet mount microscope slide. A wet mount allows you to view live or freshly collected specimens in a liquid medium, preserving their natural structure and, in some cases, even their movement. Whether you’re examining cheek cells from your own mouth or exploring microorganisms in a drop of pond water, knowing how to make a wet mount microscope slide is an essential skill for students, educators, and biology enthusiasts alike.
This technique is straightforward but requires precision. Too much liquid, and your slide will leak; improper placement of the cover slip, and air bubbles will obscure your view. Even staining errors can distort cell details. But with the right steps, tools, and attention to detail, you can create a clear, high-quality wet mount in under two minutes. In this guide, you’ll learn how to make a wet mount microscope slide step by step, avoid common mistakes, and optimize your results for the best possible microscopic observation.
Prepare Your Materials Before Starting
Before collecting any specimen, gather all necessary materials. Working efficiently reduces contamination risks and ensures a smooth process. For a standard cheek cell wet mount, you’ll need:
- A clean glass microscope slide
- A 22mm x 22mm cover slip
- A sterile, unused toothpick
- Methylene blue stain (for animal cells)
- A dropper or pipette
- A paper towel
- Forceps (optional, for handling the cover slip)
- A microscope for viewing
Ensure your slide and cover slip are free of dust, lint, and fingerprints. Any residue can interfere with image clarity. If you’re using gloves, put them on now—especially important when handling stains that can discolor skin or clothing.
Why Use Methylene Blue Stain?
Most biological cells are transparent, making it difficult to distinguish internal structures like the nucleus or cell membrane under a microscope. That’s where staining comes in. Methylene blue is a common biological stain that binds to negatively charged molecules such as DNA and proteins, enhancing contrast. In human cheek cells, this stain darkens the nucleus, making it clearly visible against the lighter cytoplasm.
Use only one drop of methylene blue. Excess stain can pool beneath the cover slip, creating dark patches that obscure cellular details or leak onto the microscope stage, potentially causing damage.
Collect a Fresh Specimen Gently
The next step is obtaining your sample. For this procedure, we use cheek epithelial cells—easy to collect, harmless, and rich in visible cellular structures.
How to Scrape Cheek Cells Without Damage
Take a clean toothpick and gently scrape the inner lining of your cheek. Use a rotating motion to dislodge loose epithelial cells without causing discomfort or drawing blood. Avoid pressing too hard; aggressive scraping can lead to blood contamination, which complicates viewing and introduces unwanted debris.
After scraping, lightly smear the tip of the toothpick across the center of the microscope slide. You won’t see much—just a faint smear—but thousands of invisible cells are now in place, ready for staining. Discard the used toothpick immediately in a biohazard container.
Apply the Staining Solution Correctly
Now that your specimen is on the slide, it’s time to add contrast. For cheek cells, methylene blue is ideal. For live specimens like pond water, use a drop of water or saline instead.
Add Just One Drop of Stain
Using a dropper or the stain bottle, place one small drop of methylene blue directly over the smeared area. The liquid should cover the specimen without spreading beyond the intended area. Wait 30–60 seconds for the stain to penetrate the cells. During this time, avoid touching or moving the slide.
Never flood the slide. Too much liquid increases the risk of air bubbles and makes it difficult to place the cover slip smoothly.
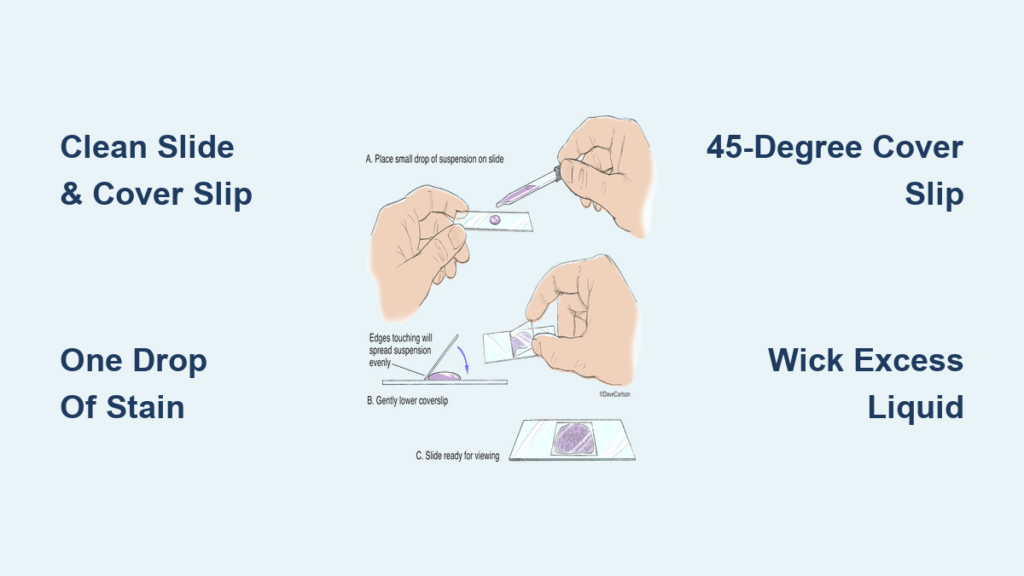
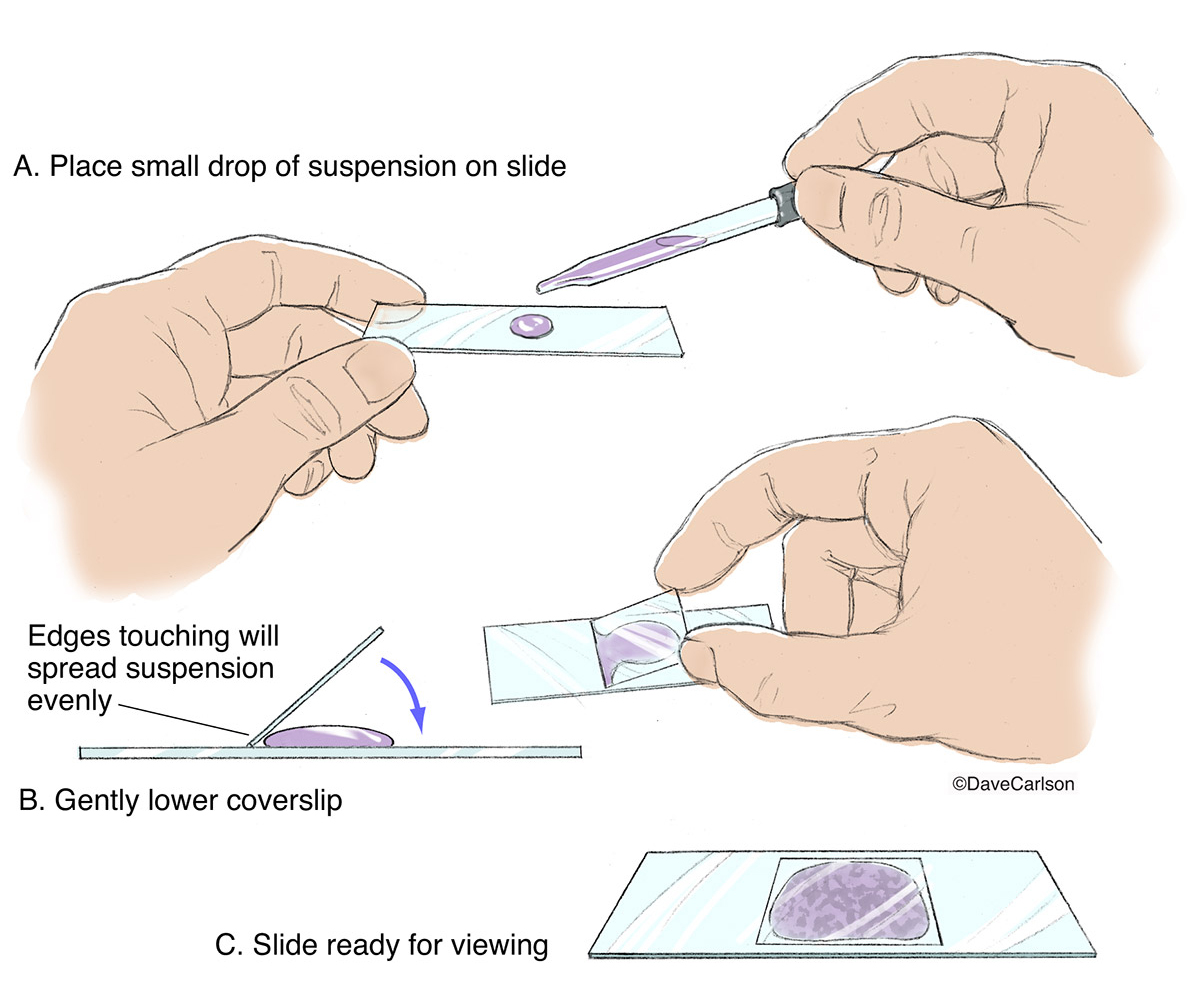
Place the Cover Slip Using the Angle Method
This is the most critical step in how to make a wet mount microscope slide. The way you apply the cover slip determines whether your sample has bubbles, uneven focus, or leakage.
The 45-Degree Cover Slip Technique
Hold the cover slip with forceps or clean fingers. Tilt it to about a 45-degree angle and touch one edge to the side of the stain droplet. Slowly lower the cover slip, allowing the liquid to spread evenly underneath through capillary action. This technique minimizes air bubbles, which often appear as perfect circles with dark edges and can be mistaken for cells.
If bubbles do form, gently tap the cover slip with the eraser end of a pencil to shift them toward the edge. Do not press down—this can crush delicate cells.
Remove Excess Liquid to Prevent Leaks
Even with careful application, some liquid may seep out from under the cover slip. Left unchecked, this can drip onto the microscope stage and damage the equipment.
Use Capillary Action to Wick Away Extra Stain
Place one corner of a paper towel at the edge of the cover slip. The paper towel will draw out excess liquid naturally. Stop wicking once no more fluid is absorbed. This not only cleans the slide but also helps stabilize the cover slip, reducing movement during observation.
Never blot directly on top of the cover slip—this can dislodge or crack it.
Observe Your Slide Under the Microscope
Your wet mount is now ready for viewing. Always begin with the lowest magnification to locate your specimen before zooming in.
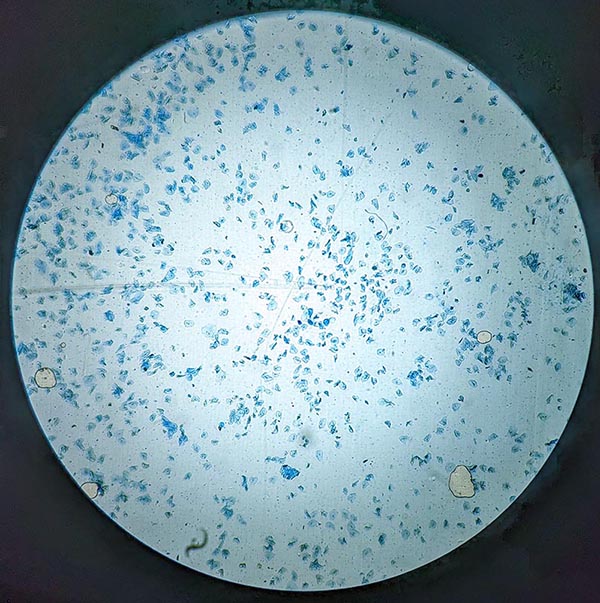
Start with the 4x or 10x Objective Lens
Place the slide on the microscope stage and secure it with stage clips. Using the coarse focus knob, bring the sample into view under low power. At this stage, you should see clusters of stained cells scattered across the field. Scan different areas to find a region with well-separated, evenly stained cells.
Switch to 40x for Detailed Cell Observation
Once you’ve located a good area, switch to the 40x objective for detailed viewing. This magnification reveals:
- The irregular, polygonal shape of epithelial cells
- The darkly stained nucleus near the center
- The lighter cytoplasm surrounding the nucleus
- The thin cell membrane outlining each cell
Avoid using the 100x oil immersion lens—wet mounts are temporary and not sealed, so oil can mix with the liquid and damage both the lens and the slide.
Troubleshoot Common Wet Mount Issues
Even experienced users encounter problems. Knowing how to fix them improves your results and saves time.
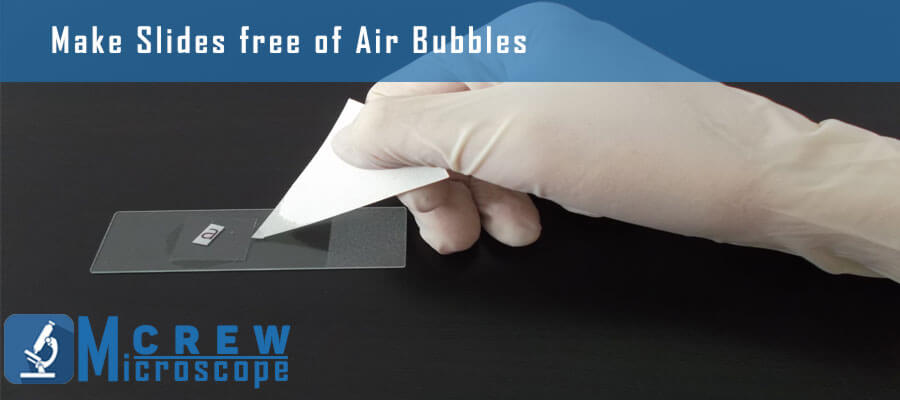
Fixing Air Bubbles
Bubbles look like sharp-edged circles and often form when the cover slip is dropped flat instead of lowered at an angle. To remove them:
- Gently slide the cover slip to push bubbles out
- Add a tiny drop of stain at one edge and wick from the opposite side to flush bubbles away
Handling Stain Overflow
If liquid leaks from under the cover slip:
- Use less stain next time
- Wick more thoroughly with a paper towel
- Ensure the cover slip fully covers the liquid area
Preventing Cell Clumping
Dark clumps of cells usually mean too much pressure was used during scraping or too much stain was applied. To fix:
- Make a new slide with a lighter smear
- Dilute the stain with a drop of water
- Use a fresh toothpick to avoid bacterial buildup
Follow Safety and Disposal Protocols
Wet mount slides contain biological material and chemical stains, so proper disposal is crucial.
Dispose of Slides in Biohazard Containers
Never throw used slides in regular trash. They must go into designated sharps or liquid biohazard waste containers. Wash your hands after handling stains or biological samples. Work over a tray or paper-lined surface to catch spills—methylene blue can permanently stain clothing and skin.
Explore Other Wet Mount Applications
While cheek cells are a classic example, the wet mount technique is versatile.
View Pond Water Microorganisms
Add a drop of pond water to a slide, place a cover slip at an angle, and observe immediately. You may see paramecia, amoebas, or rotifers in motion—something only possible with fresh wet mounts.
Prepare Plant Cell Slides
For onion cells, use iodine stain instead of methylene blue. Peel a thin membrane from an onion layer, place it on a slide, add iodine, and cover. You’ll see clear cell walls and dark-stained nuclei.
Expert Tips for Perfect Wet Mounts Every Time
- Always prepare slides just before viewing—they dry out quickly.
- Label slides with a pencil on the frosted edge—ink dissolves in liquid.
- Work under bright light to clearly see droplet size and cover slip alignment.
- Practice the angle technique until it becomes instinctive.
- Keep a spare slide and cover slip handy—mistakes happen, and quick remounting saves time.
Final Thoughts on Mastering the Wet Mount
Learning how to make a wet mount microscope slide is more than just a lab requirement—it’s a gateway to seeing life at its most fundamental level. With careful technique, you can transform an invisible smear into a vivid display of cellular detail. From nucleus to membrane, every component becomes visible through proper staining, precise liquid control, and correct cover slip placement.
Remember: a successful wet mount is clean, bubble-free, and properly stained. Always follow safety guidelines, dispose of materials correctly, and practice regularly. With time, you’ll create high-quality slides effortlessly—opening endless possibilities for discovery under the lens.


