
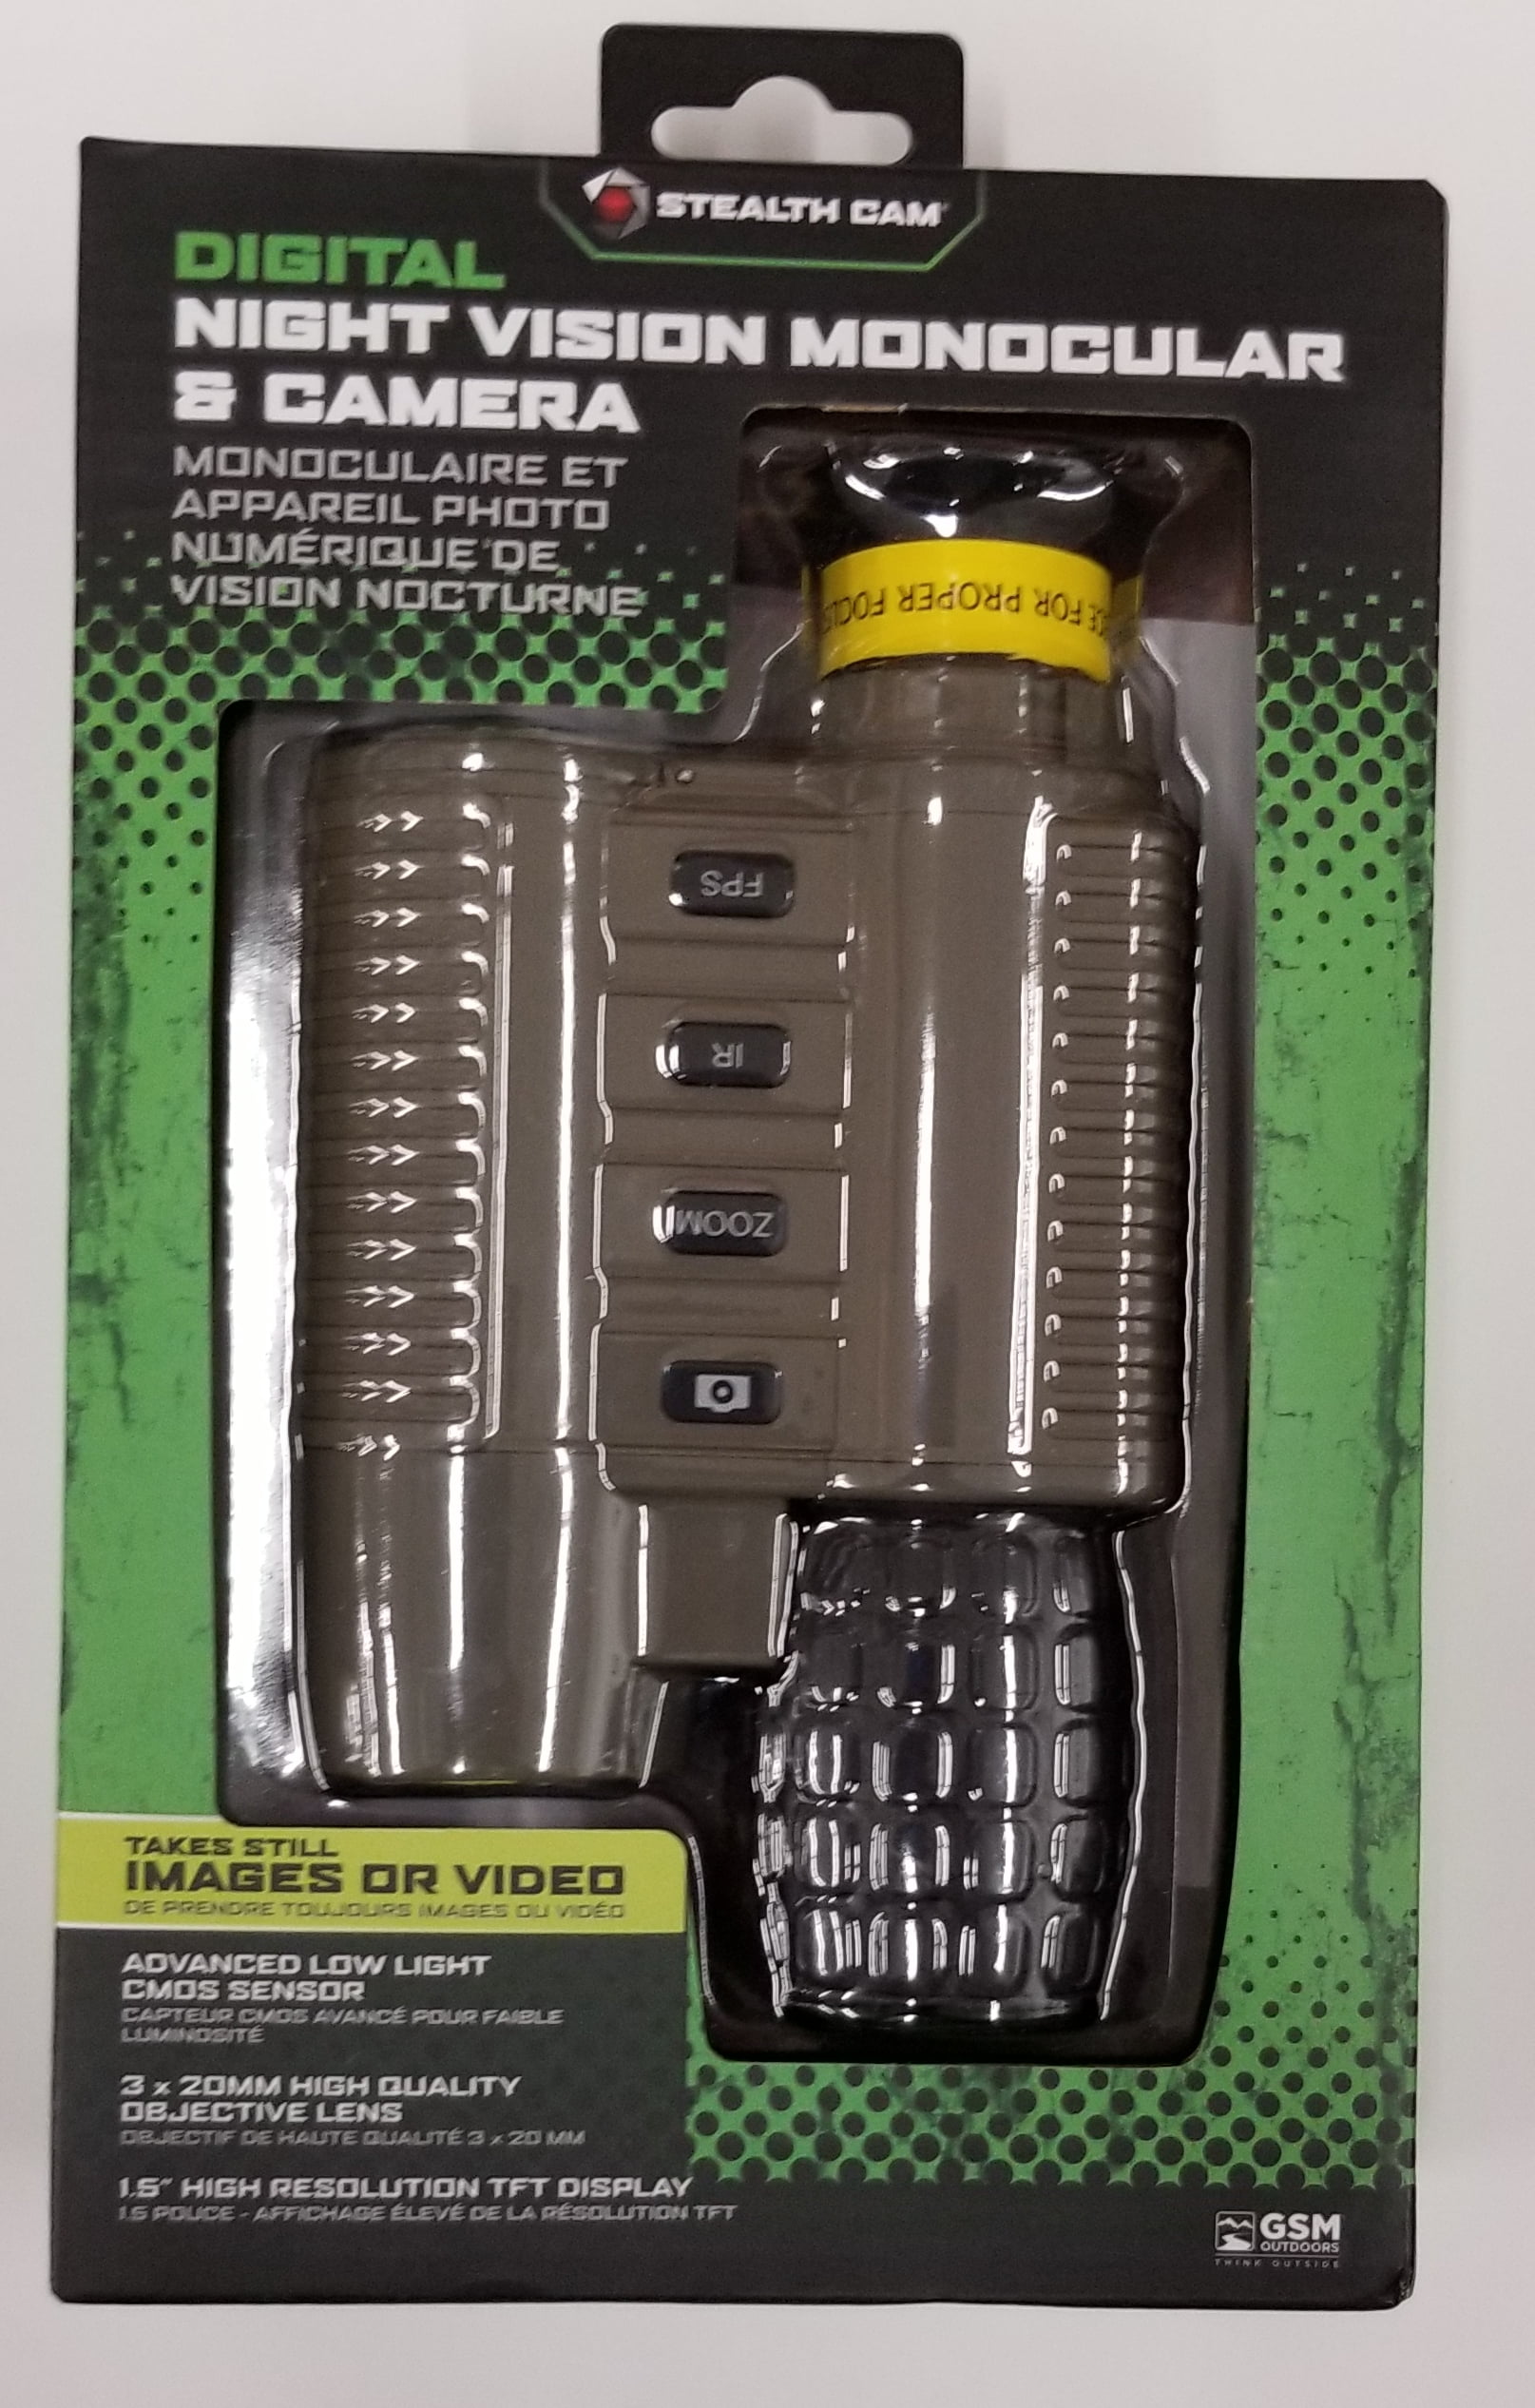
If you’ve ever hesitated to use your Stealth Cam night vision monocular because you’re unsure how it works, you’re not alone. Many users miss out on its full potential simply due to confusion about setup, settings, and best practices. This compact digital night vision device turns pitch-black environments into visible scenes using infrared technology, real-time display, and built-in media capture. Whether you’re scouting deer at dusk, monitoring your property after dark, or observing nocturnal wildlife, knowing how to use the Stealth Cam night vision monocular properly ensures you get clear images, reliable performance, and long battery life. In this guide, you’ll learn every step—from powering on and focusing to capturing crisp 4K photos and troubleshooting common issues—all based on verified specs and real-world user experiences.
Charge and Insert Storage Before First Use
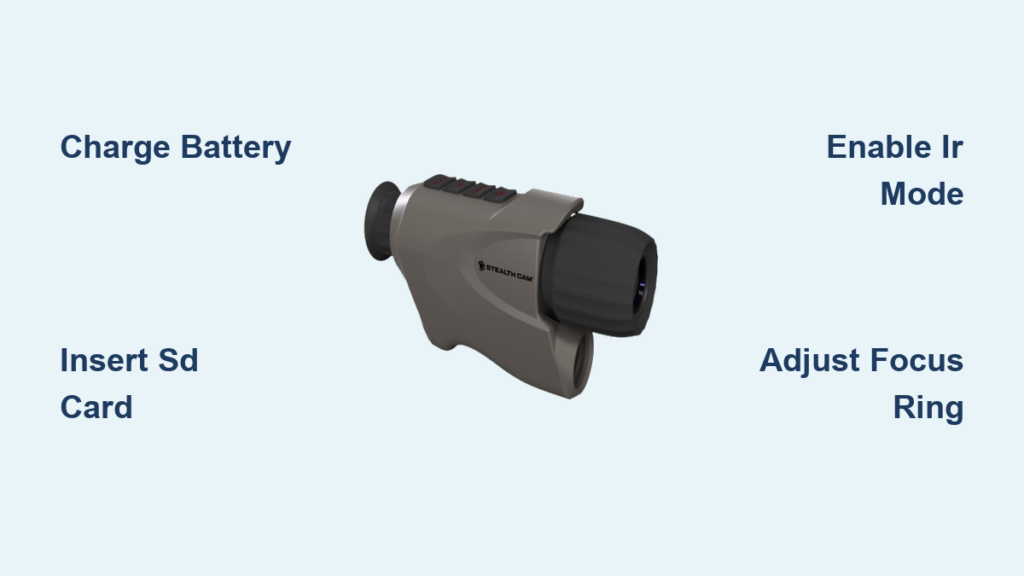
Fully Charge the Battery
Before turning on your Stealth Cam night vision monocular, ensure it’s fully charged using the included USB cable (Micro-USB or USB-C, depending on model). A dead battery is the most frequent cause of startup failure. Connect to a stable 5V wall adapter or power bank and allow 3–5 hours for a complete charge. Avoid low-output sources like older computer USB ports, which may extend charging time.
Pro Tip: Carry a spare 3000mAh battery or portable power bank for extended outdoor missions.
Install and Format a microSD Card
Locate the microSD card slot—typically under a rubber cover on the side. Insert a Class 10 or UHS-I microSD card (up to 64GB) formatted to FAT32. This is essential: most models lack internal storage, so without a card, you cannot save photos or videos. Use a card reader and your computer to format the card if needed. Label your card for easy identification in the field.
Power On and Navigate the Interface
Boot the Device Correctly
Press and hold the power button (usually on the top or side) for 2–3 seconds. The 2-inch LCD screen will light up after a few seconds. Wait 10–15 seconds for full initialization—do not press buttons repeatedly, as this can interfere with boot-up. The screen displays battery level, time, storage status, and current mode.
If nothing appears:
– Recharge the battery.
– Try a different USB cable.
– Ensure the microSD card is properly seated.
Understand the Display and Controls
Familiarize yourself with the on-screen icons:
– Battery icon: Shows remaining charge.
– SD card icon: Confirms card detection and available space.
– IR indicator: Lights up when infrared is active.
– Mode indicator: Shows “Day” or “Night” mode.
Use the directional buttons to access the menu, where you can adjust brightness, contrast, date/time, and power-saving settings.
Activate Night Vision and Infrared Illumination
Switch to Night Vision Mode
In low-light conditions, the device automatically switches to night vision mode, turning the display green or black-and-white. If the transition doesn’t happen in dim light, manually enter the menu and select “Night Vision” or “IR Mode.” This forces the sensor to optimize for darkness.
Turn On the IR Illuminator in Complete Darkness
Press the IR button (often labeled with a moon/sun icon) to activate the infrared LEDs. A faint red glow around the lens is normal—this is the IR light illuminating the scene. Effective range is 100–200 feet, but heavy fog, rain, or foliage can reduce visibility.
Pro Tip: Disable IR under moonlight to save battery and reduce “halo” effects around bright objects.
Sharpen the Image with Focus and Zoom
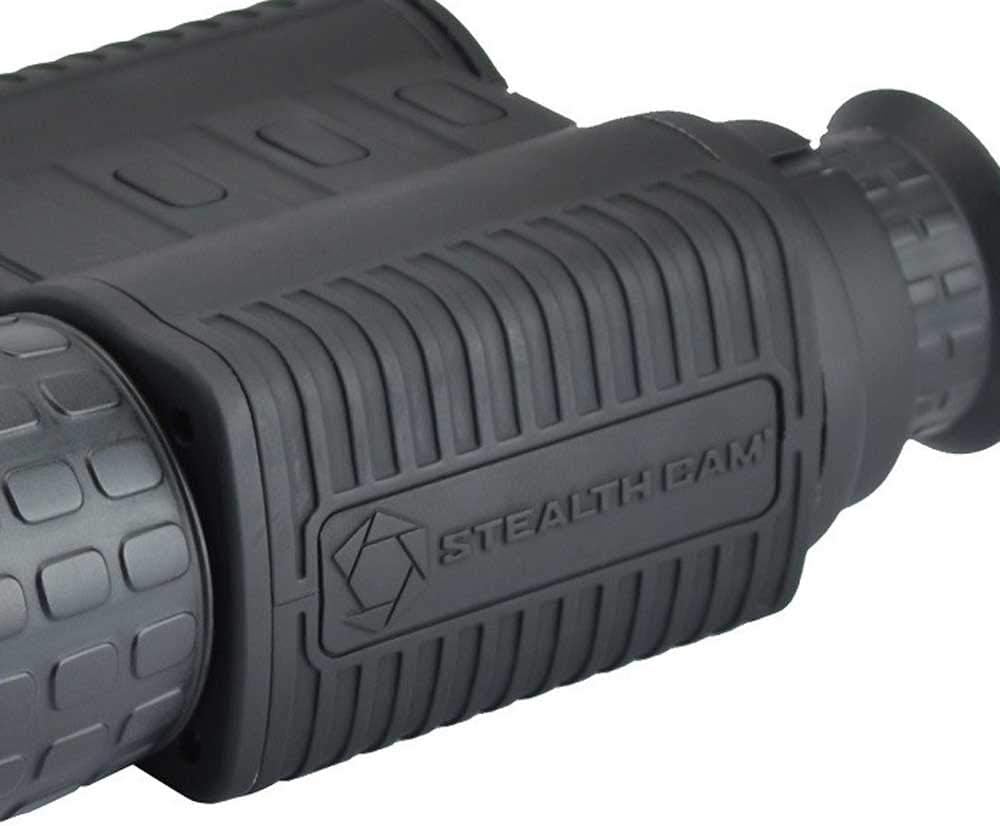
Adjust the Focus Ring for Clear Viewing
Even with IR on, images may appear blurry if the focus isn’t set. Rotate the focus ring around the lens slowly while watching the LCD. Start with distant objects, then fine-tune for closer targets. Proper focus is crucial when observing animals at varying distances.
Warning: A smudged or dirty lens ruins focus. Clean only with a microfiber cloth—never use fingers or clothing.
Use Digital Zoom Up to 10x
Press the “+” button to zoom in, up to 10x magnification. Remember: this is digital zoom, not optical, so image quality degrades beyond 5x. For best results:
– Get physically closer to your subject.
– Use 3x–5x zoom for usable detail.
– Avoid holding the zoom button too long—some models cycle through settings.
Capture High-Quality Photos and Videos

Take 4K Still Photos
Aim steadily at your subject. Press the shutter button (camera icon) once. A confirmation tone or on-screen message indicates the photo was saved. Premium models support 4K resolution, capturing fine details like animal fur or terrain features. Photos save in JPG format to the microSD card.
Avoid: Shaking the monocular during capture. Brace your elbows against your ribs for stability.
Record 1080P Video Smoothly
Press the record button (red dot) to start video. A red indicator appears on-screen. Press again to stop. Videos save in MP4 format, playable on most devices. For stable footage:
– Use a tripod with adapter.
– Avoid zooming while recording.
– Check free storage before starting—running out mid-recording can corrupt files.
Pro Tip: Pair with a notebook to log timestamps and observations for later review.
Optimize Performance in Outdoor Conditions
Use in Ideal Lighting and Environments
Best results occur during:
– Dusk and dawn: Enough ambient light enhances contrast.
– Moonlit nights: Natural illumination improves clarity.
– Open fields: Less obstruction for IR light.
Avoid:
– Bright daylight: Can damage the sensor, especially with IR on.
– Urban areas with streetlights: Light pollution washes out the image.
– Heavy rain or fog: Reduces IR range and image sharpness.
Field-Test Before Critical Missions
Always test your monocular at night in a safe area like your backyard. Check:
– IR range and hotspot coverage.
– Focus accuracy at 50, 100, and 150 feet.
– SD card write speed (watch for lag during recording).
This prevents issues during hunting, surveillance, or scouting.
Extend Battery Life in the Field
Conserve Power Strategically
With IR active, battery life lasts 4–6 hours. Maximize runtime by:
– Turning off the device between uses.
– Disabling IR when ambient light is sufficient.
– Using power-saving mode if available.
– Carrying a spare battery or power bank.
Note: Charging while recording is not recommended—can cause overheating.
Charge Safely and Fully
Use a standard 5V USB charger. Avoid car chargers with unstable voltage. Once charged, unplug—most models lack overcharge protection.
Clean and Store for Longevity
Keep the Lens Clean and Scratch-Free
A dirty lens ruins image quality. Clean only with a dry microfiber cloth. For smudges, apply lens cleaning solution to the cloth, not the lens. Wipe gently in circular motions from center outward.
Store Properly During Off-Season
Store in a hard case or padded pouch. Remove the battery and microSD card during long-term storage to prevent corrosion or drain. Avoid temperatures below -10°C or above 60°C.
Warning: Most models are water-resistant (IPX6), not waterproof. Do not submerge unless rated IPX7 or higher.
Stabilize for Sharper Images
Hold Steady with Both Hands
Shaky hands blur images. Hold the monocular with both hands, elbows tucked into your ribs. For extended use:
– Mount on a tripod using a compatible adapter.
– Rest arms on a tree, rock, or vehicle hood.
Scan Slowly to Reduce Motion Blur
Move the monocular slowly when scanning an area. Sudden panning causes disorientation and blurry images. Pause every few seconds to let your eyes adjust.
Troubleshoot Common Issues
No Display After Power-On
- Cause: Dead battery or faulty USB cable.
- Fix: Charge for 30+ minutes. Try a different cable or power source.
Blurry or Fuzzy Image
- Cause: Incorrect focus or dirty lens.
- Fix: Clean the lens, then rotate the focus ring slowly while watching the screen.
IR Light Not Working
- Cause: IR disabled in menu or blocked by dirt.
- Fix: Enable IR mode manually. Clean the IR LED ring.
Files Not Saving
- Cause: Full, missing, or unformatted SD card.
- Fix: Insert a 64GB Class 10 card formatted to FAT32. Delete old files if full.
Overheating During Use
- Cause: Prolonged operation in enclosed spaces.
- Fix: Power off for 10–15 minutes. Avoid direct sun exposure.
Follow Legal and Safety Guidelines
Respect Privacy and Local Laws
Do not point the monocular at:
– Private homes or windows.
– Airports, aircraft, or vehicles.
– People without consent.
Check local regulations—some states restrict night vision in hunting or residential areas.
Avoid Sensor Damage
Never aim at:
– Bright spotlights.
– Vehicle headlights.
– The sun during daytime.
These can permanently damage the image sensor.
Maximize Real-World Use Cases
Observe Wildlife Without Disturbance
Ideal for watching nocturnal animals like owls, raccoons, deer, and coyotes. Use IR to observe from a distance without disturbing natural behavior.
Enhance Property and Campsite Security
Use for:
– Perimeter checks.
– Intrusion detection.
– Nighttime surveillance.
Pair with a tripod for continuous monitoring.
Scout Hunting Grounds After Dark
Look for:
– Fresh tracks.
– Rubbed trees.
– Droppings.
Mark GPS coordinates for daytime return.
Pro Tip: Combine with thermal binoculars for even greater detection range.
Final Note: The Stealth Cam night vision monocular is a powerful, accessible tool when used correctly. By mastering focus, IR activation, media capture, and battery management, you unlock its full potential for outdoor adventures, security, and wildlife study. Always maintain the device, test in safe conditions, and follow legal guidelines to ensure safe, effective, and long-lasting use.


