
That frustrating moment when your cobalt drill bit starts slipping instead of cutting through metal is all too familiar. Instead of clean, precise holes, you get burning, chattering, and inaccurate results that waste time and materials. Cobalt drill bits, while significantly harder and more heat-resistant than standard high-speed steel bits, eventually lose their edge after repeated use on tough materials like stainless steel, cast iron, and other hard metals. The good news? You don’t need expensive equipment to restore your cobalt bits to factory-sharp condition. By following the right technique, you can extend the life of your expensive cobalt drill bits and maintain professional results without constantly buying replacements. This guide reveals exactly how to sharpen a cobalt drill bit properly, avoiding common mistakes that ruin expensive tools.
Essential Tools for Sharpening Cobalt Drill Bits

Before you begin sharpening, gather these critical tools to ensure precision and safety with your cobalt bits.
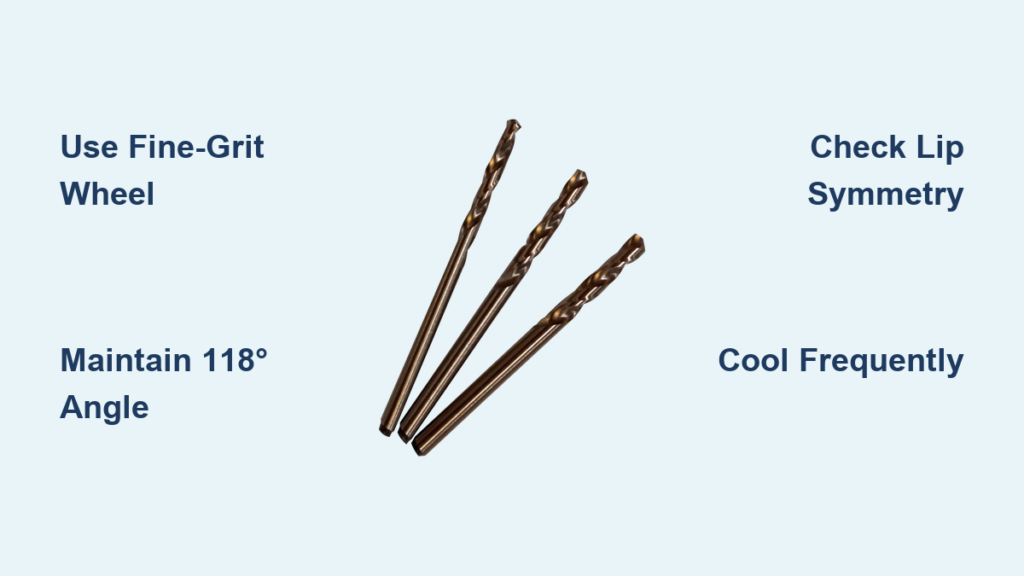
- Fine-Grit Bench Grinder (80-120 grit): Cobalt requires a harder grinding wheel than standard HSS bits. Aluminum oxide wheels work best for cobalt alloys.
- Safety Gear: Safety glasses (essential for eye protection from flying metal particles), heat-resistant gloves, and a respirator mask to avoid inhaling cobalt dust.
- Drill Point Gauge: A specialized tool that measures both point angle (118° or 135°) and lip clearance angle for perfect symmetry.
- Magnifying Loupe (5x-10x): Critical for inspecting the microscopic edge geometry of cobalt bits.
- Permanent Marker or Layout Dye: For marking cutting edges to visualize material removal during grinding.
- Coolant Container: Water or specific metalworking coolant to prevent overheating the bit during sharpening.
Why Hand Sharpening Cobalt Drill Bits Beats Replacement Costs
Sharpening your cobalt drill bits saves significant money compared to frequent replacements. A single high-quality cobalt drill bit costs 3-5 times more than standard HSS bits, making sharpening an economic necessity. Properly sharpened cobalt bits maintain 85-90% of their original performance, allowing them to cut through hardened steel and other challenging materials with minimal effort. The key difference with cobalt bits is their higher heat resistance—they can withstand temperatures up to 1100°F without losing hardness—but this also means they require more precise sharpening angles and careful heat management during the process. Unlike cheaper bits that often get discarded when dull, investing time in proper cobalt bit sharpening delivers exceptional return on investment for serious metalworkers.
How to Identify When Your Cobalt Drill Bit Needs Sharpening
Watch for these specific warning signs that indicate your cobalt bit requires sharpening:
- Increased Drilling Force Required: If you’re applying excessive pressure to make the bit cut, the edge is dull.
- Smoke or Discoloration: Visible smoke or blue discoloration on the bit during drilling signals overheating from a dull edge.
- Poor Chip Formation: Instead of clean, curled metal chips, you get powdery or broken fragments.
- Loud Squealing or Chattering: Dull bits create distinctive high-pitched noises during operation.
- Hole Size Inaccuracy: Oversized holes indicate uneven cutting edges from improper sharpening.
Step-by-Step Process for Hand-Sharpening Cobalt Drill Bits
Follow these precise steps to restore your cobalt drill bits to optimal cutting condition.
Step 1: Mark and Inspect the Cutting Edges
Coat both cutting lips with a permanent marker or layout dye before grinding begins. This visual aid shows exactly where material is being removed, preventing over-grinding. Carefully examine the existing point geometry under magnification—note any chipping, uneven wear, or asymmetry. For cobalt bits used primarily on hard metals, verify whether your bit has a standard 118° point angle or the more aggressive 135° split-point geometry common in premium cobalt bits.
Step 2: Establish Perfect Point Angle Geometry
Position yourself comfortably at the grinder with the drill bit held at approximately 60° from horizontal (creating the critical 59° half-angle for a 118° point). The bit’s axis should run parallel to the grinding wheel’s face. For cobalt bits, maintain consistent contact across the entire cutting lip—any uneven pressure creates weak spots that chip during use. Rotate the bit slightly during grinding to create the necessary relief angle (typically 8°-12°) behind the cutting edge, preventing the heel from rubbing against the workpiece.
Step 3: Achieve Perfect Lip Symmetry
This is where most DIY sharpening fails with cobalt bits. After grinding one lip, flip the bit and match the exact same angle and position for the second lip. View the tip straight-on under magnification—both cutting lips must be identical in length and angle. Even a 0.002″ difference creates an off-center hole and uneven wear. Use your drill point gauge frequently to verify symmetry. Cobalt’s hardness means you’ll need fewer passes than with HSS bits, but each pass must be precise—over-grinding wastes expensive cobalt material.
Step 4: Create Proper Web Thickness and Relief
The web (central portion) of a cobalt bit should be thinned slightly to reduce thrust force, especially for bits larger than 1/4″. After establishing the point geometry, gently grind the web’s inner edge to create proper relief without weakening the bit’s structural integrity. This subtle modification significantly improves cutting performance in hard materials but requires extreme care with cobalt’s brittle nature.
Step 5: Final Honing for Razor-Sharp Edge
After primary grinding, use a fine Arkansas stone or 600+ grit ceramic stone to remove any burrs and refine the edge. Hold the stone at the same angle used during grinding and make 5-7 light strokes per lip. This critical step creates a micro-bevel that dramatically extends cutting life. For cobalt bits, avoid excessive honing—too much removes the precise geometry you just established.
Why Using a Drill Bit Sharpening Jig Eliminates Guesswork
Freehand sharpening cobalt bits consistently requires significant practice. A drill bit sharpening jig solves this problem by locking in perfect angles every time.
How to Use a Drill Bit Sharpening Jig for Professional Results
- Secure Your Bit: Insert the cobalt drill bit into the jig’s chuck, ensuring it’s centered and held firmly without wobble.
- Set Precise Angles: Adjust the jig for your specific point angle (118° for general use, 135° for hard materials) and relief angle.
- Grind with Consistency: Present the jig to the grinding wheel, applying even pressure while maintaining the preset angle. The jig automatically creates symmetrical lips.
- Verify and Refine: After initial grinding, check the bit in the jig to ensure perfect symmetry before final honing.
Jigs eliminate the most common mistake with cobalt bits—uneven lip length—which causes binding and poor hole quality. They’re particularly valuable for sharpening multiple bits to identical specifications.
Critical Safety Measures When Sharpening Cobalt Drill Bits
Cobalt drill bit sharpening presents unique hazards that demand special precautions.
How to Prevent Heat Damage During Cobalt Bit Sharpening
Overheating is the #1 cause of failed sharpening attempts with cobalt bits. Their high cobalt content (5-8%) makes them susceptible to losing temper if heated above 1000°F. To prevent this:
- Dip the bit in coolant after every 2-3 seconds of grinding
- Never press hard against the grinding wheel—let the abrasive do the work
- Take frequent breaks to allow the bit to cool completely
- Use a lower RPM setting on your grinder (2,500-3,000 RPM ideal)
A bit that turns blue during sharpening has likely been overheated and will require complete regrinding after proper annealing.
How to Avoid Respiratory Hazards from Cobalt Dust
Cobalt dust is a known respiratory hazard. Always wear an N95 respirator or better when sharpening cobalt bits, and work in a well-ventilated area. Consider using a grinder with a dust collection system to minimize airborne particles. Never use compressed air to clean cobalt dust from your workspace.
Testing Your Sharpened Cobalt Drill Bit for Professional Results
Don’t trust your project to a poorly sharpened bit—verify performance before critical work.
How to Confirm Proper Sharpening on Scrap Material
Test your sharpened cobalt bit on the same material you’ll be drilling in your actual project. A properly sharpened bit will:
- Cut cleanly with minimal pressure (less than 20 lbs of feed force)
- Produce continuous, tightly curled chips (not powdery fragments)
- Create holes to exact diameter specifications
- Operate without significant heat generation or smoke
- Start drilling without “walking” or wandering
If your bit exhibits any of the warning signs mentioned earlier, return to the grinder for minor adjustments—typically just 1-2 light passes per lip are needed.
Maintaining Your Sharpened Cobalt Drill Bits for Maximum Longevity
Proper storage and usage techniques extend the life of your carefully sharpened cobalt bits.
- Store bits in individual foam slots or protective cases to prevent tip damage
- Use appropriate cutting speeds (reduced by 25% compared to HSS bits)
- Apply cutting fluid for all metal drilling operations
- Avoid hammer drilling with standard cobalt bits (use specialized masonry bits instead)
- Periodically inspect bits for early signs of wear before they become severely dull
By mastering how to sharpen a cobalt drill bit correctly, you’ll maintain professional drilling performance while maximizing your investment in these premium tools. Remember that cobalt bits demand more precise sharpening than standard HSS bits, but the payoff in extended tool life and consistent performance makes the effort worthwhile. A properly sharpened cobalt drill bit cuts cleaner, lasts longer, and delivers more accurate results—transforming frustrating drilling sessions into smooth, professional operations.


