
That gurgling sound followed by a slowly rising water level in your sink or toilet is a homeowner’s nightmare. When plunging fails and chemical drain cleaners just mask the problem, you need serious clog-clearing power—exactly what the Kobalt 1/2-inch x 25-foot drum auger delivers. This heavy-duty drain snake tackles deep blockages in main sewer lines that simpler tools can’t reach, saving you hundreds in emergency plumber fees. In this guide, you’ll learn exactly how to use your Kobalt drum auger safely and effectively to restore proper drainage in toilets, showers, tubs, and floor drains without damaging your plumbing.
Unlike flimsy handheld snakes, the Kobalt drum auger’s spring-loaded cable mechanism provides the torque needed to break through tree roots, hardened grease, and stubborn hair clogs deep in your pipes. Proper technique is crucial—force it incorrectly and you’ll kink the cable or scratch your porcelain fixtures. Get it right, and you’ll clear most household clogs in under 30 minutes with minimal mess. Let’s dive into the precise steps that separate DIY drain heroes from those who end up calling a plumber anyway.
Essential Gear Setup for Kobalt 1/2-Inch x 25-Ft. Drain Auger Operation

Before touching your clogged drain, assemble these critical items to ensure safety and effectiveness:
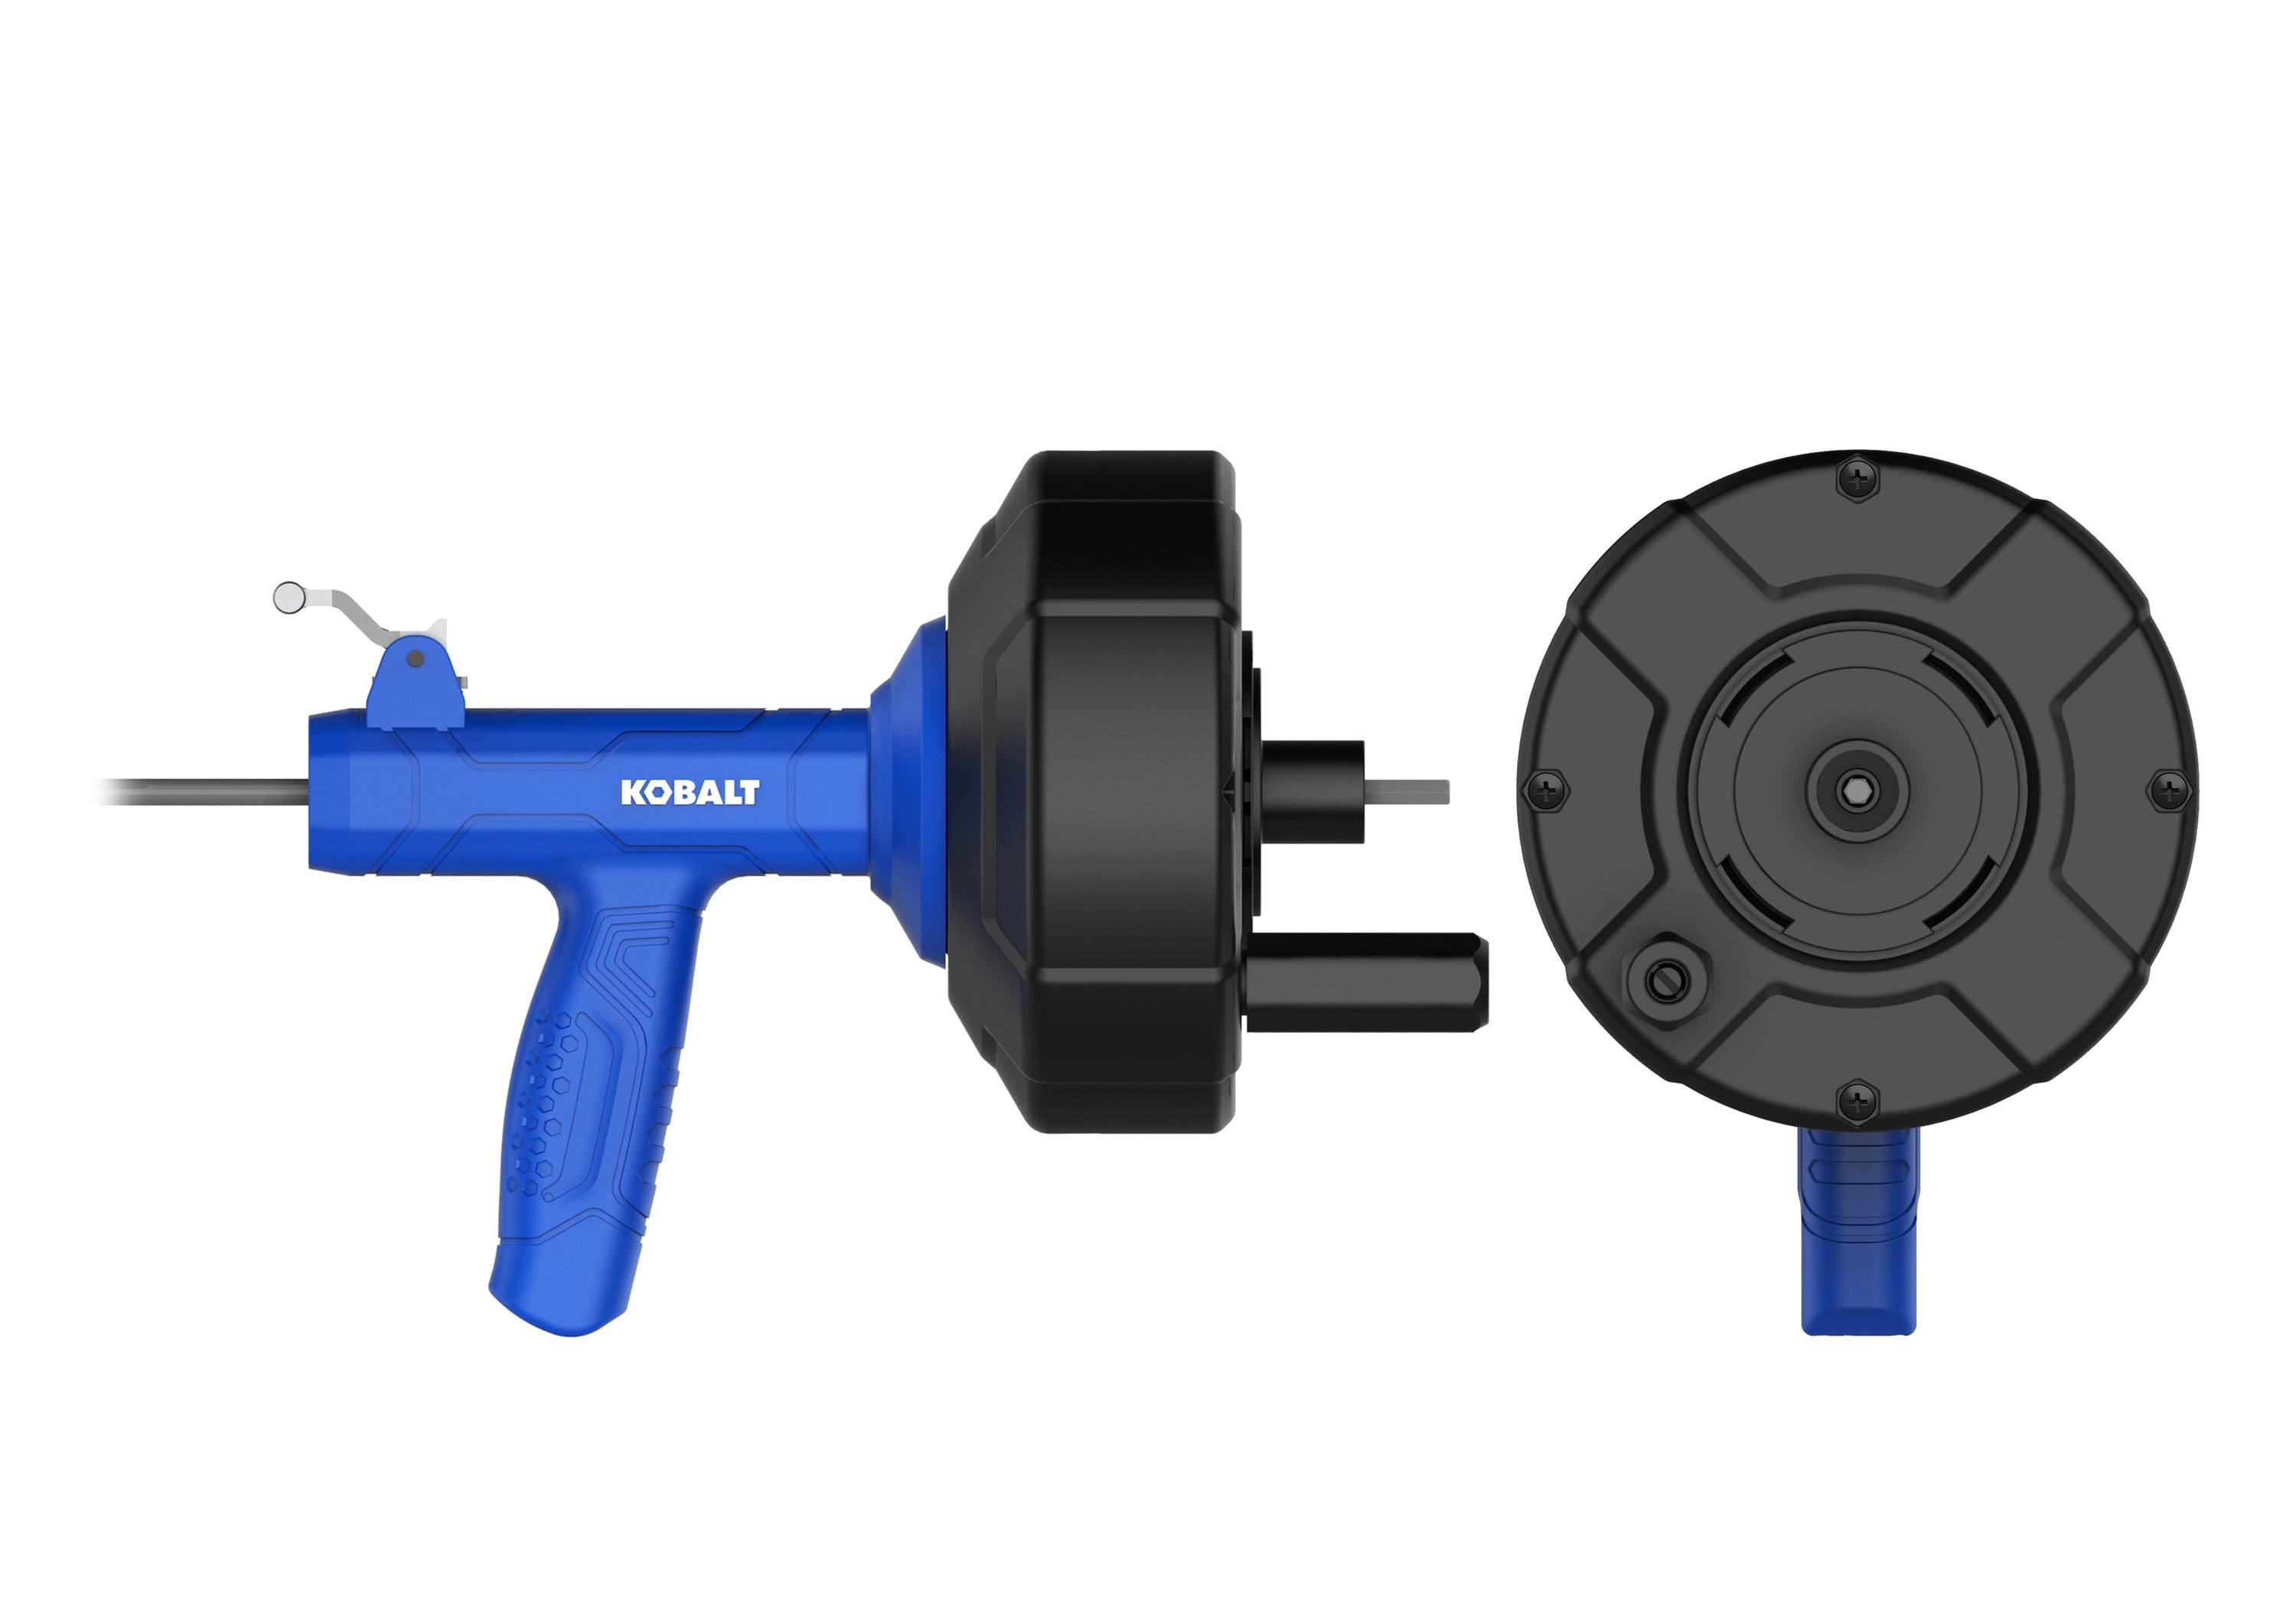
- Kobalt 1/2-inch x 25-foot drum auger with handle properly attached
- Heavy-duty rubber work gloves (latex won’t protect against sharp cable edges)
- Safety goggles—non-negotiable when dealing with pressurized wastewater
- Old towels and bucket for inevitable splashes and spills
- Flashlight to inspect drain openings before insertion
- Helper for managing cable tension during operation
Why Your Clothing Choices Matter During Auger Use
Wear clothes you’re willing to throw away—drain cleaning is messy work. Synthetic fabrics resist water absorption better than cotton, keeping you drier during operation. Remove jewelry that could catch on the auger mechanism, and secure long hair away from moving parts. If working on a toilet, have a plunger nearby to create suction after cable removal, helping dislodge any remaining debris.
Pre-Operation Safety Checklist for Kobalt Drain Auger
Toilet-Specific Preparation Steps
For toilet clogs, shut off the water supply valve behind the bowl and flush to empty most water. Use a cup to bail out remaining water until the bowl is nearly dry—this prevents messy splashes when inserting the auger. Place towels around the toilet base to catch overflow. Never attempt to clear a completely blocked toilet with standing water above the bowl rim—this requires professional intervention.
Floor and Tub Drain Readiness Protocol
Remove drain covers using a screwdriver or pliers. For pop-up stoppers in sinks and tubs, unscrew the overflow plate to access the stopper mechanism. Shine your flashlight into the drain to check for visible obstructions you can remove by hand first. Clear hair and debris from the strainer basket—this prevents premature cable snags during operation.
Properly Inserting Your Kobalt Drum Auger into Toilets and Drains
Toilet Auger Insertion Technique
Position the drum auger vertically against the toilet bowl rim. Extend 12-18 inches of cable from the drum, creating a gentle curve at the tip. Insert the cable through the toilet’s internal S-trap at a slight downward angle, rotating the drum handle clockwise as you advance. The curved tip should follow the pipe’s natural contour—forcing it straight down will jam against the porcelain.
Shower and Floor Drain Insertion Method
For horizontal drains, feed the cable straight in while maintaining slight downward pressure. The initial 2-3 feet typically contains the most hair and soap scum buildup. If you hit immediate resistance, back off and check for visible obstructions in the drain opening you missed during preparation.
Mastering Cable Feed Technique for Stubborn Clogs
Recognizing Normal vs. Dangerous Resistance
As you feed the cable, expect mild resistance from pipe bends. Healthy pipe navigation feels like pushing a flexible wire through a curved tube. Dangerous resistance feels solid and unyielding—like hitting a wall. When encountering legitimate bends, maintain steady pressure while slowly cranking the handle clockwise. The drum’s spring mechanism will automatically feed additional cable as you rotate.
Visual Cues That Indicate Proper Cable Positioning
Watch the cable as it enters the drain—smooth, consistent rotation indicates proper navigation. If the cable starts whipping or vibrating violently, stop immediately. This signals the tip has caught in a pipe joint or encountered a sharp obstruction that requires repositioning. Pull back 6-12 inches and try again with slightly different angle.
Effective Cranking Methods to Break Up Deep Drain Blockages
Optimal Hand Position for Maximum Control
Grip the drum housing firmly with your non-dominant hand while cranking with your dominant hand. Keep elbows slightly bent to absorb sudden resistance. Maintain consistent clockwise rotation at about 30 RPM—faster spinning reduces control and increases cable kinking risk. Apply forward pressure only when rotation feels smooth.
Interpreting Feedback Through the Handle
Experienced users “read” clogs through handle vibrations. A rhythmic pulsing indicates the cable tip is working through hair or fibrous material. A sudden “give” followed by easier rotation means you’ve broken through the obstruction. Consistent solid resistance that doesn’t yield after multiple attempts signals you’ve hit a pipe joint or more serious blockage requiring different tactics.
Retrieving Your Kobalt Auger After Clearing the Clog
Safe Cable Withdrawal Procedure
Once you feel the clog break through, continue cranking clockwise for 5-10 full rotations to ensure complete clearance. Then slowly reverse direction to retract the cable. Maintain slight backward tension on the cable as it retracts—this prevents loops from forming inside the drum. Expect debris to follow the cable out, so keep your bucket positioned underneath.
Critical Mistake: Rushing the Retraction Process
Never release the crank handle during retraction—this allows the spring mechanism to violently retract the cable, potentially whipping it around the room. Maintain controlled counter-rotation at all times. If the cable snags during withdrawal, gently rotate clockwise again to free it before continuing retraction.
Verifying Clear Flow and Post-Use Cleaning Procedures
Testing Drain Functionality After Auger Use
Run lukewarm water slowly at first, watching for any gurgling or backup signs. If using on a toilet, fill a 5-gallon bucket and pour it rapidly into the bowl—this simulates normal flush volume. Properly cleared drains should accept full flow without hesitation. If drainage remains slow, repeat the augering process with the cable inserted at a different angle to target remaining blockage.
Complete Cleaning Protocol Before Storage
Rinse the entire cable with a garden hose until water runs clear—pay special attention to the first 5 feet where most debris accumulates. Wipe the drum housing with a damp cloth and mild detergent. Fully retract the cable while cleaning to ensure all sections are washed. Store in a dry location away from direct sunlight, which degrades the cable over time.
Critical Mistakes That Damage Pipes When Using Kobalt Augers
Why Forcing the Cable Causes Costly Damage
Excessive forward pressure while encountering resistance is the #1 cause of scratched pipes and damaged fixtures. The Kobalt auger’s 1/2-inch cable can gouge PVC and scratch porcelain if forced incorrectly. When resistance feels solid, back off and try a different angle—never apply brute force. If the cable won’t advance after multiple attempts, the obstruction likely requires professional equipment.
The Hidden Danger of Power Drill Attachments
While Kobalt offers drill attachments for some models, using power tools with the standard 1/2-inch x 25-foot drum auger risks catastrophic cable breakage inside your pipes. The manual crank provides essential tactile feedback that power tools eliminate. Reserve power operation for Kobalt’s heavy-duty models specifically designed for it.
Recognizing When Your Kobalt Auger Isn’t Enough for the Job
Clear Indicators You Need Professional Help
If you’ve extended the full 25 feet of cable without encountering or clearing the clog, you’re likely dealing with a main sewer line obstruction beyond this tool’s capability. Other red flags include multiple fixtures backing up simultaneously, foul sewage odors throughout your home, or water surfacing in unexpected places like basement floor drains. These indicate problems requiring camera inspection and professional-grade equipment.
When to Upgrade Your Kobalt Drain Clearing Arsenal
For homes with frequent deep clogs, consider adding Kobalt’s 3/4-inch x 50-foot auger for main line access. Properties with mature trees nearby often need the Kobalt rooter blade attachment to cut through invasive roots. If you regularly tackle commercial plumbing, invest in Kobalt’s motorized drain cleaner models designed for heavy-duty use.
Final Note: Using your Kobalt drum auger correctly transforms drain emergencies from panic-inducing disasters into manageable DIY projects. Remember to always start with safety gear, feed the cable gently, interpret resistance correctly, and know when to call professionals. Proper maintenance after each use ensures your Kobalt auger remains reliable for years—rinse thoroughly, store dry, and never force the mechanism. With these techniques mastered, you’ll clear 90% of household clogs without waiting for a plumber’s arrival. For persistent issues beyond your Kobalt auger’s reach, document exactly how far the cable advanced before resistance to help professionals diagnose the problem faster.


