
You point your monocular at a distant hawk perched on a ridge—only to see a fuzzy outline instead of sharp feathers. Frustrating? Absolutely. But focusing a monocular telescope doesn’t have to be complicated. With the right technique, you can go from blur to brilliance in seconds. Unlike cameras or binoculars that sometimes auto-adjust, monoculars rely entirely on your hands and eyes to deliver crystal-clear views. Whether you’re scanning for wildlife, navigating unfamiliar terrain, or stargazing under a moonless sky, mastering focus transforms your compact optic into a precision tool.
This guide delivers only what matters: field-tested steps to achieve perfect focus every time. No fluff, no jargon—just clear instructions based on real-world use. You’ll learn how to stabilize your view, align with your dominant eye, adjust for eyewear, and fine-tune focus for daylight, night, or fast-moving targets. By the end, you’ll know exactly how to make the most of your monocular—no guesswork required.
Prepare Your Monocular and Viewing Conditions
Before turning the focus ring, ensure your setup supports clarity. Even high-end optics fail when compromised by dirt, movement, or sudden temperature changes.
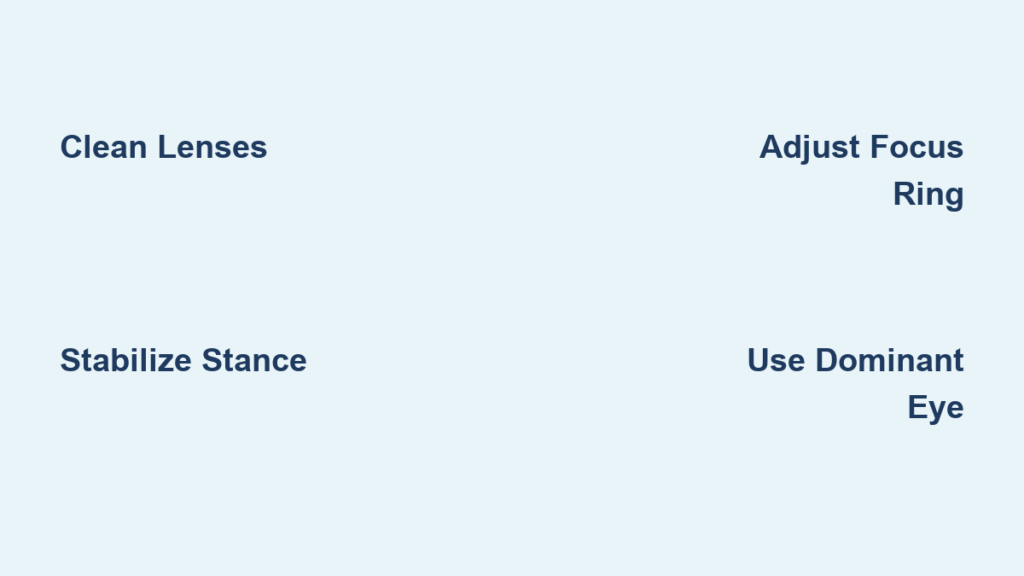
Clean Lenses Properly to Avoid Blurred Images
Dust, oil, or moisture scatters light and sabotages focus. Start by using a rocket blower to remove loose particles—never wipe a dirty lens, as grit can scratch coatings. Then, apply a drop of lens cleaning solution to a microfiber cloth, not directly on the glass. Gently wipe the ocular (eye-side) and objective (front) lenses in a circular motion from center to edge.
Pro Tip: Always replace lens caps after use. A scratched coating reduces contrast and makes fine focus nearly impossible.
Stabilize Your Position for Sharper Focus
At 8x magnification or higher, hand tremors are amplified, making the image wobble like a shaky video. To steady your view:
– Rest your elbows on your knees, a rock, or a table.
– Lean against a tree or wall.
– Use a tripod with a 1/4″-20 adapter for extended observation.
Even slight support dramatically improves focus accuracy, especially in low light when your pupils dilate and detail fades.
Allow Time for Temperature Adjustment
Bringing a warm monocular into cold air can cause internal fogging. Wait 20–30 minutes before use to let the device acclimate. This prevents condensation inside the housing and ensures lenses settle into optimal alignment.
Choose the Right Target for Fast, Accurate Focusing

Starting with a poor target leads to frustration. Pick wisely to train your hands and eyes.
Select High-Contrast, Stationary Objects
Begin in daylight with items that have sharp edges:
– Power line insulators
– Tree branches
– Road signs
– Rooftop corners
Avoid fast-moving animals or dim stars until you’ve mastered basic focus control.
Use Naked-Eye Targeting to Speed Up Acquisition
Look at your chosen object with both eyes open. Then bring the monocular to your eye while keeping the target mentally centered. This naked-eye targeting method prevents disorientation, especially at high magnifications where the field of view is narrow.
Expert Note: Keeping both eyes open reduces eye strain and maintains spatial awareness—critical during long observation sessions.
Align with Your Dominant Eye for Clearer Viewing
A misaligned eye position causes blurry images and difficulty focusing.
Identify Your Dominant Eye Quickly
Do this simple test:
1. Extend your arms and form a small triangle with your thumbs and index fingers.
2. Center a distant object in the triangle while looking with both eyes.
3. Close one eye. If the object stays in view, that eye is dominant.
Right-eye dominant? Hold the monocular in your right hand. Left-eye dominant? Use your left hand. Proper alignment improves stability and comfort.
Adjust Eyecups Based on Eyewear Needs
- Wear glasses? Retract rubber eyecups and confirm your monocular has at least 14mm of eye relief to avoid tunnel vision.
- No glasses? Extend the eyecups to block stray light and boost image contrast.
Improper settings cause blackouts around the edges, reducing your usable field of view.
Rotate the Focus Ring with Precision
Now comes the core action: adjusting focus.
Turn the Focus Wheel Slowly and Watch for Sharpness
Most monoculars have a central focus ring near the hinge. Rotate it gently with your fingertips:
– Try clockwise first; if blurring worsens, reverse direction.
– Watch the image carefully—stop as soon as clarity begins to improve.
– Make small back-and-forth adjustments to find the sharpness peak.
There’s no universal setting. Focus changes with distance, so always re-adjust when switching targets.
Know Your Minimum Focus Distance
Most models focus from 6 feet (2 meters) to infinity. Some “close-focus” variants reach as near as 3 feet (1 meter). If you can’t focus on something nearby, check your specs—it may simply be too close.
Example: A trail sign 10 feet away? A standard 8×42 monocular handles it easily. But a flower at 1 foot? That’s beyond most models’ range.
Optimize Focus for Specific Activities

Different scenarios demand tailored techniques.
For Bird Watching and Wildlife Observation
- Start on a static perch (e.g., a branch), get sharp focus, then track the bird.
- Use 8x magnification for wider field of view and easier tracking.
- Re-focus constantly as animals move.
- Mount on a tripod for digiscoping (attaching a smartphone).
Pro Tip: Practice rapid refocusing between near (10 ft) and far (100+ ft) objects to build muscle memory.
For Stargazing and Night Use
- Begin with bright objects like the Moon or Jupiter.
- Let your eyes adapt to darkness for 20–30 minutes.
- Use a red flashlight to preserve night vision while adjusting.
- Fine-tune until stars appear as pinpoint dots—no halos or smearing.
In low light, use high-contrast silhouettes (e.g., a treetop against the sky) to judge focus.
For Survival and Navigation
- Scan ridgelines to assess terrain, water sources, or hazards.
- Identify edible plants (e.g., acorns, berries) from a safe distance.
- Monitor predators or snakes without approaching.
- Pre-scout landmarks in daylight for night navigation.
A focused monocular can mean the difference between spotting danger early—or missing it.
Adjust for Diopter Differences (If Your Model Supports It)
Some monoculars include a diopter adjustment ring for users with uneven vision.
How to Set the Diopter Correctly
- Cover the objective lens or close one eye.
- Focus on a distant object using only your non-dominant eye.
- Adjust the diopter ring until the image is sharp.
- Lock it in place—now only the main focus wheel needs adjustment.
This ensures consistent clarity when switching between monocular and naked-eye viewing.
Troubleshoot Common Focusing Problems
Even with perfect technique, issues arise. Here’s how to fix them.
Image Remains Blurry
| Cause | Solution |
|---|---|
| Dirty or fogged lenses | Clean with microfiber; let dew evaporate naturally |
| Internal condensation | Allow time to acclimate; store in dry environment |
| Scratched or degraded coating | Replace or service—no DIY repair |
Warning: Never immerse in water or use household cleaners.
Can’t Focus on Close Objects
Check your minimum focus distance. Standard models start at ~6 ft. Need closer? Look for a “close-focus” model.
Blurry When Wearing Glasses
Likely due to insufficient eye relief or misaligned eyecups. Confirm ≥14mm eye relief and retract eyecups fully.
Focus Drifts After Adjustment
If the ring turns on its own, stop use. This indicates mechanical wear—contact the manufacturer.
Double Images or Distortion
Caused by prism misalignment or damaged optics. Requires professional collimation or replacement.
Enhance Performance with Essential Accessories
Upgrade your setup for better control.
Use a Tripod Adapter
Attach via 1/4″-20 threaded mount for:
– Hands-free viewing
– Sharper focus in low light
– Stable digiscoping
Ideal for astronomy or long wildlife watches.
Wear a Neck Strap
Prevents drops and allows instant deployment. Choose one with a quick-release buckle.
Carry a Lens Pen
Compact and effective for removing smudges in the field. Avoid pocket tissues—they scratch coatings.
Maintain Sharp Focus Over Time
Proper care keeps your monocular performing like new.
Store It Right
- Keep in a cool, dry place away from sunlight.
- Use a padded case.
- Avoid hot cars or damp basements.
Clean Only When Necessary
Over-cleaning wears down anti-reflective coatings. Blow off dust first, wipe only when smudged.
Avoid Temperature Shocks
Let the monocular adjust gradually—don’t go from freezing cold to steaming hot environments instantly.
Critical Safety Warnings
Your eyes are irreplaceable.
Never Look at the Sun
Even briefly. A monocular concentrates sunlight like a magnifying glass. Instant, permanent blindness can occur. Use only with a certified solar filter.
Don’t Use for Fire Starting
Risks melting internal components and causing eye injury.
Avoid Moving While Using
Do not walk, drive, or paddle while observing. Monoculars impair depth perception and situational awareness.
Special Tips for Night Vision and IR Monoculars
If you own an infrared (IR) model:
Never Stare Into the IR Emitter
The beam is near-invisible but can damage your retina. Point only at targets, never at people.
Use IR Mode Judiciously
In total darkness, activate IR illumination—but know it may be detected by others with night vision.
Refocus in Low Light
Objects lack contrast in the dark. Use silhouettes (e.g., a tree against the sky) to achieve precise focus.
Summary: Master Monocular Focus in 6 Steps
- Prepare: Clean lenses, stabilize stance, acclimate to temperature.
- Target: Pick a high-contrast, stationary object using naked-eye aiming.
- Align: Use dominant eye, adjust eyecups for glasses or bare eyes.
- Focus: Turn ring slowly, reverse if blur worsens, fine-tune to sharpness peak.
- Adapt: Re-focus when changing distance or lighting.
- Maintain: Cap lenses, store dry, clean gently.
With practice, focusing becomes instinctive. You’ll shift from frustration to clarity in seconds—unlocking detailed views of birds in flight, lunar craters, or distant trails. Whether you’re an explorer, prepper, or casual observer, how to focus a monocular telescope is the foundational skill that transforms a simple tool into a window on the world. Master it, and you’ll never miss a detail again.


