
That frustrating moment when birds vanish before you get a clear look, or concert performers appear as tiny blurs? Choosing the right binoculars transforms distant scenes into vivid close-ups. With specifications like “8×42” and prism types confusing beginners, most buyers either overspend on unnecessary features or end up with shaky, dim views. This guide cuts through the marketing jargon to show exactly how to match binoculars to your specific needs—whether you’re tracking warblers in dense forests, scanning ocean horizons, or stargazing from your backyard. You’ll learn to decode critical specs in under 5 minutes and avoid the #1 mistake that ruins viewing experiences.
Why Your First Binocular Purchase Should Start with 8×42 Specs
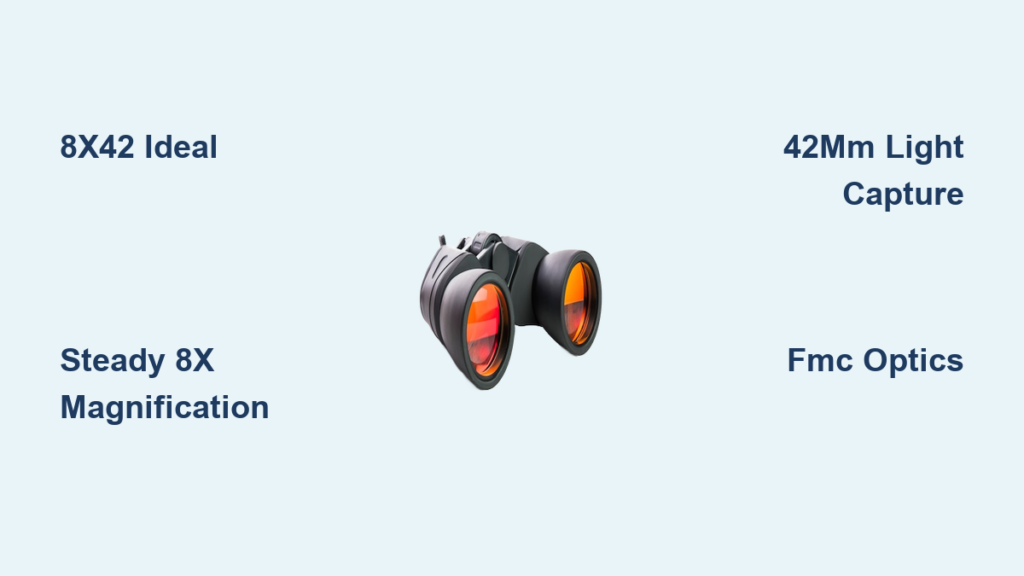
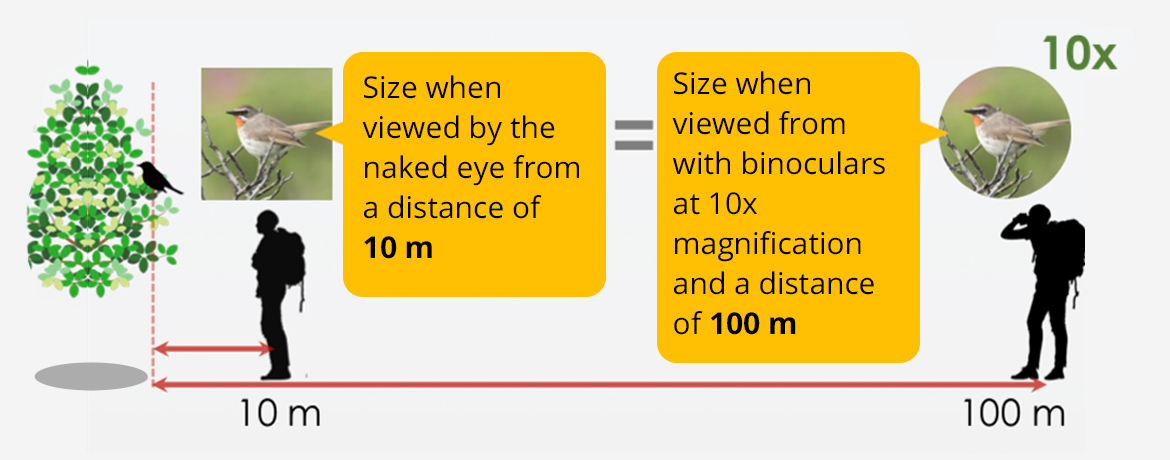
Stop guessing what those numbers mean—they directly determine your viewing success. An “8×42” designation tells you two mission-critical things: 8x magnification brings objects eight times closer than your naked eye, while the 42mm objective lens diameter controls light intake. Here’s why this combo dominates outdoor use: The 8x power minimizes hand shake during extended viewing (unlike shakier 10x or 12x models), while the 42mm lenses gather ample light for dawn birding or forest hikes. Crucially, dividing objective lens size by magnification gives your exit pupil (42 ÷ 8 = 5.25mm). For reliable low-light performance when tracking owls at dusk, you need at least 5mm—making 8×42 ideal while 10×25 models (0.4mm exit pupil) leave you straining in dim conditions.
How to Calculate Your Real-World Exit Pupil Needs
- Daylight use: 3mm+ exit pupil suffices (e.g., 8×25 = 3.1mm)
- Dawn/dusk wildlife: Demand 5mm+ (8×42 = 5.25mm)
- Astronomy: Target 7mm (7×50 = 7.1mm) to match your eye’s dilation
Stop Hand Shake: Choosing the Right Magnification for Steady Wildlife Viewing
Higher magnification isn’t better—it’s often unusable without a tripod. If your hands tremble when focusing on distant hawks or game animals, you’ve chosen too much power. For handheld stability during critical moments:
– 8x magnification: The sweet spot for most users. Provides a wide field of view (often 367+ ft at 1,000 yards) to track darting birds while minimizing shake. Essential for all-day birding hikes.
– 10x magnification: Only consider if you have rock-steady hands or plan tripod use. While it brings elk 25% closer than 8x, even slight movement blurs fine feather details. Requires 15+ seconds to refocus after panning.
– 12x+ magnification: Strictly for astronomy or stationary observation with tripod mounts. Handheld use turns landscapes into a seasick blur.
Pro tip: Test stability by holding binoculars at arm’s length while focusing on text 20 feet away. If words jiggle more than 10% of the field, drop to 8x.
Low-Light Viewing Secrets: How Objective Lens Size (42mm vs. 50mm) Affects Brightness
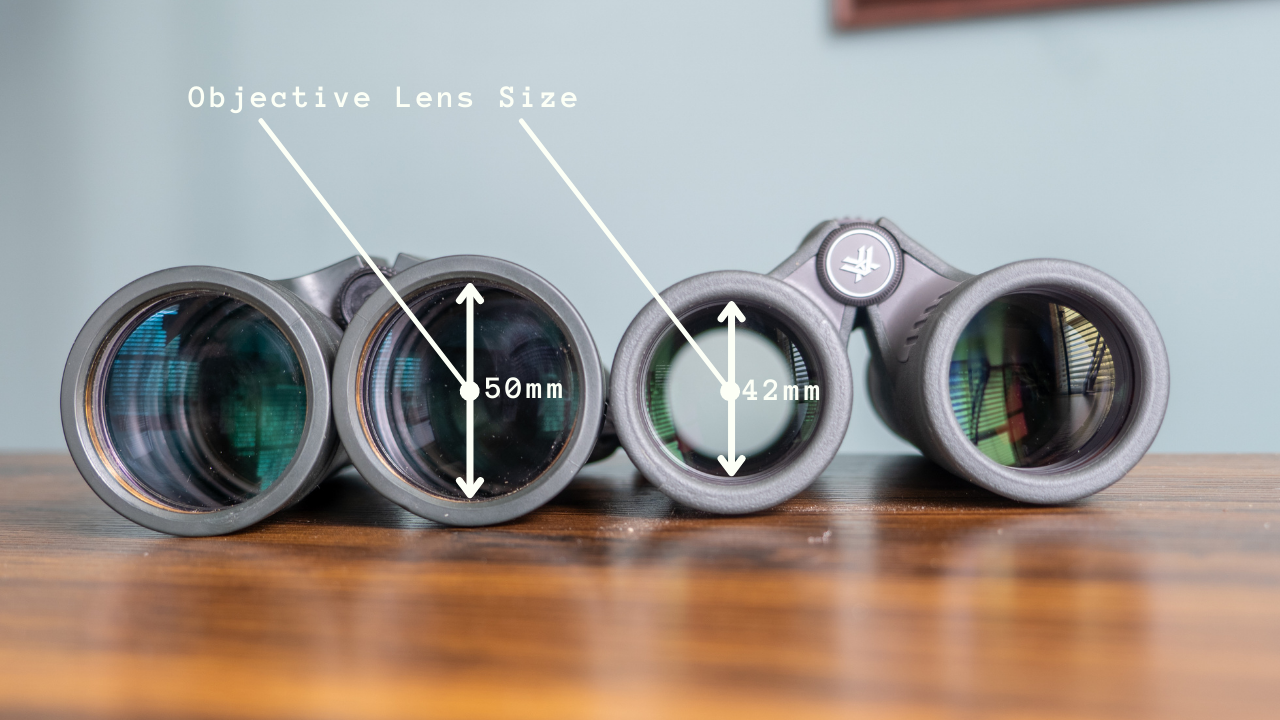
That extra 8mm in lens diameter isn’t just about weight—it’s your ticket to seeing in near-darkness. Larger objective lenses (like 50mm in 10×50 models) capture significantly more photons than 42mm versions, but they add 30%+ weight. Here’s the real-world tradeoff:
– 42mm lenses (8×42): Perfect balance for dawn birding. Bright enough under forest canopy while staying under 24oz—crucial when your neck aches after 3 hours.
– 50mm+ lenses (10×50): Non-negotiable for astronomy or open-field stargazing. Delivers 40% more light than 42mm, revealing faint star clusters. But expect 32+ oz weight requiring a harness strap.
– 25-32mm lenses (8×25): Only for bright daylight hiking. Image dims rapidly after 4 PM, making owl spotting impossible.
Porro vs. Roof Prism Binoculars: Which Design Fits Your Birding or Hiking Needs?

The prism inside determines durability and depth perception—not just shape. Porro prism binoculars (with offset eyepieces) provide superior 3D-like depth for judging bird distances in tangled branches. But their zigzag design is bulkier and harder to pack. Roof prism models (straight barrels) dominate hiking trails because they’re 20% slimmer and withstand drops onto rocks. However, cheap roof prisms lose resolution without phase-correction coatings—so always verify “phase-corrected” in specs for birding use. For marine or hunting where waterproofing matters, roof prisms win with O-ring seals that prevent fogging during sudden rain squalls.
Critical Roof Prism Check for Eyeglass Wearers
Look for “15mm+ eye relief” and twist-up eyecups. Standard 12mm relief forces you to press lenses against glasses, cutting your field of view by 30%. Porro designs often exceed 18mm relief—ideal if you wear thick prescription lenses.
Why Fully Multi-Coated Optics Are Non-Negotiable for Dawn Birding
Uncoated lenses lose 4% of light per glass surface through reflection. That’s why budget binoculars turn sunrise vistas into muddy brown scenes. Demand “fully multi-coated” (FMC) optics where every air-to-glass surface has multiple anti-reflective layers. This boosts light transmission from 70% (basic coated) to 95%—critical when identifying warbler species by faint yellow breast streaks at first light. For astronomy, add phase-correction coatings on roof prisms to prevent color fringing on stars. Skip “fully coated” or “multi-coated” labels—they only cover some surfaces and fail in low light.
Best Binoculars for Birdwatching: Why 8×42 Is the Field Standard
Professional birders overwhelmingly choose 8×42 for three field-tested reasons: First, the 8x magnification holds steady while scanning treetops. Second, the 5.25mm exit pupil captures enough dawn light to spot sparrows in shadowy thickets. Third, most weigh 20-24oz—light enough for all-day carrying without neck strain. Avoid 10×42 unless you’re stationary; the narrower field of view (often 309 ft vs. 8×42’s 367 ft) makes tracking swifts nearly impossible. Top performers under $500 like the Nikon Monarch 7 or Vortex Diamondback HD deliver FMC optics and 15mm+ eye relief without breaking the bank.
Hiking Binoculars That Won’t Weigh You Down: Compact 8×25 vs. Midsize 8×32
Every ounce counts on trail miles. For day hikes under 10 miles, compact 8×25 binoculars (12-16oz) tuck into hip belts effortlessly. But their tiny 3.1mm exit pupil struggles in afternoon shade—making them poor for spotting bears in forested valleys. Upgrade to midsize 8×32 models for serious backpacking: They add just 4oz but boost light gathering by 30% (4mm exit pupil), revealing elk at 500 yards during golden hour. Crucially, verify “waterproof” and “nitrogen-purged” construction—midsize models like Maven B.1 Series survive river crossings that fog cheaper compacts. Never sacrifice eye relief below 14mm; squinting through narrow views defeats portability gains.
Marine Binoculars: Why 7×50 Models Stay Steady on Choppy Water
Boat motion amplifies hand shake, making higher magnifications useless. Marine binoculars solve this with 7x power—the lowest stable handheld option. Combined with massive 50mm lenses, they deliver a huge 7.1mm exit pupil to cut through ocean haze at dawn. But not all “marine” binoculars float: Demand buoyant rubber armoring (like Steiner’s) and O-ring seals rated IPX7 for submersion survival. Avoid 10x models—they turn wave motion into disorienting jitters. For navigation, add built-in compass reticles, but test alignment accuracy first; misaligned models steer you off course.
Avoid Permanent Damage: Correctly Cleaning Lenses Without Smudges
One fingerprint can ruin low-light viewing, but improper cleaning scratches $500 optics. Never wipe dry lenses—that drags grit across coatings. Instead: First, blast debris with a rocket blower (never breathe on lenses—saliva etches glass). Then, apply 2 drops of lens fluid to a microfiber cloth—not the lens—and wipe in gentle spirals from center outward. Store with caps on and silica gel packs to prevent fungus in humid climates. If waterproofing fails (internal fogging), return immediately—O-ring seals shouldn’t leak within 5 years.
Your Binocular Cheat Sheet: Top Picks Under $500 for Every Activity
Stop overpaying for unused features. For most users, these deliver pro performance without premium prices:
– Birdwatching: Nikon Monarch 7 8×42 ($380)—FMC optics, 16mm eye relief, 367 ft field of view
– Hiking: Maven B.3 8×32 ($475)—weighs 18oz, waterproof, 14mm eye relief
– Stargazing: Celestron SkyMaster 15×70 ($70)—tripod-ready, 4.7mm exit pupil
– Marine: Steiner Commander 7×50 ($450)—buoyant, compass-ready, floats if dropped
Final tip: Test binoculars by focusing on distant text for 60 seconds. If your eyes fatigue or colors look flat, the optics lack proper coatings—walk away. Your perfect pair should make the world snap into vivid focus within 10 seconds, whether you’re spotting eagles or concert headliners.


