
You’ve felt it—that sudden slip when your drill bit camouflages out of a screw head, leaving you with a mangled mess and zero progress. It happens to 9 out of 10 DIYers who try to use a screwdriver drill without mastering its hidden settings. But here’s the truth: your cordless drill isn’t just for boring holes. With the right technique, it becomes the fastest, most precise screwdriver you own—if you stop treating it like a glorified hammer. This guide cuts through the frustration, revealing exactly how to transform your drill into a screw-driving machine that never strips heads or splits wood. You’ll learn clutch settings pros use, why your bit choice is sabotaging every project, and how to rescue stripped screws in 60 seconds flat.
Why Your Drill’s Clutch Setting Makes or Breaks Every Screw Job
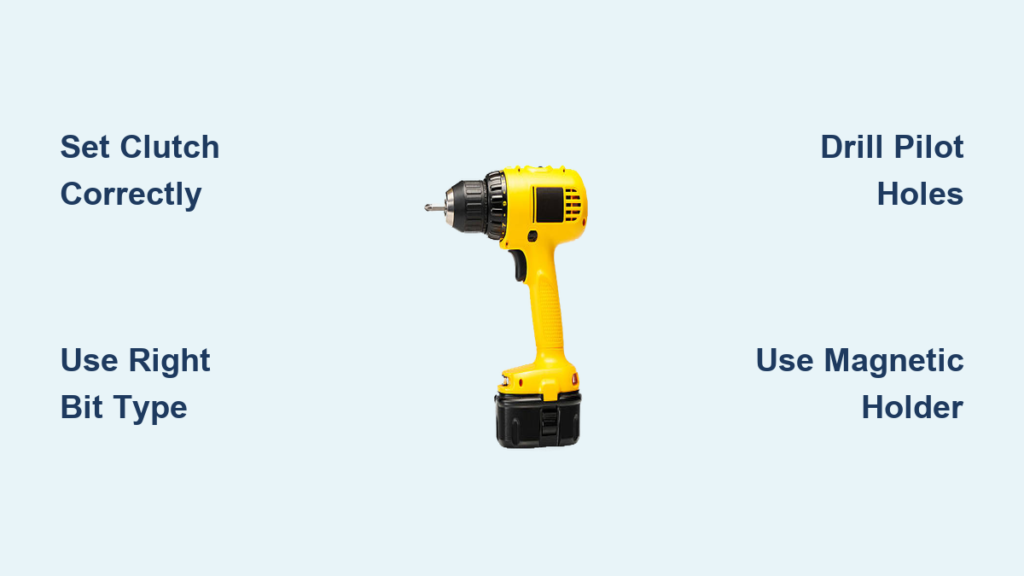
Ignoring the clutch collar is the fastest route to ruined screw heads and splintered wood. That numbered ring near your chuck isn’t decorative—it’s your precision control for flawless screw seating. When set correctly, it disengages the motor the instant your screw hits ideal tightness, preventing over-driving that strips heads or sinks screws too deep.
How to Set the Clutch for Perfect Screw Depth Every Time
Start at setting 2—never max out the torque. Drive a test screw into scrap wood matching your project material. If the clutch clicks before the screw seats flush, bump up one number. If it strips the head or sinks too deep, drop a setting. Hardwoods like oak need lower numbers (1-3) than softwoods like pine (4-6). For particleboard furniture, stop at setting 3—higher torque crushes the material.
Gear Selection: Low vs. High Speed for Screwdriving
- Gear 1 (Low Speed): Mandatory for long deck screws or hardwoods. The high torque prevents bit slippage when starting stubborn fasteners.
- Gear 2 (High Speed): Your go-to for assembling furniture or driving #8 drywall screws. The faster rotation sinks screws rapidly without stripping heads in soft materials.
Pro Tip: Always begin in Gear 1 to seat the screw, then switch to Gear 2 for final driving—this prevents cam-out during critical startup.
The #1 Bit Mistake That Strips Every Screw (And How to Fix It)
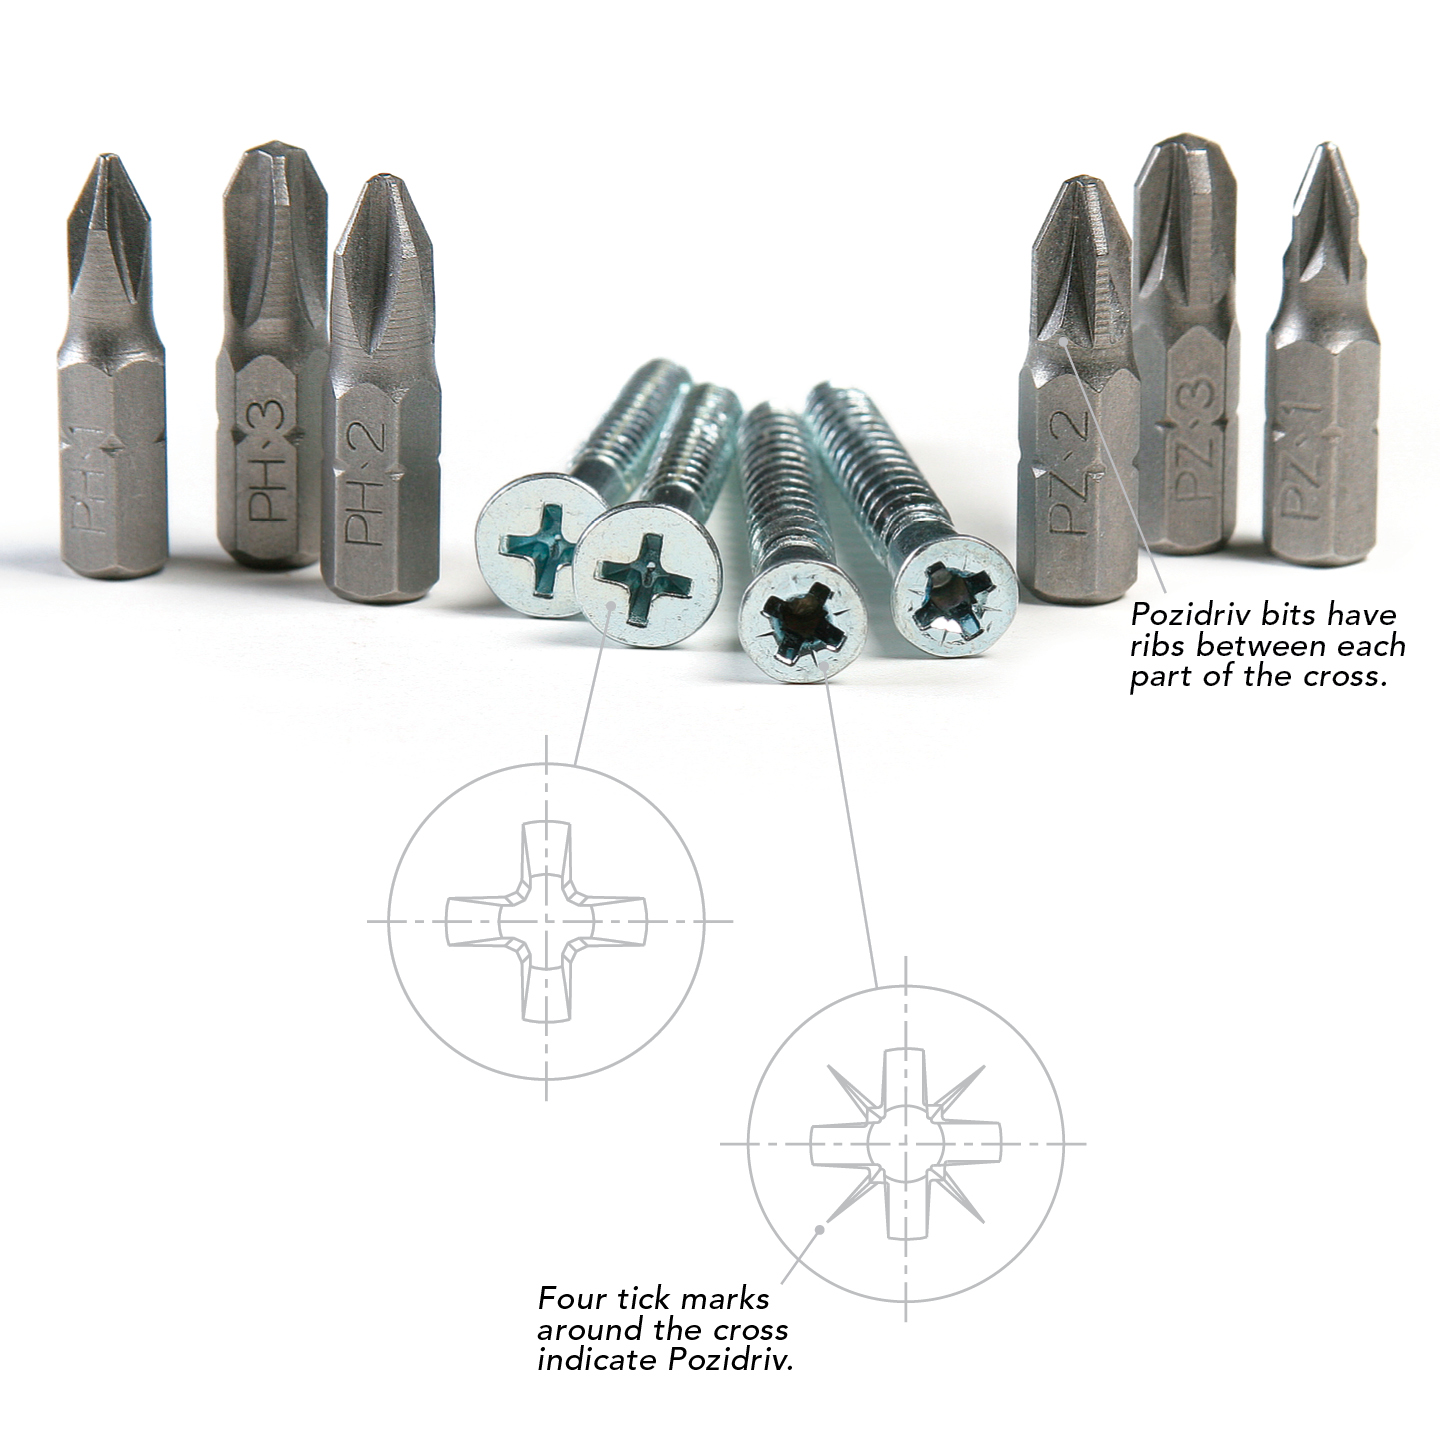
Using a worn Phillips bit on a Pozidriv screw is like forcing a square peg into a round hole—it will fail. Your bit choice determines 80% of your success, yet most DIYers grab whatever’s in the chuck. Match these exact pairings to eliminate stripped heads forever.
Critical Bit-to-Screw Head Matching Guide
| Screw Head Type | Correct Bit | Fatal Mistake to Avoid |
|---|---|---|
| Phillips (PH) | PH2 Bit | Using PH3 on PH2 screws strips heads instantly |
| Pozidriv (PZ) | PZ2 Bit | Never substitute Phillips—extra cross-lines prevent slippage |
| Torx (Star) | T20 Bit | Skipping Torx for furniture screws risks head damage |
| Hex (Allen) | 1/4″ Hex Bit | Using a nut driver instead of a hex bit slips under load |
Replace bits at first wear signs: A dull bit’s rounded edges can’t grip screw recesses. Test yours by pressing into a screw—if it wobbles, toss it. Keep a dedicated screwdriving bit set (not your drill bit collection) for perfect fits.
Magnetic Bit Holder: The $5 Upgrade That Transforms Screwdriving
Trying to balance screws one-handed while aligning your drill? Stop. A magnetic bit holder isn’t optional—it’s the key to driving screws overhead, in corners, or with zero dropped fasteners.
How to Use It for Flawless Starts
- Slide the screw onto the holder’s magnetized tip
- Press the drill straight against the work surface
- Squeeze the trigger gently until threads bite (5 seconds max)
- Release pressure to let the magnet disengage as the screw seats
Pro Tip: For deep countersunk holes, switch to a standard bit after starting—long holders can’t reach full depth.
Step-by-Step: Driving Screws Like a Cabinetmaker
Follow this sequence exactly to sink screws perfectly every time—no stripping, no splitting, no guesswork.
Pre-Drive Checklist (2 Minutes That Save Hours)
- ✅ Pilot hole drilled? Critical for hardwoods or near wood edges (use bit 70% smaller than screw core)
- ✅ Clutch set to 3? Default safe starting point for most woods
- ✅ Gear 1 selected? Ensures controlled startup torque
- ✅ Bit fully seated? Wiggling bits cause instant cam-out
Driving Sequence: The 4-Second Method
- Align perfectly straight—tilt >2° and the bit walks off
- Press firmly against work surface (body weight not needed)
- Trigger squeeze: Start at 20% pressure for first 2 rotations
- Stop at the click—that’s the clutch disengaging at perfect depth
Time Saver: Lubricate wood screws by dragging threads across a bar of soap—reduces friction by 40% and prevents breakage.
Rescuing Stripped Screws When All Hope Seems Lost

When your screw head turns into a useless crater, skip the pliers. These field-tested fixes work in minutes with tools you own.
Rubber Band Extraction Trick (Works 8/10 Times)
- Cut a thick rubber band (bike tire tube ideal)
- Stretch it tightly over the stripped screw head
- Press your bit through the rubber with maximum force
- Reverse drill at lowest speed while applying inward pressure
Why it works: Rubber fills gaps between bit and damaged head, creating grip where metal alone fails.
Torx Bit Salvage for Phillips Screws
Grab a Torx bit one size larger than the screw’s recess (e.g., T25 for #8 Phillips). Hammer it gently into the stripped head—the star points bite into undamaged metal edges. Reverse slowly while applying firm downward pressure.
Why Pilot Holes Prevent Split Wood (And Save Hours)

Skipping pilot holes is the #1 cause of cracked boards—but drill the wrong size, and screws won’t grip. Nail this formula:
Perfect Pilot Hole Sizing Guide
| Screw Size | Pilot Hole Diameter | Clearance Hole Diameter |
|---|---|---|
| #6 | 1/8″ | 3/16″ |
| #8 | 3/16″ | 7/32″ |
| #10 | 7/32″ | 1/4″ |
Clearance holes (top board) let screws slide freely to pull joints tight. Pilot holes (bottom board) prevent splitting by guiding threads. Drill both with a combination bit for professional results in half the time.
Driving Screws in Metal Studs Without Stripping Heads
Metal studs demand different tactics than wood—ignore these and you’ll snap screws constantly.
Metal-Specific Protocol
- Always pre-drill: Use a sharp metal-cutting bit (cobalt or titanium)
- Lubricate: Dip screw tip in liquid dish soap—reduces heat and binding
- Low speed + high torque: Gear 1 with clutch at 5+ prevents bit slippage
- Magnetic holder essential: Holds screws steady on vertical surfaces
Warning: Never use drywall screws in metal studs—they strip instantly. Opt for self-tapping Tek screws designed for metal.
Safety Moves That Prevent Costly Injuries
A spinning drill bit at 1,000 RPM can send metal shards into your eye in 0.2 seconds. Non-negotiable rules:
- Goggles on before trigger pull—even for “quick” jobs
- Clamp workpieces—never hold wood while drilling
- Cord awareness: Keep battery cables clear of rotating bits
- Reverse test first: Always verify drill spins backward before attacking stripped screws
Final Pro Tip: When driving overhead, rest the drill’s base against your shoulder for stability—never brace with your free hand near the chuck.
Mastering how to use a screwdriver drill transforms chaotic projects into smooth victories. Remember: clutch settings prevent 90% of failures, bit precision is non-negotiable, and pilot holes save more wood than any repair trick. Next time your drill starts to click, stop immediately—that’s your signal of perfect tightness. Keep a dedicated screwdriving bit set in your toolkit, lube threads with soap for hardwoods, and rescue stripped screws with the rubber band method. These aren’t just tips—they’re the exact protocols cabinetmakers use to sink 500 screws a day without a single stripped head. Your drill was born to drive screws; now you know how to unleash it.
Final Note: For stubborn stripped screws in metal, switch to a left-handed drill bit—it cuts a new pilot hole while backing out the screw. Keep one in your magnetic holder for emergencies.


