
You’ve got a smartphone with a high-resolution camera and a monocular capable of magnifying distant objects—now imagine combining the two into a powerful, portable imaging system. This technique, known as digiscoping, allows you to capture sharp photos and videos of birds, the moon, landscapes, and more, using your phone’s digital capabilities and the monocular’s optical power. While it might seem as simple as holding your phone up to the eyepiece, getting clear, stable, and well-aligned images requires the right equipment, technique, and patience.
The biggest hurdles? Misalignment, camera shake, and digital zoom pitfalls. Without a solid setup, you’ll end up with black screens, blurry shots, or cropped, grainy images. But with a rigid phone mount, sturdy tripod, and proper alignment, you can achieve results that surprise even seasoned photographers. In this guide, you’ll learn how to connect your phone to a monocular effectively, avoid common mistakes, and use real-world techniques to capture stunning long-distance visuals—whether you’re in the field, on a rooftop, or under the night sky.
Choose a High-Performance Monocular
Opt for 10x–12x Magnification with 50mm+ Lens
For reliable digiscoping, select a monocular with 10x or 12x magnification and an objective lens of 50mm or larger. These specs balance zoom power with image stability and light gathering. Models like the Gosky 10×50 or K&F Concept 12×50 deliver bright, detailed views even at dusk or dawn. Larger lenses ensure better performance in low light—critical for moon photography or wildlife observation during early morning or twilight hours.
Avoid extreme digital zoom claims (e.g., 40x or 80x), as these rely on digital enhancement and degrade image quality. Stick to optical magnification—the true power of your monocular’s lens.
Prioritize Fully Multi-Coated (FMC) Optics
Look for monoculars labeled with Fully Multi-Coated (FMC) lenses. These coatings reduce glare, increase contrast, and improve color accuracy by maximizing light transmission across all air-to-glass surfaces. Without FMC, images may appear hazy or washed out, especially in bright sunlight. This is crucial when aligning your phone’s camera—any loss of clarity is amplified in digital capture.
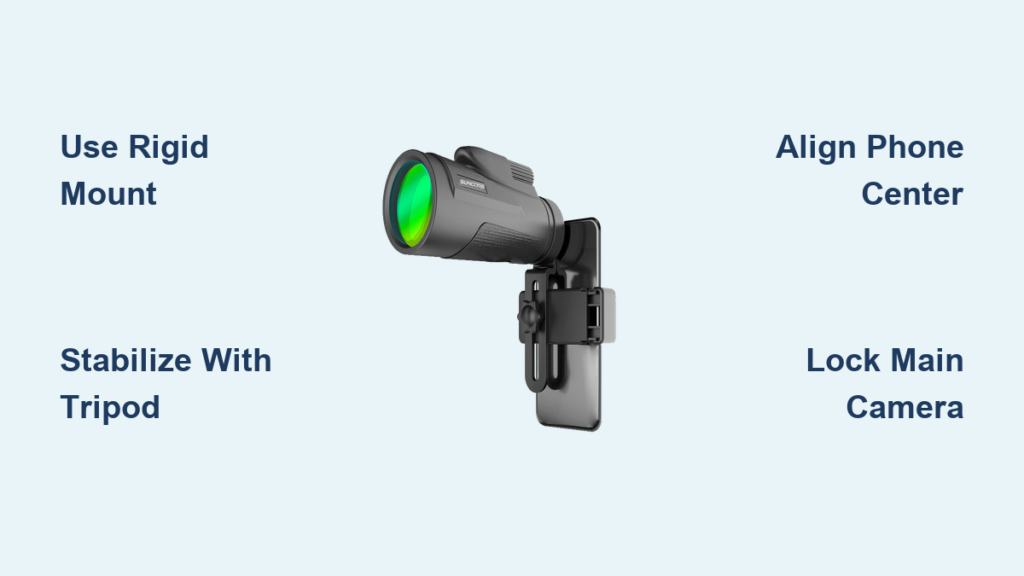
Use a Rigid, Adjustable Phone Mount
Skip Flimsy Plastic Cradles
Many monocular kits include basic plastic cradle adapters that rely on pressure to hold the phone. These are notoriously unreliable—they shift easily, misalign the camera, and often press on volume or power buttons, causing accidental shutdowns. Users frequently report having to realign the phone after every use, making them impractical for serious digiscoping.
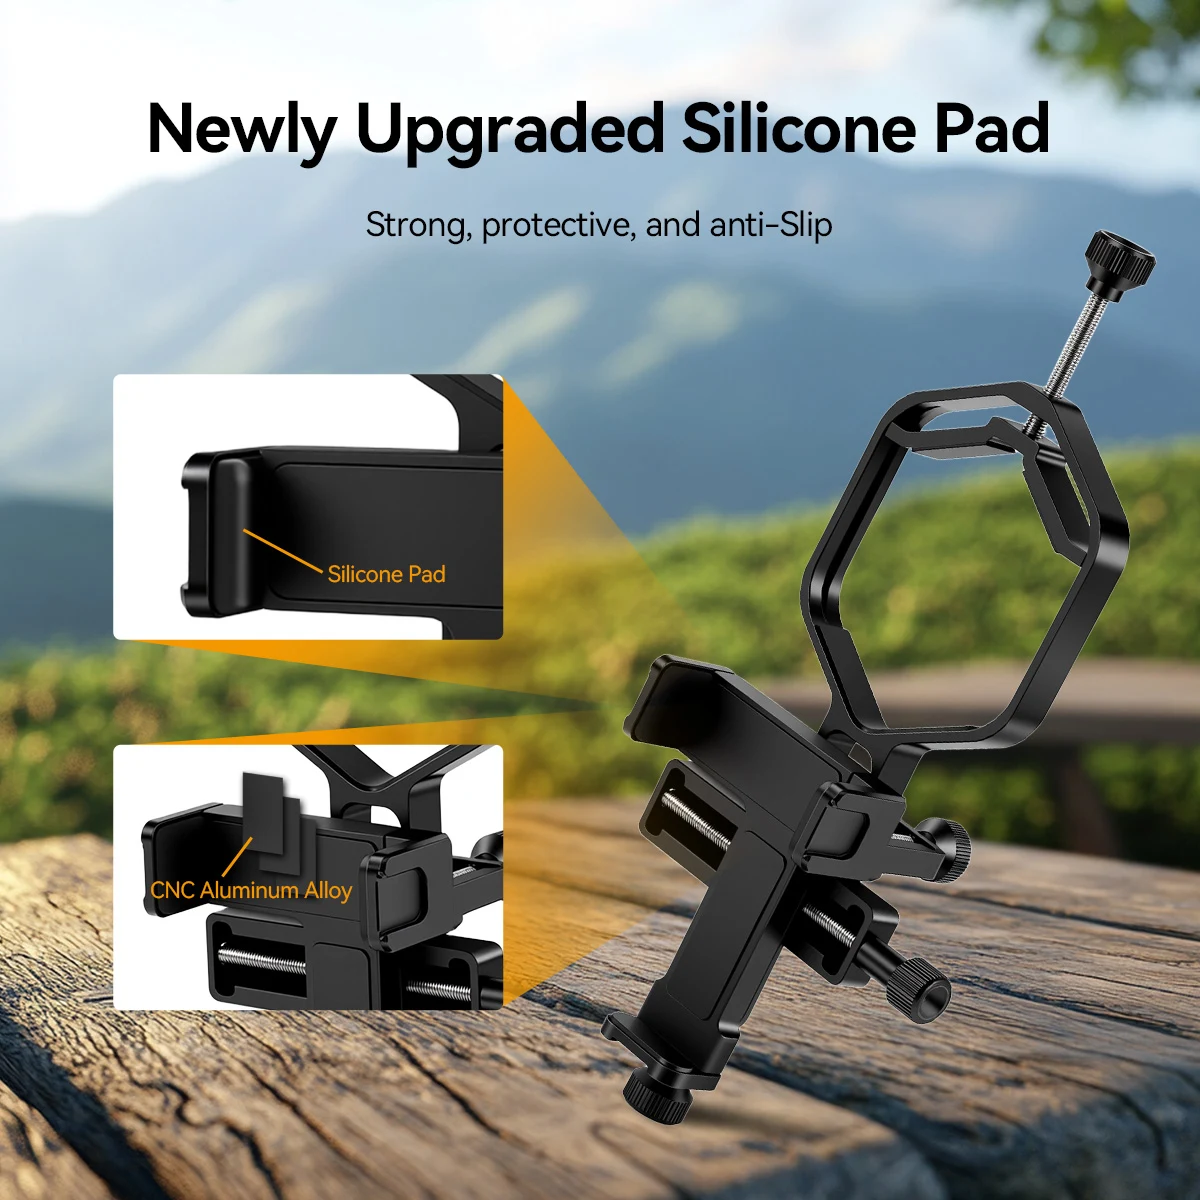
Choose Clamp-Style Universal Mounts
Instead, invest in a clamp-style universal holder from reputable brands like K&F Concept, Gosky, or ScopeCam. These mounts allow fine adjustments to center your phone’s main camera precisely over the monocular’s eyepiece. Their rigid construction minimizes slippage and provides a more consistent setup. Some include rubber padding to protect buttons and prevent unintended activation.
Consider the Televue PhoneMate for Precision
For the most accurate alignment, especially in astronomy or detailed wildlife photography, the Televue PhoneMate is a top-tier choice. Originally designed for telescopes, it fits most monocular eyepieces and uses a rubber-lined sleeve to center and secure the phone. While more expensive, it virtually eliminates blackouts and framing issues, delivering repeatable, professional-grade results.
Stabilize with a Heavy-Duty Tripod

Never Rely on Handheld Use at High Zoom
At 10x magnification or higher, even slight hand movements cause visible shake. Wind as low as 6 mph can make handheld footage unusable. For sharp stills or stable video, a tripod is essential. Attempting digiscoping without one leads to frustration and poor-quality images.
Use a Sturdy Tripod with Counterweight Support
Choose a metal, heavy-duty tripod with a ball or pan-tilt head for smooth, precise adjustments. Lightweight or foldable models often wobble, especially with the added weight of a phone and mount. Look for a tripod with a center hook—you can hang a backpack or weight to increase stability, especially in windy conditions.
Mount the monocular first, then attach the phone. Ensure the entire setup is balanced to prevent tipping or vibration.
Alternative: Anchor to Fixed Structures
If a tripod isn’t available, use the monocular’s 1/4-inch threaded mount to secure it to a fence, railing, or wall bracket. This works well for urban moon photography or balcony-based wildlife observation. Just ensure the surface is stable and doesn’t vibrate when touched.
Align the Phone and Monocular Precisely
Center the Main Camera Over the Eyepiece
Most smartphones have multiple rear cameras. Only the primary (main) lens should align with the monocular’s eyepiece. If the mount shifts and covers the ultrawide or telephoto lens, you’ll get a black or dark image. Always double-check alignment before capturing.
Prevent Button Activation with Shims
Tight clamps often press on side buttons. To avoid accidental shutdowns or volume changes, place rubber washers, folded paper, or silicone pads around the buttons before clamping. This creates space without sacrificing grip. DIY 3D-printed adapters can also solve this permanently.
Test Alignment Using Live View
Open your phone’s camera app and look through the monocular. You should see a full, bright circle with no vignetting or black edges. If the image is offset, loosen the mount and reposition the phone until perfectly centered. A small gap between the phone and adapter is normal—optical alignment is what matters.
Focus and Capture with Professional Technique
Pre-Focus the Monocular First
Do not rely on your phone’s autofocus. Instead, look through the eyepiece and use the central focus knob to sharpen the image. Then attach the phone. This ensures the optics are already tuned. Fine-tune using the twistable eyecup if you wear glasses.
Manually Focus the Phone Camera
Tap the screen to lock focus and exposure on your subject. For more control, use apps like ProCamera (iOS) or Open Camera (Android) to manually adjust focus and exposure. Keep digital zoom at 1x to avoid lens switching.
Use Timer or Remote Shutter to Avoid Shake
Pressing the capture button introduces vibration. Use the 3-second timer or a Bluetooth remote shutter to take photos without touching the phone. For video, start recording the same way to ensure smooth, stable footage.
Optimize Camera Settings for Best Results
Shoot in 1x Zoom Mode
Your monocular provides the optical zoom—keep your phone at 1x digital zoom. Increasing zoom may trigger a switch to another camera lens (e.g., ultrawide), causing blackouts. If you need closer framing, crop the image during editing instead.
Enable HDR for Balanced Exposure
In high-contrast scenes—like a bird against a bright sky—HDR mode blends multiple exposures to preserve detail in both shadows and highlights. This is especially useful during midday or sunset shoots.
Record in RAW for Maximum Editing Flexibility
If your phone supports it, shoot in RAW format using Pro mode or apps like Adobe Lightroom Mobile. RAW files retain more image data, allowing you to recover blown-out skies or darken overly bright areas in post-processing.
Troubleshoot Common Problems
Fix Black Screen Issues
A black image usually means:
– The phone switched to a non-aligned camera lens
– There’s misalignment between the sensor and optical path
– Digital zoom triggered a lens switch
Solution: Lock the camera to the main lens (if supported), restart the app, and re-center the phone.
Reduce Vignetting and Circular Edges
Some setups create a dark ring due to mismatched field sizes. To minimize this:
– Slightly adjust the distance between phone and eyepiece
– Use a monocular with a larger exit pupil
– Crop the image in post-processing
Prevent Overheating and Battery Drain
Extended video recording heats up the phone. Record in short clips, avoid direct sunlight, and close background apps. For long astronomy sessions, consider a cooling fan accessory.
Master Key Use Cases

Capture Birds and Wildlife
Position yourself downwind and at a distance. Use the monocular to identify species like Prothonotary Warblers or Red-shouldered Hawks from 300+ yards. Record behavior, plumage, or flight patterns using your phone.
Photograph the Moon and Stars
Use a 10×50 or 12×42 monocular on a tripod. Align carefully, set 1x zoom, disable flash, and use a timer. You’ll capture craters, maria, and shadows—advanced users even report seeing Jupiter’s moons and Saturn’s rings.
Document Travel and Landscapes
Turn distant architecture or mountain ranges into shareable photos. Your monocular-phone combo is far more portable than a telephoto lens.
Support STEM Education
Teachers use this setup for outdoor science. Students observe insects, plants, or celestial events, then save images for reports—ideal for biology, ecology, and astronomy lessons.
Follow Best Practices for Reliable Results
- Clean all lenses with a microfiber cloth before use
- Shoot in daylight for sharpest results
- Avoid direct sunlight to prevent lens flare
- Store components separately to maintain alignment
While not a DSLR replacement, this setup delivers impressive results with practice. Upgrade to a superzoom camera or DSLR digiscoping if you need professional quality. For hobbyists, educators, and explorers, your phone and monocular can open a new world of long-distance vision.


