
That exhilarating moment when you spot a rare bird or distant landscape suddenly turns frustrating when your Simmons binoculars deliver a blurry, double, or hazy image. Whether you’ve dropped them during a hunting trip or noticed stiff focus after years of use, these precision optics can develop problems that sabotage your viewing experience. The good news is that 90% of Simmons binocular repair cases involve issues you can fix yourself with basic tools and careful technique. This guide cuts through the confusion to show you exactly how to diagnose misalignment, clean optics safely, and restore smooth focus—saving you costly professional service for most common failures.
Don’t assume your binoculars are beyond help. From simple lens cleaning to internal gear maintenance, this step-by-step Simmons binocular repair manual uses real-world scenarios to get you back to crystal-clear viewing. You’ll learn to distinguish between user errors and true mechanical failures, avoid dangerous DIY mistakes, and implement a maintenance routine that prevents future problems. By the end, you’ll confidently handle everything from foggy lenses to stuck focus wheels—all while protecting your investment in these durable optics.
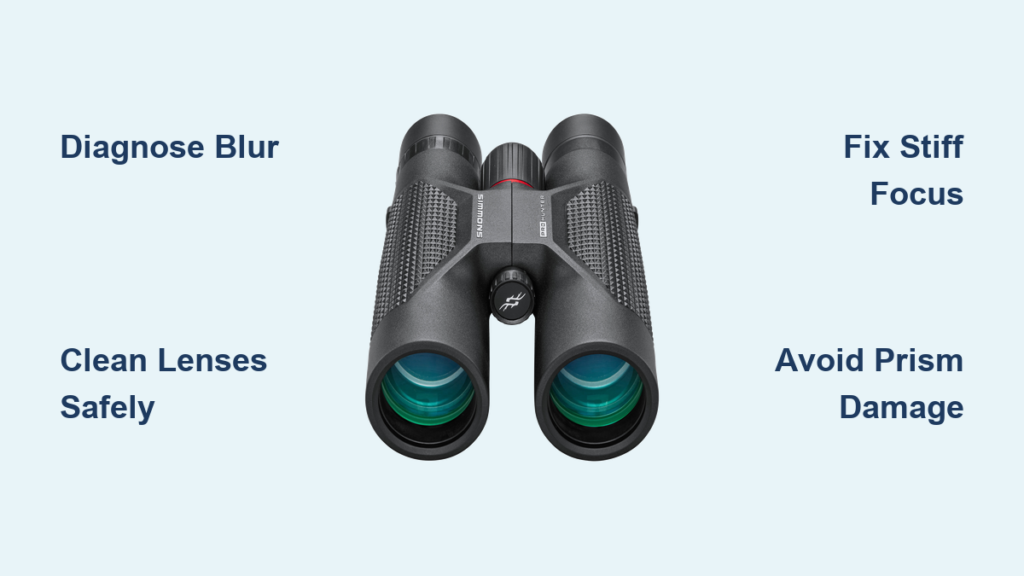
Diagnose Blurry Vision and Stiff Focus in Your Simmons Binoculars
Your binoculars’ symptoms reveal exactly what’s wrong—no guesswork required. Start with these targeted checks before disassembling anything. A blurry image in only one barrel almost always means prism misalignment from impact, especially in Porro prism models common in Simmons’ entry-level lines. If adjusting the diopter ring (usually on the right eyepiece) doesn’t correct it, the prisms have shifted internally and require professional collimation. Meanwhile, double vision after cleaning signals serious misalignment—you’ll see two distinct images of the same object.
Why Both Barrels Turn Blurry Overnight
When both sides lose clarity, it’s rarely a catastrophic failure. First, verify your interpupillary distance (IPD) setting matches your eye width—incorrect spacing causes immediate blur. Next, inspect for user errors: Eyecups twisted to the wrong position for glasses wearers, dirty diopter settings left untouched for months, or moisture trapped under lens caps during storage. Crucially, clean lenses before blaming internal issues: 70% of “broken” binoculars just need proper cleaning. If blur persists after thorough cleaning and settings adjustment, check for cement separation—look for hazy, cobweb-like patterns between lens elements indicating adhesive failure.
Stuck Focus Wheel: Dust vs. Gear Failure
A stiff focus mechanism usually stems from dried grease or grit intrusion. Test this by rotating the wheel slowly while listening for grinding sounds—gritty feedback means debris in the helical threads. If the wheel moves smoothly in one direction but sticks in the other, stripped gear teeth are likely. Never force a jammed focus wheel; this worsens damage. Instead, note where resistance occurs: Consistent stiffness throughout the range points to dried lubricant, while sudden “catches” indicate foreign debris like sand or pocket lint in the mechanism.
Essential Tools for Simmons Binocular Repair Success

Gather these specific items before starting—using substitutes risks permanent damage. A precision screwdriver set with JIS (Japanese Industrial Standard) tips is non-negotiable for Simmons’ proprietary screws; standard Phillips bits will strip them. Pair this with a spudger made from guitar pick material to safely separate rubber armoring without tearing. For lens work, use only optics-specific cleaning solution (ammonia-free) and unused microfiber cloths—reused cloths embed grit that scratches coatings.
Critical Lubricants and Safety Gear
Never substitute household oils like WD-40—they dissolve internal adhesives and attract dust. Instead, keep 90%+ isopropyl alcohol for degreasing and synthetic grease like Nyogel 795A for re-lubrication. Safety is paramount: Wear an anti-static wrist strap during disassembly to prevent electrostatic discharge damaging coatings, and work on a black mat to spot tiny screws. Most crucially, photograph every disassembly step with your phone—Simmons’ internal layouts vary significantly by model year, and one misplaced screw can misalign prisms.
Deep Clean Your Simmons Binoculars in 3 Critical Steps
Skip this process at your peril—improper cleaning causes more damage than the original problem. Always start externally: Use a soft-bristled brush to dislodge grit from focus wheel crevices and eyecup hinges. Compressed air works poorly here; it forces debris deeper. Instead, wipe seams with a cloth dampened in isopropyl alcohol to dissolve grime without moisture intrusion.
Safe Lens Cleaning Protocol for Coated Optics
- Blow first, wipe never: Use a rubber blower bulb to remove loose particles—never breath on lenses (saliva moisture damages coatings)
- Dampen cloth, not lens: Apply 2 drops of optics cleaner to a fresh microfiber square
- Wipe in straight lines: Start at the center and drag outward in one direction only—circular motions grind grit into coatings
- Inspect under light: Hold binoculars at 45° to a lamp to spot residual smears invisible head-on
Pro Tip: Test cleaner on the eyecup rubber first—ammonia-based solutions will cloud it within seconds, ruining your field of view.
Fix Stiff Focus Mechanism: Internal Cleaning for Simmons Binoculars

Warning: This voids warranties on models under 2 years old. Proceed only on vintage or out-of-warranty units. Begin by peeling back rubber armoring near the hinge with a spudger—apply heat from a hairdryer for 10 seconds to soften adhesive. Underneath, locate the main housing screws; Simmons often hides one under the diopter ring. Remove screws methodically and photograph each stage.
Gear Degreasing and Re-lubrication Process
Once open, identify the helical focus rod (attached to the central wheel) and its mating gear. Dip cotton swabs in isopropyl alcohol to dissolve old grease—work slowly to avoid pushing debris into bearings. After complete drying (24 hours minimum), apply a rice-grain-sized grease dot only to gear teeth contact points. Over-lubrication is the #1 DIY failure: Excess grease migrates onto prisms, causing permanent haze. Reassemble while testing focus smoothness after each component—stop tightening when resistance disappears.
When Your Simmons Binocular Repair Needs a Pro Immediately
Attempt these fixes only if you see none of these red flags. Internal fungus appears as spiderweb patterns that worsen in humidity—this requires nitrogen-purged chamber cleaning impossible at home. Similarly, moisture inside the housing after waterproofing failure demands immediate professional disassembly; leaving it causes permanent prism coating corrosion. Most critically, any visible prism shift (confirmed by a star test showing double points of light) requires optical collimation equipment costing thousands.
Cost-Benefit Analysis: Repair vs. Replace
For vintage Simmons models (pre-2010), professional repair often costs 60-80% of new binocular value—consider replacement unless sentimental. But for current Weatherproof or Prohunter series, authorized service ($75-$150) preserves your 25-year warranty. Contact Simmons directly at 1-800-423-3537; third-party “repair shops” frequently misalign prisms during collimation attempts. Always request a pre-repair diagnostic quote—they’ll often email photos of internal damage.
Prevent Future Repairs: Simmons Binocular Maintenance Routine
This 5-minute monthly ritual prevents 80% of failures. After each use, wipe lenses with a dry microfiber cloth before storing—residual oils attract dust. Monthly, inspect the focus wheel for grit buildup using a magnifying glass; compressed air removes particles without disassembly. Quarterly, verify diopter lock integrity by gently twisting the ring—if it slips, tighten the retaining screw with a JIS #00 driver.
Climate-Controlled Storage Protocol
Never store binoculars in attics or car trunks where temperatures exceed 120°F (50°C)—this melts internal adhesives. Instead, keep them in their case with silica gel packs, and store vertically to prevent grease migration. Crucially, acclimate binoculars for 30 minutes after bringing them indoors from cold/hot environments; rapid temperature shifts cause internal fogging that mimics lens haze.
DIY vs. Professional Repair for Simmons Binoculars: Key Decisions
Stick to DIY only for external cleaning, focus wheel degreasing, or loose screw tightening. Attempting prism realignment without collimation tools guarantees double vision—you’ll see parallel images that no diopter adjustment fixes. Similarly, internal lens cleaning requires vacuum-sealed chambers to prevent dust contamination; home attempts create “floaters” in your field of view.
Final Tip: For models under warranty, never remove rubber armoring—Simmons voids coverage for any casing separation. When in doubt, email photos to Simmons’ service team first; they’ll often diagnose issues over email and guide you to authorized centers. Properly maintained Simmons binoculars last decades, but rushing repairs destroys them faster than neglect. By following these precise Simmons binocular repair protocols, you’ll extend your optics’ life while knowing exactly when to trust the experts.


