
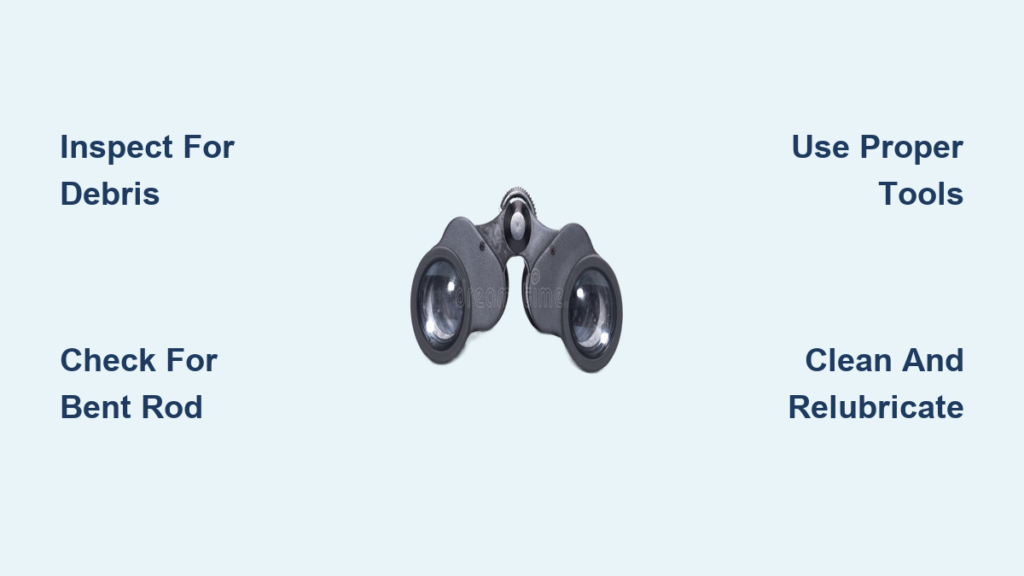
Nothing ruins a birdwatching session or sporting event faster than a frozen binocular focus wheel. When your once-smooth focusing mechanism suddenly seizes up—especially after an accidental knock or drop—you’re left with a frustrating obstruction between you and clear views. This common issue typically results from impact damage or internal misalignment, not optical failure. In this guide, you’ll learn exactly how to diagnose and repair your binocular focus wheel stuck problem safely, avoiding costly mistakes that could turn a simple fix into permanent damage.
Why Your Binocular Focus Wheel Suddenly Stopped Turning
When your binocular focus wheel sticks after an impact, the problem is almost always mechanical—not optical. The focusing mechanism consists of precision components that can easily jam when subjected to force. A knock that seems minor to you can bend the delicate focusing rod just enough to bind the entire system. This explains why your optics still function perfectly when viewed through each eyepiece individually, but the central focusing mechanism refuses to turn.
The most common culprit is a bent or jammed focusing rod inside the hinge assembly. This rod, typically 4-8mm in diameter, transmits your wheel movements to the internal lens elements. When impacted, it can deform slightly or become misaligned within its housing, creating binding points that prevent smooth rotation. Unlike lens damage, this issue often has a straightforward solution if addressed correctly before further damage occurs.
Immediate Checks Before Attempting Binocular Focus Repair
Before grabbing any tools, perform these critical assessments to determine your best course of action.
Verify It’s Not a Simple External Obstruction
Sometimes what feels like a completely stuck focus wheel is merely blocked by external debris. Carefully inspect the wheel crevices for:
– Trapped sand or grit from outdoor use
– Dried vegetation or fibers caught in the mechanism
– Residue from improper cleaning attempts
Use a can of compressed air to gently blow out any visible debris from multiple angles. Rotate the wheel slightly between bursts to access different sections. If the wheel suddenly moves freely after this simple step, you’ve avoided unnecessary disassembly.
Assess the Severity of the Sticking
Not all stuck focus wheels are equally problematic. Determine if you’re dealing with:
– Complete seizure: Wheel won’t move in either direction
– Directional binding: Moves in one direction but not the other
– Progressive stiffness: Increasing resistance as you turn
Complete seizure after impact strongly suggests internal damage, while progressive stiffness often indicates dried grease or debris accumulation over time. Directional binding typically points to a slightly bent focusing rod that binds at specific rotation points.
Precision Tools Needed to Unstick a Frozen Binocular Focus Wheel

Gathering the correct tools before starting prevents the most common cause of permanent damage—stripped screws.
Essential Tool Kit for Focus Wheel Repair
- Specialized screwdrivers: JIS #00 and Phillips #00 precision drivers (not standard Phillips)
- Plastic spudgers: For prying without scratching delicate surfaces
- Micro tweezers: For retrieving tiny components
- High-purity isopropyl alcohol (99%): For cleaning without residue
- Plastic-safe synthetic grease: Like Nyogel 767A (never use petroleum-based lubricants)
- Small parts organizer: With compartments to track screws by removal order
Critical Workspace Setup
Create a dedicated repair zone with:
– A non-slip surface to prevent tool slippage
– Bright, adjustable lighting to see tiny components
– Magnetic mat to catch stray screws
– Smartphone for documentation photos before each disassembly step
Step 1: Diagnosing Your Stuck Binocular Focus Wheel Without Causing Further Damage
Identifying the True Problem Point
Most users mistakenly focus on the center screw when the real issue lies deeper. Instead:
1. Examine both sides of the focus wheel: Look for secondary screws hidden beneath grease reservoirs
2. Check for two-thread-layer screws: Many models have an internal set screw beneath the visible one
3. Determine if it’s truly stripped: Shine a light at an angle to see if any screw head remains usable
If you’ve already damaged the center screw, stop immediately. Forcing a stripped screw will create metal shavings that further jam the mechanism. Professional repair becomes necessary at this point to extract the damaged screw without harming the housing.
Testing Mechanical Resistance
Gently attempt to turn the wheel while:
– Listening for grinding sounds (indicates gear damage)
– Feeling for consistent resistance (should be smooth)
– Checking if resistance changes with barrel angle
If resistance varies when tilting the binoculars, the focusing rod is likely bent rather than completely broken—a more repairable issue.
Step 2: Accessing the Focus Mechanism Without Damaging Your Binoculars
Proper Disassembly Sequence for Porro-Prism Binoculars
- Remove objective lens end cap: This reveals the hollow hinge system
- Access the ocular end: Use a long, narrow screwdriver through the hinge
- Identify true disassembly points: Hinge tension screws differ from disassembly screws
Never mistake hinge tension screws for disassembly points—adjusting these affects optical alignment. True disassembly screws are typically hidden within the hinge mechanism itself, requiring specialized access through the mounting thread aperture.
Avoiding the Most Common Disassembly Mistake
Over 70% of DIY binocular repairs fail at this stage because users:
– Apply excessive force with incorrect screwdriver sizes
– Attempt to remove hinge tension screws instead of disassembly screws
– Pry rubber armor with metal tools, causing cosmetic damage
Use tape-wrapped plastic tools to gently lift rubber armor starting at corners, working slowly around the perimeter. Document each step with photos to ensure correct reassembly.
Step 3: Identifying the Exact Cause of Your Frozen Focus Wheel
Impact Damage Assessment
With the housing open, look for:
– Bent focusing rod: Visible kinks or misalignment
– Damaged gear teeth: In rack-and-pinion systems
– Housing deformation: Causing binding points
A slightly bent rod often shows visible “flat spots” where it contacts the housing. Severe bends may cause the rod to visibly wobble when rotated by hand (if possible).
Grease and Debris Inspection
Check for:
– Hardened grease resembling cement
– Metal shavings from previous forced attempts
– Cross-threading evidence from improper reassembly
Old grease turns dark and sticky over time, especially if exposed to temperature extremes. This congealed lubricant is a frequent cause of progressive stiffness that users mistake for mechanical failure.
Step 4: Repairing a Stuck Focus Wheel from Impact Damage

Straightening a Bent Focusing Rod
- Secure the binoculars: In a soft-jaw vise to prevent additional stress
- Apply penetrating oil: To the rod/housing interface
- Use controlled pressure: With plastic tools to gently realign the rod
- Test frequently: Rotate the rod incrementally during correction
Never apply excessive force—some bends are too severe for DIY correction. If resistance remains high after gentle straightening attempts, the rod likely needs replacement.
Cleaning and Relubrication Protocol
- Remove all old grease: With isopropyl alcohol and cotton swabs
- Dry thoroughly: Before applying new lubricant
- Apply microscopic amount: Of plastic-safe synthetic grease
- Distribute evenly: By rotating the mechanism before final assembly
Use a toothpick to apply grease—less than a grain of rice is sufficient. Over-lubrication attracts dust and causes future sticking.
Step 5: Proper Reassembly to Prevent Future Focus Wheel Issues
Critical Reassembly Sequence
- Reassemble in reverse order: Of disassembly
- Test at each stage: Before proceeding
- Tighten screws gradually: In a star pattern for even pressure
- Verify smooth operation: After each component is secured
The most common reassembly mistake is over-tightening tiny screws, which distorts the housing and recreates binding points. Screws should be snug but not fully seated until all are partially secured.
Function Testing Protocol
Before replacing all housing:
– Test focus wheel movement through full range
– Check for consistent resistance
– Verify no grinding sounds
– Ensure both barrels move in perfect unison
If resistance feels uneven, disassemble partially to check for misaligned components before proceeding.
When You Should Stop DIY Repair and Call a Professional
Immediate Red Flags Requiring Professional Help
Stop working and seek professional assistance if you encounter:
– Visible prism misalignment: Causing double vision
– Multiple stripped screws: Indicating previous improper repairs
– Severely bent focusing rod: That won’t straighten with gentle pressure
– Grease contamination on optics: Risking permanent lens damage
Attempting further repair when these issues exist typically increases the final repair cost significantly. Professional optical technicians have specialized tools like screw extractors and thread repair kits that prevent additional damage.
Preventing Future Binocular Focus Wheel Problems
Impact Prevention Strategies
- Never mount binoculars on improvised tripods: Use manufacturer-approved mounts
- Remove from mounts before transport: Even for short distances
- Store in padded cases: With desiccant to control humidity
- Avoid temperature extremes: Which accelerate grease degradation
The most common cause of focus wheel failure is repeated minor impacts during handling. Developing careful handling habits extends your binoculars’ operational life significantly.
Maintenance Schedule for Smooth Operation
Perform these simple checks monthly:
– Verify focus wheel turns smoothly through full range
– Check all external screws for tightness
– Clean exterior with lens-safe materials
– Store with focus set midway between extremes
Annual professional servicing prevents 90% of focus mechanism failures in frequently used binoculars. Even high-end models benefit from periodic internal inspection and lubrication.
A stuck binocular focus wheel doesn’t mean your optics are ruined. By understanding the precise cause and following these targeted repair steps, you can often restore smooth focusing without professional help. For complex issues or high-value optics, the safest path is always to consult a qualified optical repair specialist—preserving your investment and ensuring optimal performance for years to come.


