If you’ve ever struggled to see fine details in a transparent cell or wondered why your microscope image looks washed out, the answer may lie in the diaphragm. This small but powerful component plays a central role in shaping image quality by controlling how light interacts with your specimen. More than just a brightness dial, the diaphragm microscope function directly influences contrast, resolution, depth of field, and clarity. Whether you’re viewing cheek cells, pond microbes, or stained tissue sections, mastering the diaphragm transforms blurry, flat images into sharp, detailed views. In this guide, you’ll learn how different types of diaphragms work, how to adjust them for optimal imaging, and how to avoid common mistakes that degrade results.
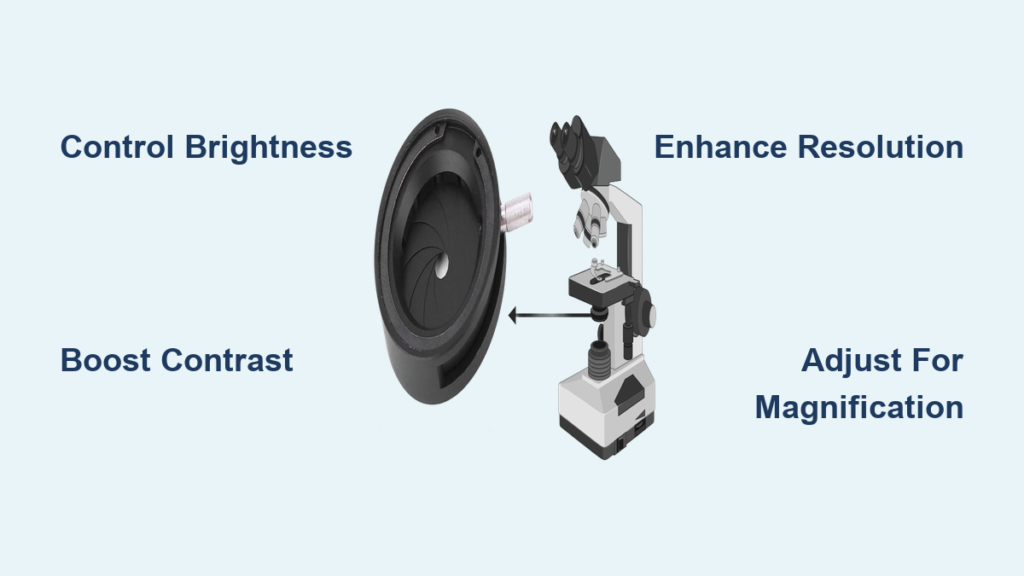
Control Light to Enhance Image Quality
Regulate Brightness Without Sacrificing Detail
At its most basic level, the diaphragm microscope function controls how much light reaches the specimen. Opening it wide floods the sample with illumination—ideal for thick or densely stained slides where light penetration is crucial. Closing it reduces intensity, preventing overexposure in transparent samples like onion epidermis or live protozoa. However, many users make the mistake of treating the diaphragm like a room light dimmer, adjusting it solely for brightness. Instead, reserve lamp controls for overall illumination and use the diaphragm to fine-tune exposure while maintaining a consistent light source. This separation allows you to preserve image integrity while adapting to specimen needs.
Boost Contrast in Transparent Specimens
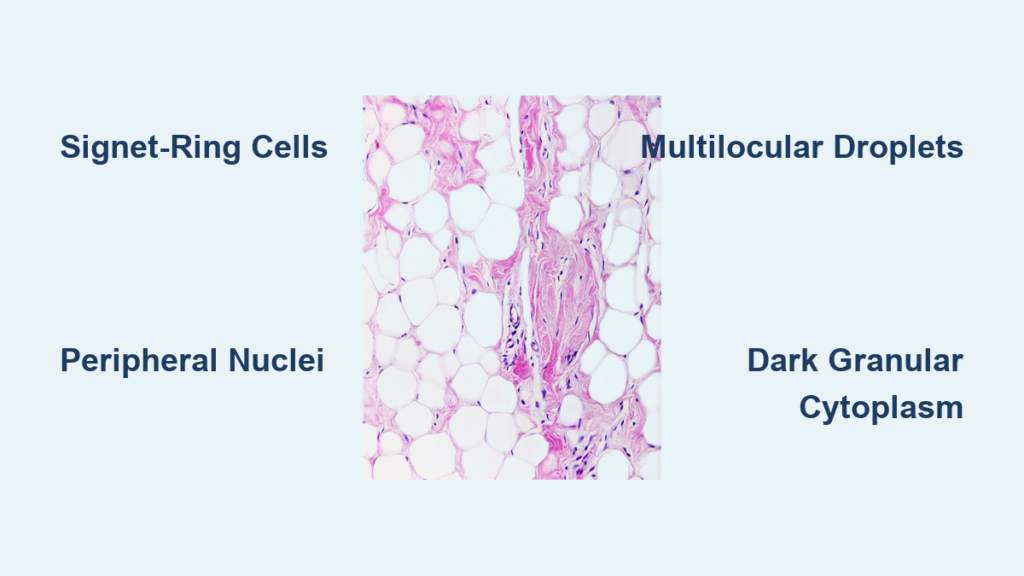
Transparent, unstained samples often appear nearly invisible under full illumination because they lack natural pigmentation. The diaphragm enhances contrast by narrowing the cone of light that passes through the specimen. This reduces scattered and stray light, making subtle structures—like cell membranes, nuclei, or organelles—stand out more clearly. For example, when observing unstained cheek cells, slightly closing the diaphragm reveals cytoplasmic boundaries that vanish under full brightness. The result? Clearer, more defined images without requiring chemical stains.
Maximize Resolution and Fine Detail
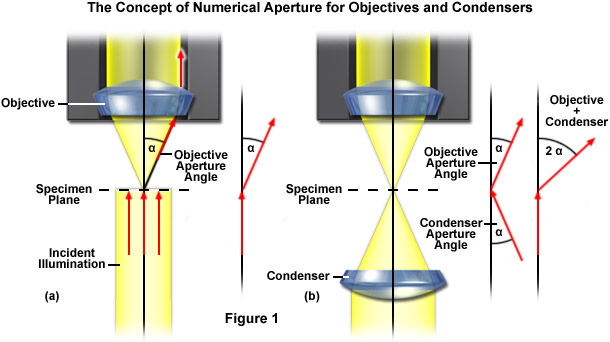
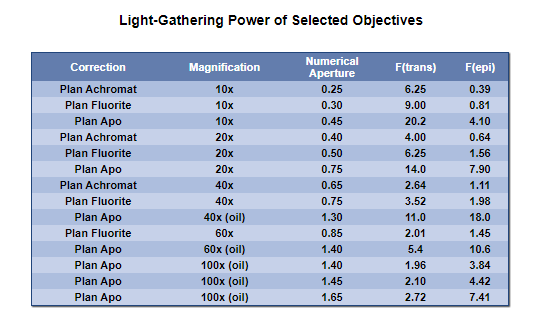
Resolution—the ability to distinguish two closely spaced points as separate—depends heavily on how the diaphragm shapes the light cone. Opening the aperture diaphragm increases the numerical aperture (NA) of illumination, enabling finer details to be resolved. However, there’s a limit: resolution cannot exceed the NA of the objective lens. To achieve the sharpest image, match the diaphragm setting to about 70–80% of the objective’s NA. This balance ensures high resolution while maintaining contrast. Fully opening it may not improve clarity and can actually reduce image quality due to glare and reduced contrast.
Increase Depth of Field for 3D Structures
When viewing layered or thick specimens—like pollen grains, fungal hyphae, or multicellular filaments—only part of the sample may stay in focus at high magnification. Closing the diaphragm increases depth of field, bringing more layers into acceptable focus simultaneously. While this improves overall sharpness across planes, it comes at the cost of reduced light and potential loss of fine detail. Use this strategy when studying three-dimensional structures where spatial context matters more than ultra-fine resolution.
Eliminate Glare and Scattered Light
Even with proper lighting, reflections and internal scattering can wash out image quality—especially with glass slides, oily specimens, or dust-covered lenses. The diaphragm helps eliminate peripheral rays that contribute to glare by limiting the angle of incoming light. By carefully adjusting it, you minimize optical noise and improve image “cleanliness.” This is particularly important at high magnifications (40x and above), where small imperfections in lighting become amplified.
Choose the Right Diaphragm for Your Microscope

Use Iris Diaphragm for Precision Control
The iris diaphragm is the most common and versatile type, found in most professional and educational microscopes. It uses overlapping metal blades to form an adjustable circular opening, much like a camera lens. Located within or just below the condenser, it allows smooth, continuous control over the light cone’s angle and intensity. This makes it ideal for fine-tuning contrast and resolution across different objectives. Start with it halfway open, then close slightly for more contrast or open for brighter, higher-resolution views.
Pro Tip: After focusing, close the iris until contrast improves, then reopen just enough to restore fine detail—this finds the “sweet spot” between clarity and definition.
Select Disc Diaphragm for Simplicity
On basic or student microscopes without a condenser, you’ll often find a disc diaphragm—a rotating wheel with fixed holes of varying sizes. Each hole provides a preset level of illumination, letting users switch between settings quickly. While less precise than an iris, it’s durable and easy to use for beginners. Choose smaller holes for low-light needs (e.g., bright ambient conditions) and larger ones for higher magnifications.
Limitation: You can’t make intermediate adjustments. Combine disc selection with lamp brightness to simulate finer control.
Adjust Field Diaphragm to Clean the Image
The field diaphragm sits near the light source and controls how much of the specimen area is illuminated. Unlike the aperture diaphragm, it doesn’t affect resolution or depth of field—but it does reduce stray light around the edges of the field of view. To use it:
- Close the field diaphragm until its edges appear in focus.
- Center it using alignment screws if available.
- Open it just until the dark rings disappear from view.
This eliminates peripheral glare and improves background contrast without affecting the core image quality. Over-closing causes vignetting or diffraction rings, so avoid tightening it too far.
Match Diaphragm Settings to Objective Magnification
Align Condenser for Even Illumination
The condenser focuses light onto the specimen and works hand-in-hand with the aperture diaphragm. If misaligned, even perfect diaphragm settings won’t deliver clear images. Ensure the condenser is centered and raised close to the stage (but not touching the slide). A well-aligned condenser ensures uniform lighting and maximizes the effectiveness of diaphragm adjustments.
Quick Check: Move the slide slightly—if shadows follow the movement, the condenser may be misaligned.
Optimize Aperture for Each Objective Lens
Each objective lens has a specific numerical aperture (NA), and the condenser’s aperture diaphragm should be adjusted accordingly. As magnification increases, so should the diaphragm opening—to maintain sufficient light and resolution.
| Objective | Recommended Diaphragm Setting | Purpose |
|---|---|---|
| 4x | Slightly closed | Boost contrast in large, flat fields |
| 10x | Mid-open | Balance brightness and detail |
| 40x | Mostly open | Support fine detail with adequate light |
| 100x (oil) | Nearly fully open | Maximize resolution under oil immersion |
Always re-adjust the diaphragm when switching objectives. What works at 10x will likely cause glare or dimness at 40x.
Follow a Step-by-Step Adjustment Routine
Start at Low Magnification
Begin focusing with the 4x or 10x objective. At this stage:
- Set lamp brightness to medium.
- Open the iris diaphragm about halfway.
- Locate and center your specimen.
Use this phase to establish a baseline before increasing magnification.
Fine-Tune for Image Quality
Once focused, adjust the diaphragm incrementally:
- If the image looks washed out → close slightly to increase contrast.
- If it’s too dim or lacks detail → open slightly to let in more light.
Watch for the point where contrast improves without losing fine structure. That’s your optimal setting.
Re-Adjust After Changing Objectives
Every time you rotate to a higher power, light requirements change. At 40x and above, open the diaphragm more to compensate for reduced light intake. Then fine-tune for contrast. Never assume one setting works across all lenses.
Find the Sweet Spot
The “sweet spot” is the setting where contrast and detail are perfectly balanced. To find it:
- Close the diaphragm until edges sharpen.
- Slowly reopen until fine internal details reappear.
- Stop—this is your ideal position.
This technique prevents over-closing, which introduces diffraction and makes images look artificially sharp but inaccurate.
Understand Image Quality Trade-Offs
| Adjustment | Brightness | Contrast | Resolution | Depth of Field |
|---|---|---|---|---|
| Open More | ↑↑ | ↓ | ↑ (up to NA limit) | ↓ |
| Close More | ↓ | ↑↑ | ↓ (if overdone) | ↑↑ |
Understanding these trade-offs is key. For example:
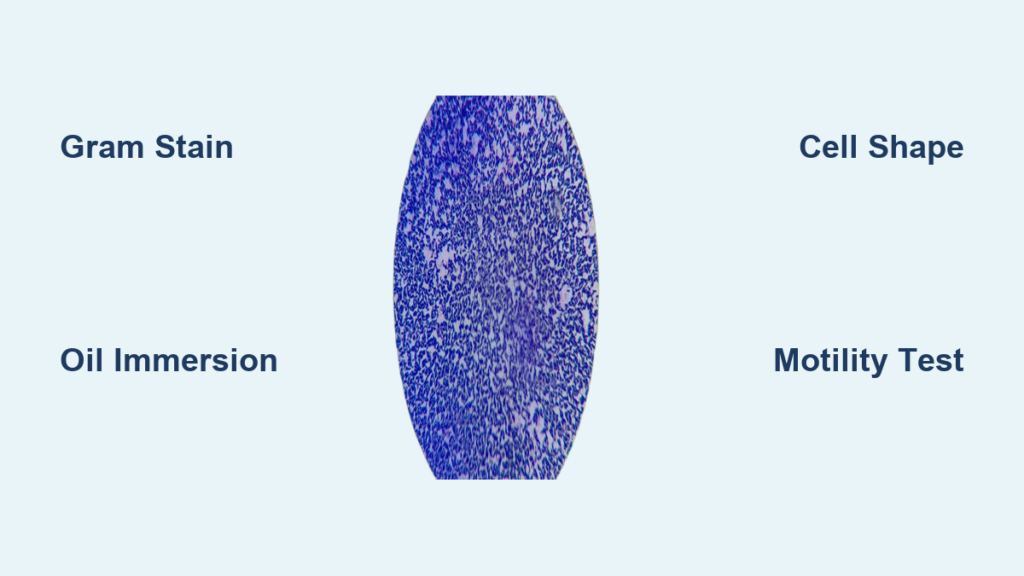
– Use more open settings when viewing stained bacteria at 100x—brightness and resolution matter most.
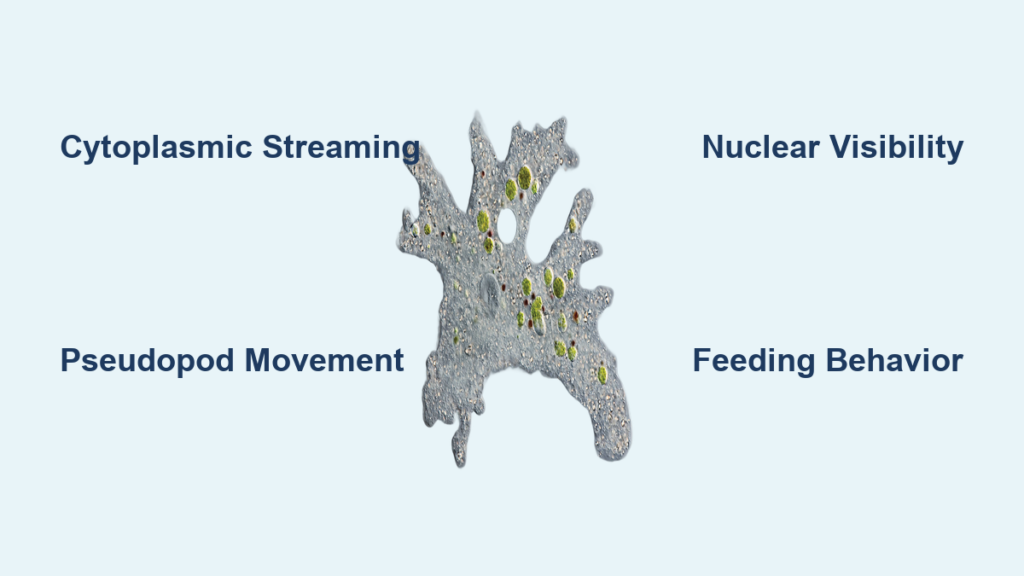
– Use more closed settings for live, unstained amoebae at 10x—contrast reveals movement and shape.
There is no single best setting. The right choice depends on specimen type, staining, magnification, and goal.
Avoid Common Diaphragm Mistakes
Don’t Treat Diaphragm Like a Dimmer
Many users adjust the diaphragm solely to make the image brighter or darker—like a room light dimmer. This leads to poor contrast and lost detail. Instead:
– Use the lamp control for overall brightness.
– Use the diaphragm to optimize contrast, resolution, and depth.
This separation of functions gives you far greater control.
Prevent Over-Closing
Closing the diaphragm too much boosts contrast but introduces diffraction artifacts—halos around edges and false textures. The image may look “sharper” but isn’t accurate. If fine details vanish or the image looks grainy, reopen the diaphragm slightly.
Don’t Ignore Condenser Alignment
A misaligned condenser causes uneven lighting—bright on one side, dark on the other—making diaphragm adjustments ineffective. Always center and focus the condenser first, especially when setting up Köhler illumination.
Remember to Adjust Field Diaphragm
Leaving the field diaphragm wide open invites stray light into the optical path, reducing contrast. Take a few seconds to close and refocus it so its edge just disappears from view. This simple step dramatically cleans up the background.
Keep Optics Clean
Dust, oil, or fingerprints on the diaphragm or condenser lens scatter light and degrade image quality. Clean regularly with a soft brush or lens paper. Never use tissues or cloth that can scratch surfaces.
Apply Advanced Techniques
Set Up Köhler Illumination
For professional-grade imaging, use Köhler illumination—a method that ensures even, glare-free lighting by aligning both diaphragms correctly:
- Focus on the specimen.
- Close the field diaphragm until its edges are visible.
- Adjust the condenser focus until the edges are sharp.
- Center the field diaphragm.
- Open it just beyond the field of view.
- Adjust the aperture diaphragm for contrast and detail.
This process decouples field size from light angle, giving you independent control over illumination quality.
Support Specialized Imaging Modes
Different microscopy techniques rely on precise diaphragm settings:
- Darkfield Microscopy: Close the aperture diaphragm and use a special condenser to block direct light, allowing only scattered light from the specimen to enter the objective.
- Phase Contrast: Uses a phase annulus in the condenser that matches a ring in the objective, enhancing contrast in transparent samples without staining.
- DIC (Differential Interference Contrast): Requires aligned prisms and a partially closed diaphragm to generate 3D-like relief images.
In each case, the diaphragm plays a critical role in shaping how light interacts with the sample.
Recognize Physical Features of Diaphragms
- Iris Diaphragm: Looks like a small metal flower with overlapping blades. Controlled by a side lever or ring.
- Disc Diaphragm: A rotating wheel beneath the stage with 5–7 holes of increasing size.
- Field Diaphragm: Located near the base, often adjusted via a knob or lever on the microscope housing.
Some models include NA markings on the condenser scale, helping you match the aperture to the objective’s specifications.
Final Recommendations for Best Results
The diaphragm microscope function is one of the most underused yet powerful tools on any microscope. It’s not just about making things brighter or darker—it’s about optimizing the entire imaging system. To get the most from your microscope:
- Adjust the diaphragm every time you change objectives.
- Use lamp brightness for comfort, diaphragm for image quality.
- Never leave the iris fully open or closed—find the sweet spot.
- Clean and align the condenser regularly.
- Experiment with settings based on your specimen.
With practice, adjusting the diaphragm becomes second nature—and your images will show the difference. From classroom labs to research labs, mastering this simple control turns routine observations into revealing insights.