
If you’ve ever wanted to explore the hidden world of cells, bacteria, or microscopic organisms, the compound microscope is your essential tool. Knowing how to use a compound microscope step by step is crucial for getting clear, accurate images without damaging the instrument or your slides. Whether you’re a student in a biology lab or a curious learner at home, following a precise sequence ensures success and safety. This guide walks you through every stage—from carrying the microscope correctly to focusing at high magnification and cleaning up afterward.
Mastering the compound microscope isn’t just about turning knobs; it’s about understanding the correct order of operations. Starting at low power, properly preparing your slide, adjusting light for contrast, and knowing when to use fine focus are all vital. By the end of this step-by-step walkthrough, you’ll be confident in using a compound microscope effectively, avoiding common mistakes that can lead to blurry images or costly damage.
Transport and Setup
Carry with Two Hands
Always transport the microscope with one hand on the arm and the other supporting the base. Hold it close to your body to prevent swaying or tipping. Never carry it by the eyepieces or stage—doing so can misalign internal optics or loosen delicate components. Microscopes are precision instruments, and rough handling can affect image quality and longevity.
Place on Stable Surface
Set the microscope on a clean, flat, and stable table, ideally near a power outlet. Avoid wobbly desks or high-traffic areas where vibrations can blur your view. Keep the power cord tucked away to prevent tripping or accidental disconnection. A steady environment ensures sharp focus and protects the instrument from unnecessary stress.
Power On and Initial Check
Plug In and Turn On Light
Connect the microscope to a power source and switch on the illuminator—usually located on the base. Start with medium brightness to avoid glare. If your model uses a mirror instead of a built-in lamp, adjust the mirror toward a light source (like a window or lamp) to reflect light up through the stage.
Identify Key Parts
Before placing a slide, locate these essential parts:
– Eyepiece (10x): Where you look; typically magnifies 10 times.
– Objective lenses (4x, 10x, 40x, 100x): Provide primary magnification.
– Nosepiece: Rotates to switch between objectives.
– Stage: Holds the slide over the light path.
– Stage clips or mechanical stage: Secure and move the slide.
– Coarse and fine focus knobs: Adjust image clarity.
– Iris diaphragm and condenser: Control light and contrast.
Familiarity with these components prevents confusion and mistakes during use.
Prepare the Slide
Use a Clean Glass Slide
Always start with a clean, dry glass slide. Handle it by the edges to avoid fingerprints on the viewing area. Smudges can distort the image and reduce clarity. If the slide is dirty, clean it with water and dry with lens paper.
Make a Wet Mount
For live or unstained specimens (like pond water or onion cells):
1. Place a thin sample in the center of the slide.
2. Add one drop of water or saline.
3. Hold a cover slip at a 45-degree angle, touch one edge to the liquid.
4. Gently lower it to avoid trapping air bubbles.
Pro Tip: Excess fluid can cause the cover slip to float—wipe away extra with a paper towel.
Apply Stain (Optional)
To enhance visibility of cellular structures:
1. Place a drop of stain (e.g., methylene blue) at one edge of the cover slip.
2. Touch the opposite edge with paper towel to draw the stain under via capillary action.
3. Wipe off excess to prevent contact with the objective lens.
Warning: Stains can damage lenses—clean any spills immediately with lens paper.
Mount the Slide

Center Over Light Path
Remove the dust cover and place the slide on the stage. Align the specimen directly over the stage aperture—the hole where light passes through. This ensures proper illumination.
Secure with Stage Clips
Use the stage clips to hold the slide firmly. If your microscope has a mechanical stage, use the X-Y knobs to move the slide precisely without touching it.
Focus at Low Power
Rotate to 4x Objective
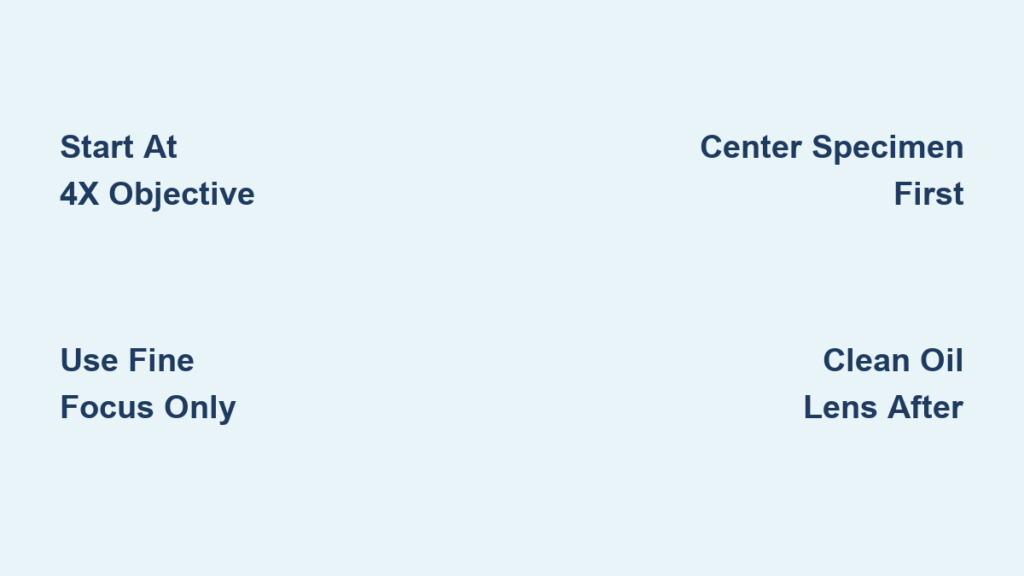
Always begin with the 4x objective (scanning power). It offers the widest field of view and longest working distance, minimizing the risk of crashing into the slide.
Focus Using Coarse Knob
- Look from the side, not through the eyepiece.
- Use the coarse focus knob to raise the stage (or lower the objective) until the lens is about 1 cm from the slide.
- Look through the eyepiece.
- Slowly turn the coarse knob to bring the image into view.
- Use the fine focus knob to sharpen details.
If no image appears: Slightly move the slide or repeat focusing—your specimen may be out of view.
Adjust Eyepiece Distance (Binocular Models)
If you see two circles of light, adjust the interpupillary distance by sliding the eyepieces closer or farther apart until you see a single, merged field. This reduces eye strain and improves clarity.
Center and Increase Magnification
Center the Area of Interest
Use the stage controls to move the specimen to the center of the field. Higher magnifications show a much smaller area—off-center objects will disappear when you zoom in.
Switch to 10x Objective
Rotate the nosepiece to the 10x objective. The image should remain roughly in focus. Use the fine focus knob to sharpen it.
Never use coarse focus at high power—the lens is too close to the slide.
Move to 40x Objective
Rotate to the 40x objective. Again, use only the fine focus knob. The working distance is now less than 0.5 mm—using coarse focus risks damaging the lens or slide.
Use Oil Immersion at 100x
Focus First at 40x
Before using oil, ensure the specimen is sharply focused and centered at 40x. This saves time and prevents smearing oil over unfocused areas.
Apply Immersion Oil
- Rotate the nosepiece halfway between 40x and 100x.
- Place one drop of immersion oil directly on the cover slip over the specimen.
- Slowly swing the 100x objective into place—it should dip into the oil.
Why oil? It prevents light from scattering, improving resolution and clarity at 1000x total magnification.
Focus with Fine Knob Only
Use only the fine focus knob. The image should come into view quickly. Never use coarse focus—contact could destroy the lens or slide.
Clean After Use
- Rotate back to the 4x objective.
- Wipe oil off the 100x lens with lens paper (never tissue or cloth).
- Clean the slide and stage.
- Store properly.
Never use 100x without oil—dry use causes blurry images and may damage the lens.
Optimize Image Quality

Adjust Iris Diaphragm
The iris diaphragm under the stage controls contrast:
– Open wide at low magnification.
– Partially close at 40x or 100x to enhance detail.
Too much light washes out the image; too little makes it too dark.
Raise the Condenser
For best results at high power:
– Raise the condenser to its highest position.
– This focuses light directly on the specimen, improving resolution.
Some models allow condenser centering—align it with the light path for even illumination.
Control Light Intensity
Use the brightness knob to match illumination to magnification:
– Brighter light for low-power, dense specimens.
– Dimmer light for high-power viewing—often enhances contrast.
Navigate and Record Findings
Move the Slide Correctly
Remember: images are inverted and reversed.
– Move slide left → image moves right.
– Move slide away from you → image moves toward you.
Use mechanical stage knobs for smooth, precise movement.
Record Observations
Document what you see:
– Sketch the specimen with labels.
– Note size, shape, color, and movement.
– Calculate total magnification:
10x eyepiece × 40x objective = 400x total magnification
If your microscope has a camera, take photos for later analysis.
Shut Down Properly
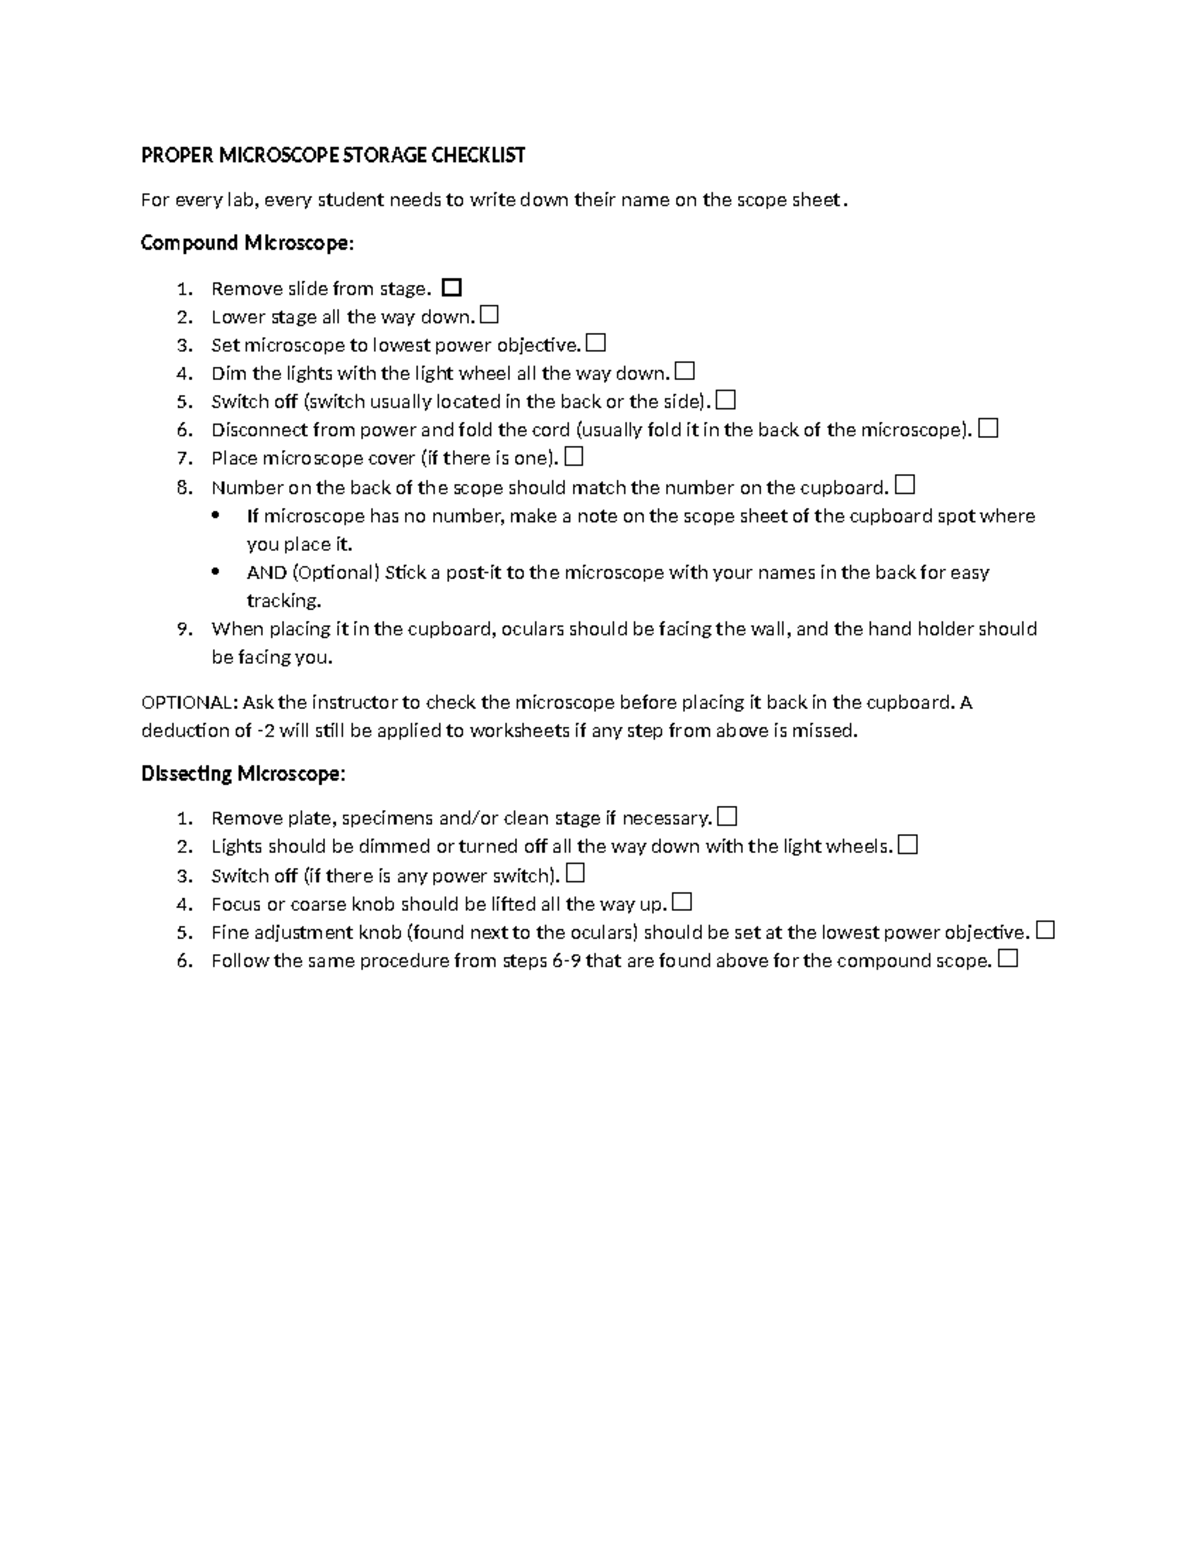
Return to Low Power
After use, rotate the nosepiece back to the 4x objective. This prevents high-power lenses from hanging down and getting damaged.
Lower the Stage
Use the coarse focus knob to lower the stage to its lowest position. This reduces tension on the focus mechanism and prevents accidental contact.
Remove and Clean Slides
Take out the slide carefully. If reusable, rinse with water and dry. Dispose of biohazardous slides safely.
Wipe Lenses and Stage
Clean only with lens paper:
– Gently wipe the 100x oil lens after every use.
– Clean other objectives if dusty.
– Wipe the stage and condenser if contaminated.
Never use alcohol, paper towels, or clothing—they scratch lenses.
Cover and Store
- Turn off and unplug the microscope.
- Cover it with a dust cover.
- Store in a dry, cool place away from sunlight and moisture.
Maintain Your Microscope
Adjust Focus Tension
If the stage drifts down on its own:
– Basic models: Tighten the tension screw with a small tool.
– Advanced models: Turn the inner focus ring or use a wrench.
Proper tension keeps focus stable.
Replace Eyepieces Safely
To swap eyepieces:
1. Loosen the side screw with a 1mm screwdriver.
2. Insert new eyepiece.
3. Tighten securely.
Caution: If tilting the microscope, remove eyepieces to prevent falling.
Install Color Filters
Filters improve contrast:
– Blue filter: Balances light for natural color.
– Green filter: Enhances contrast in stained slides.
Slide into the condenser holder or place on the light source.
Prevent Common Issues
| Problem | Quick Fix |
|---|---|
| Blurry image | Clean lens, refocus with fine knob |
| No image | Check light, start at 4x, center specimen |
| Dark field | Open iris diaphragm, increase light |
| Air bubbles | Reapply cover slip at 45° angle |
| Double vision | Adjust interpupillary distance |
Refer to this table when troubleshooting.
Final Note: Knowing how to use a compound microscope step by step transforms confusion into clarity. Always start at 4x, center before zooming, use fine focus at high power, and clean oil immediately. With practice, these steps become second nature—leading to sharper images, longer instrument life, and more accurate scientific observations. Follow this guide every time, and you’ll master the microscope with confidence.


