Have you ever watched a leaf quiver in the breeze and wondered what unseen processes are at work? Hidden on the surface of that leaf—too small to see with the naked eye—are thousands of microscopic pores called stomata, the gatekeepers of plant respiration and water regulation. When viewed under a microscope, these tiny structures reveal a world of biological precision, where each opening and closing is a finely tuned response to light, moisture, and atmospheric conditions. Observing stomata under a microscope is more than a classroom exercise—it’s a direct look into how plants survive and thrive.
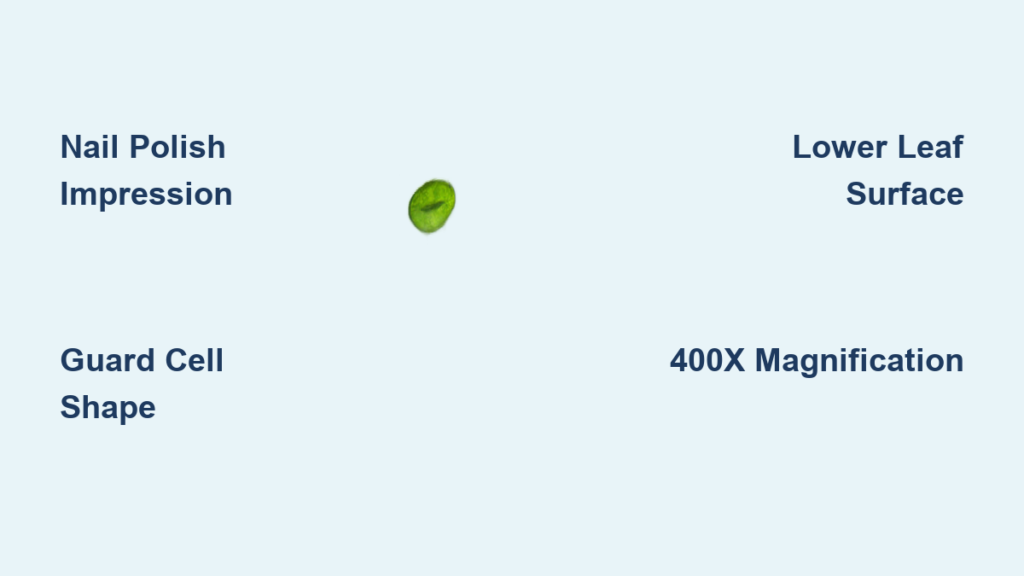
Stomata are primarily found on the lower epidermis of leaves, where they regulate the exchange of gases: absorbing carbon dioxide for photosynthesis and releasing oxygen and water vapor. Each stoma consists of two guard cells that swell or shrink to open and close the central pore, a mechanism driven by turgor pressure and environmental cues. Using simple techniques like the nail polish impression method, students and researchers can capture detailed replicas of these structures at 100x to 400x magnification. This article walks you through how to see stomata clearly, what to look for, how they function, and why their structure holds clues to plant adaptation, climate change, and agricultural innovation.
Best Methods to Observe Stomata

Nail Polish Impression Technique
The nail polish impression method is the gold standard for non-destructive stomatal observation. It allows you to create a high-resolution negative imprint of the leaf surface without harming the plant—ideal for field studies and school labs.
Step-by-step procedure:
1. Select a healthy, broadleaf plant such as Tradescantia, Hosta, or Hedera helix.
2. Flip the leaf over and apply a thin, even layer of clear nail polish to a 1 cm² area on the lower (abaxial) surface.
3. Let it dry completely—typically 10–15 minutes.
4. Cut a piece of transparent cellophane tape and place it over the dried polish.
5. Press firmly with a fingernail or rigid card (like an ID) to ensure full contact.
6. Gently peel the tape off—the nail polish film should lift with it.
7. Transfer the tape directly onto a clean microscope slide.
8. Examine under 400x magnification for clear visualization of individual stomata.
This technique captures not only stomata but also the surrounding epidermal cell mosaic, allowing you to analyze density, distribution, and even subsidiary cell patterns. It’s especially effective for plants with smooth, non-waxy surfaces.
Epidermal Peeling Method
For thicker or tougher leaves, direct observation of the peeled epidermis provides sharper detail than impressions.
How to perform it:
– Use fine forceps to tear a small section of the leaf, exposing a thin transparent layer.
– Carefully lift and peel off the epidermal layer.
– Place it on a microscope slide with a drop of water or a light stain (e.g., safranin) to enhance contrast.
– Cover with a coverslip and examine under 400x magnification.
This method works best with species like Prunus laurocerasus (cherry laurel), Yucca filamentosa, and Tradescantia zebrina. Avoid leaf veins, as stomata are more densely packed in the interveinal regions.
Pro tip: If the peel is too thick, gently press with the coverslip using a pencil eraser to flatten it—just don’t crush the cells.
What Stomata Look Like Under a Microscope

Guard Cells and Stomatal Pore
At 400x magnification, stomata appear as mouth-shaped or elliptical openings surrounded by two curved, bean-like cells—the guard cells. These cells contain chloroplasts, giving them a faint greenish hue under brightfield illumination. Between them lies the stomatal pore, the actual gateway for gas exchange.
Key features visible:
– Guard cells: Thicker on the inner wall, thinner on the outer, enabling them to bend outward when turgid.
– Stomatal pore: A narrow slit that opens when guard cells swell with water.
– Subsidiary cells: Adjacent support cells that vary in number and arrangement—critical for classifying stomatal types.
Common error alert: Mislabeling is rampant online. The pore is between the two guard cells, not inside a single cell. Subsidiary cells surround the guard cells but do not form the pore.
How to Distinguish Real Stomata from Artifacts
Not every round structure on your slide is a stoma. Air bubbles, dust, or uneven polish can mimic stomatal openings.
| Feature | Stoma | Artifact |
|---|---|---|
| Shape | Elliptical or kidney-shaped | Perfectly round |
| Borders | Sharp, defined cellular edges | Fuzzy or irregular |
| Structure | Two distinct guard cells framing a pore | Solid, uniform, no internal structure |
| Context | Embedded in a mosaic of epidermal cells | Isolated, floating in polish |
If you see a “pore” with no surrounding cells or one that looks too perfect, it’s likely an air bubble from improper tape application.
Types of Stomata Based on Subsidiary Cell Arrangement

Stomata are classified into types based on how subsidiary cells are arranged around the guard cells. This classification helps botanists identify plant families and evolutionary relationships.
Anomocytic Stomata
- No subsidiary cells—guard cells are surrounded only by ordinary epidermal cells.
- Found in: Hosta, Allium cepa (onion), Canna.
- Simple and easy to identify under the microscope.
Paracytic Stomata
- Two subsidiary cells aligned parallel to the stomatal pore.
- Common in: Zea mays (maize), Ranunculus.
- Appear in neat, linear rows—especially visible in monocots.
Tetracytic Stomata
- Four subsidiary cells: two on the sides, one at each end.
- Seen in: Tradescantia, Nicotiana.
- Highly symmetrical and organized.
Note: These types reflect evolutionary adaptations. For example, paracytic stomata are common in grasses, which dominate open, dry environments.
Where to Find Stomata on Leaves
Lower vs. Upper Leaf Surface
In most dicot plants, stomata are concentrated on the lower leaf surface to minimize water loss from direct sunlight and wind.
- Lower surface: Can have 300–600 stomata per mm², depending on species.
- Upper surface: Often lacks stomata entirely—except in aquatic plants like Nymphaea, where stomata face upward to access air.
This distribution balances CO₂ uptake with water conservation, a key adaptation in terrestrial plants.
Monocot Exception: Equal Distribution
In grasses like maize (Zea mays), leaves grow vertically, reducing direct sun exposure. As a result, stomata are evenly distributed on both surfaces.
Microscopic clue: Under the microscope, maize shows parallel lines of stomata along elongated epidermal cells—a hallmark of monocot leaf anatomy.
How Stomata Open and Close
Turgor Pressure Drives Stomatal Movement
The opening and closing of stomata depend on turgor pressure changes in guard cells.
Stomata open when:
– Light is present → photosynthesis produces ATP → K⁺ ions enter guard cells.
– Water follows by osmosis → cells swell → curved shape forces pore open.
Stomata close when:
– Darkness or drought → K⁺ ions exit → water leaves → cells lose turgor → pore closes.
Key hormone: During drought, abscisic acid (ABA) signals guard cells to close rapidly, conserving water.
Diurnal Rhythm of Stomata
- Day: Stomata open to allow CO₂ in for photosynthesis.
- Night: Closed to prevent unnecessary transpiration.
This rhythm can be observed in time-lapse microscopy, revealing the dynamic nature of plant physiology.
Measuring Stomatal Density Accurately
Quantifying stomata/mm² provides insights into plant adaptation and environmental stress.
Step-by-Step Counting Method
- Prepare a nail polish impression.
- View under 400x magnification.
- Use an eyepiece graticule or calculate field area (e.g., 0.5 mm diameter → area ≈ 0.196 mm²).
- Count stomata in 3–5 fields.
- Calculate average and scale to stomata/mm².
Formula:
Stomatal density = (Average count) ÷ (Field area in mm²)
| Plant | Density (stomata/mm²) | Adaptation Clue |
|---|---|---|
| Tradescantia | 400–600 | Moist, shaded habitats |
| Zea mays | 300–400 | Efficient water use |
| Yucca | 150–250 | Drought-tolerant |
| Allium cepa | <10 | Minimal gas exchange |
Classroom idea: Compare sun vs. shade leaves—sun leaves often have higher density.
Advanced Microscopy Techniques for Enhanced Detail
Differential Interference Contrast (DIC)
- Adds 3D-like depth, revealing fine ridges in guard cell walls.
- Ideal for research labs with DIC-equipped microscopes.
Polarized Light Microscopy
- Highlights birefringence in cellulose microfibrils.
- Shows structural alignment in maize and Yucca.
Darkfield and Oblique Illumination
- Darkfield: Illuminates specimens against a black background—great for spotting oil droplets in Yucca.
- Oblique: Side lighting enhances surface texture—useful for thick leaves.
Budget hack: Angle an LED flashlight to simulate oblique lighting on standard microscopes.
Best Plants for Viewing Stomata
| Plant | Why It Works | Magnification |
|---|---|---|
| Tradescantia zebrina | Large tetracytic stomata, easy to peel | 100x–400x |
| Hosta | Simple anomocytic type, abundant | 100x–400x |
| Prunus laurocerasus | High density, clear guard cells | 400x |
| Zea mays | Paracytic rows, monocot model | 400x |
| Yucca filamentosa | Thick epidermis, oil droplets | 400x |
Avoid: Hairy or waxy leaves (e.g., Coleus) unless pre-treated.
Stomata as Environmental Indicators
Air Pollution and Climate Change
- Ozone exposure causes malformed stomata and reduced function.
- High CO₂ levels lead to fewer stomata over generations—used to reconstruct ancient atmospheres.
Real-world use: Scientists modify genes like EPF and SPCH to breed drought-resistant crops.
Troubleshooting Common Microscopy Issues
| Problem | Cause | Fix |
|---|---|---|
| No stomata visible | Wrong leaf side, thick polish | Use lower surface, thin coat |
| Air bubbles | Poor tape contact | Press firmly with ID card |
| Blurry image | Debris or thick peel | Clean slide, use thinner section |
| No movement in live view | Nighttime observation | Test during daylight |
Classroom Labs and Student Projects
- Compare stomatal density in sun vs. shade leaves.
- Test environmental responses to CO₂, light, or drought.
- Create a digital stomata atlas with labeled images.
These projects link biology to ecology, climate science, and data analysis.
By mastering how to view stomata under a microscope, students and researchers gain firsthand insight into one of nature’s most elegant systems—where a tiny pore on a leaf connects a plant to the atmosphere, the climate, and the history of life on Earth.